How to Create an Email Campaign
How to Create an Email Campaign
Content:
1. Creating an Email campaign
2. Managing an Email campaign
This guide will walk you through creating an email campaign using Weezmo.
1. Creating an Email campaign
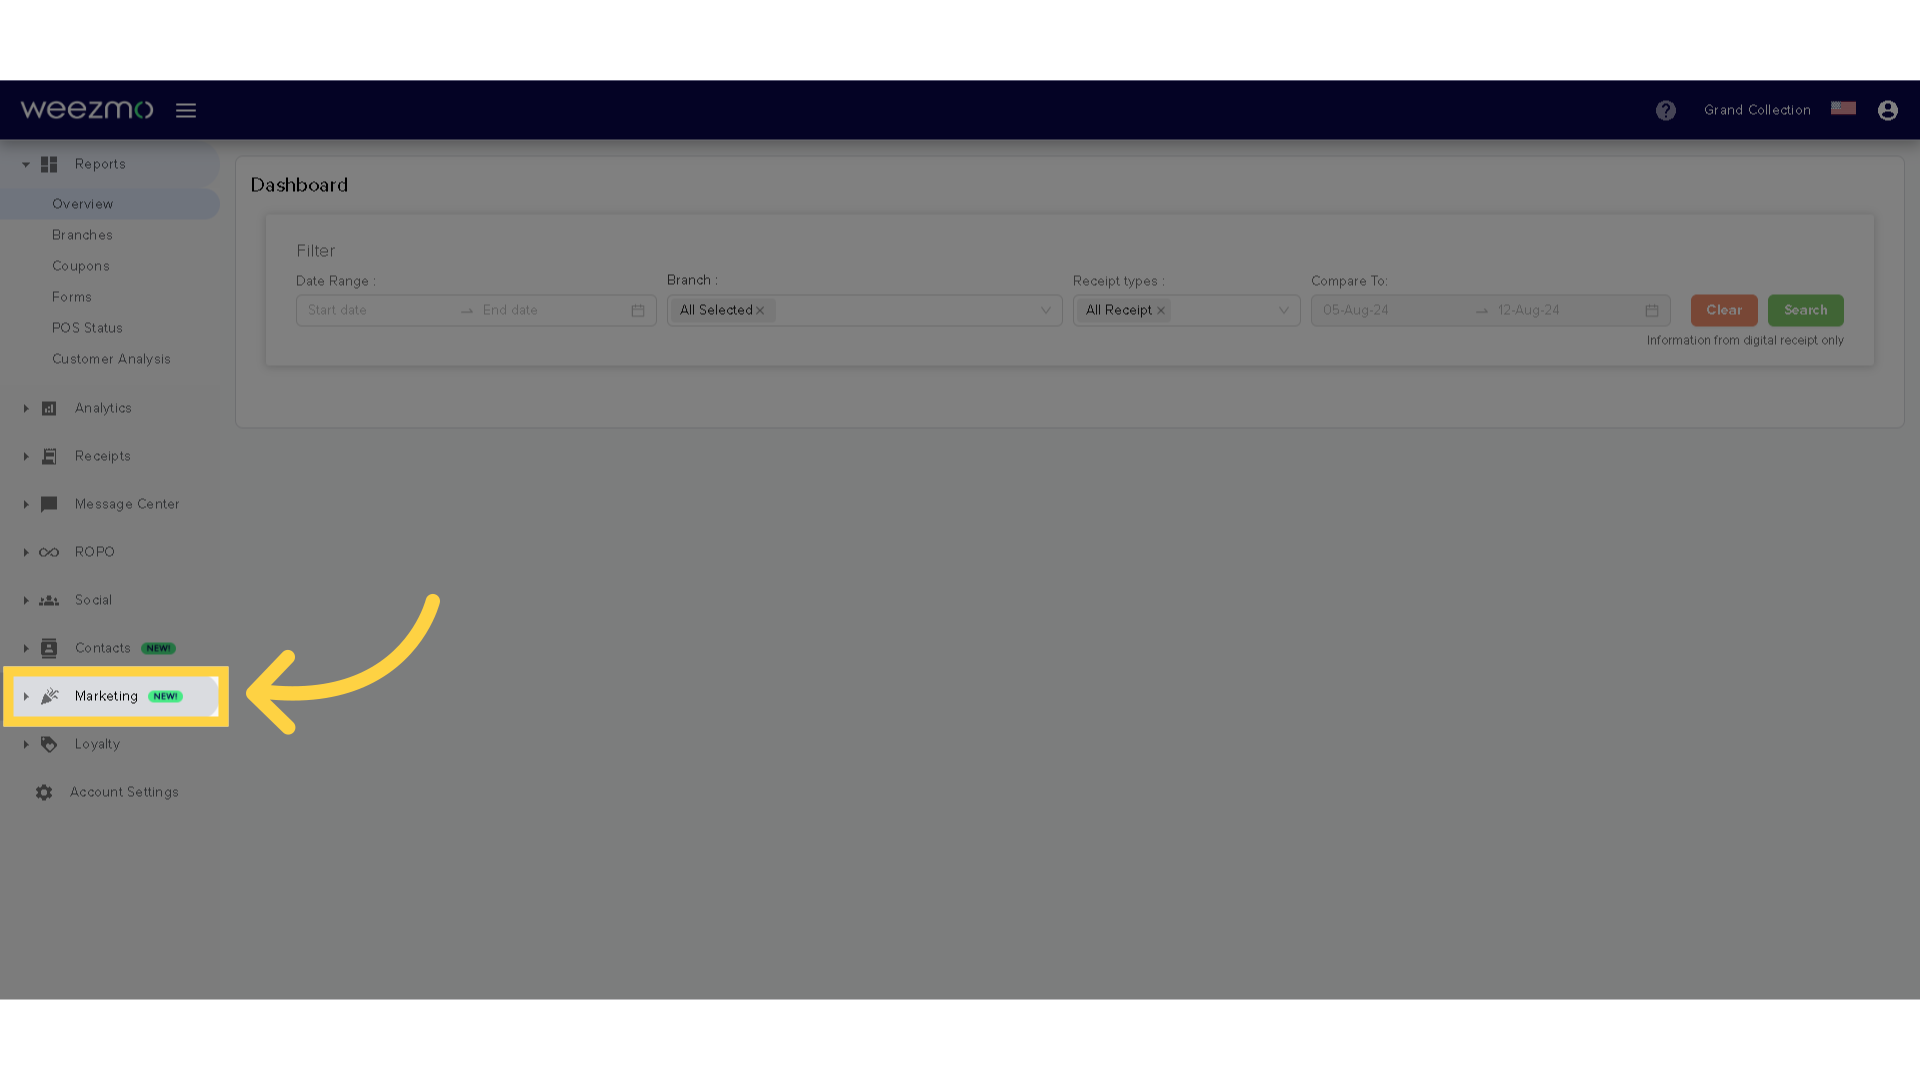
1. Click "Marketing"
Click "Marketing".
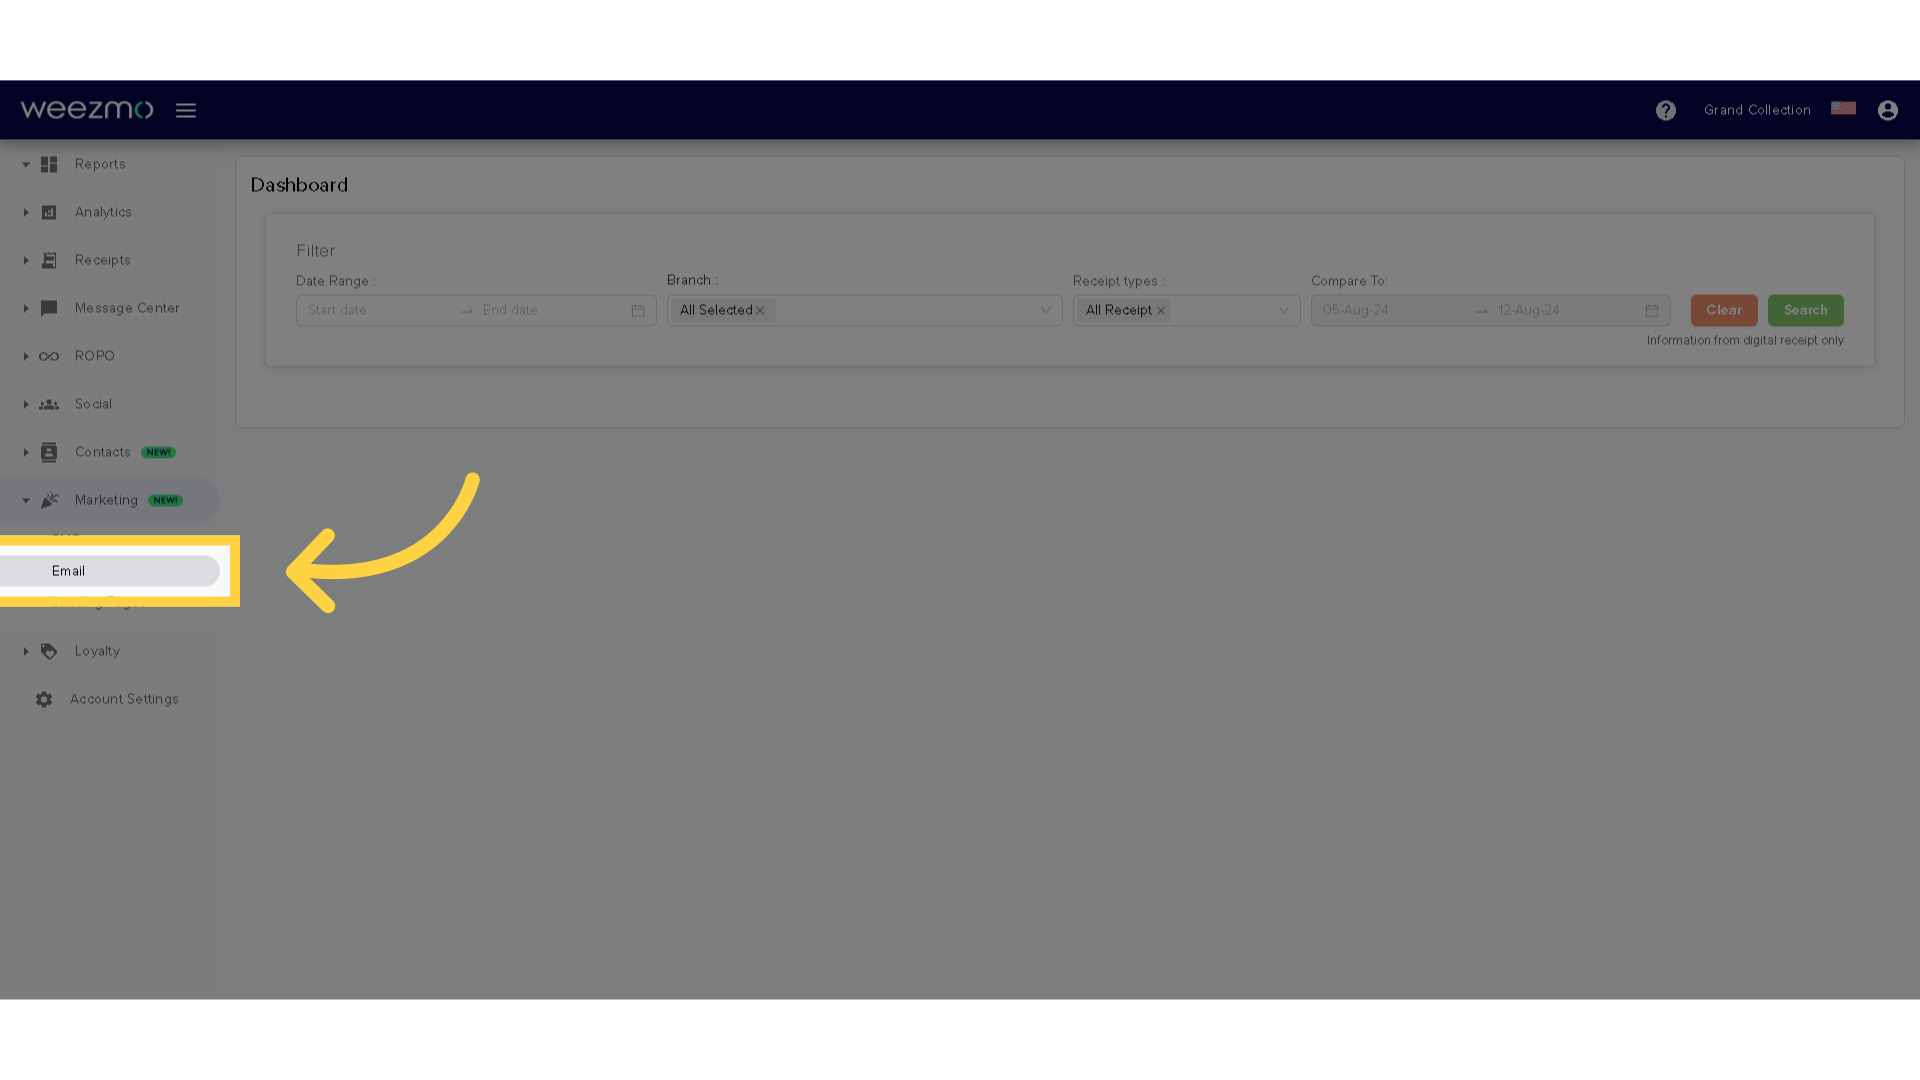
2. Click "Email"
Click "Email".
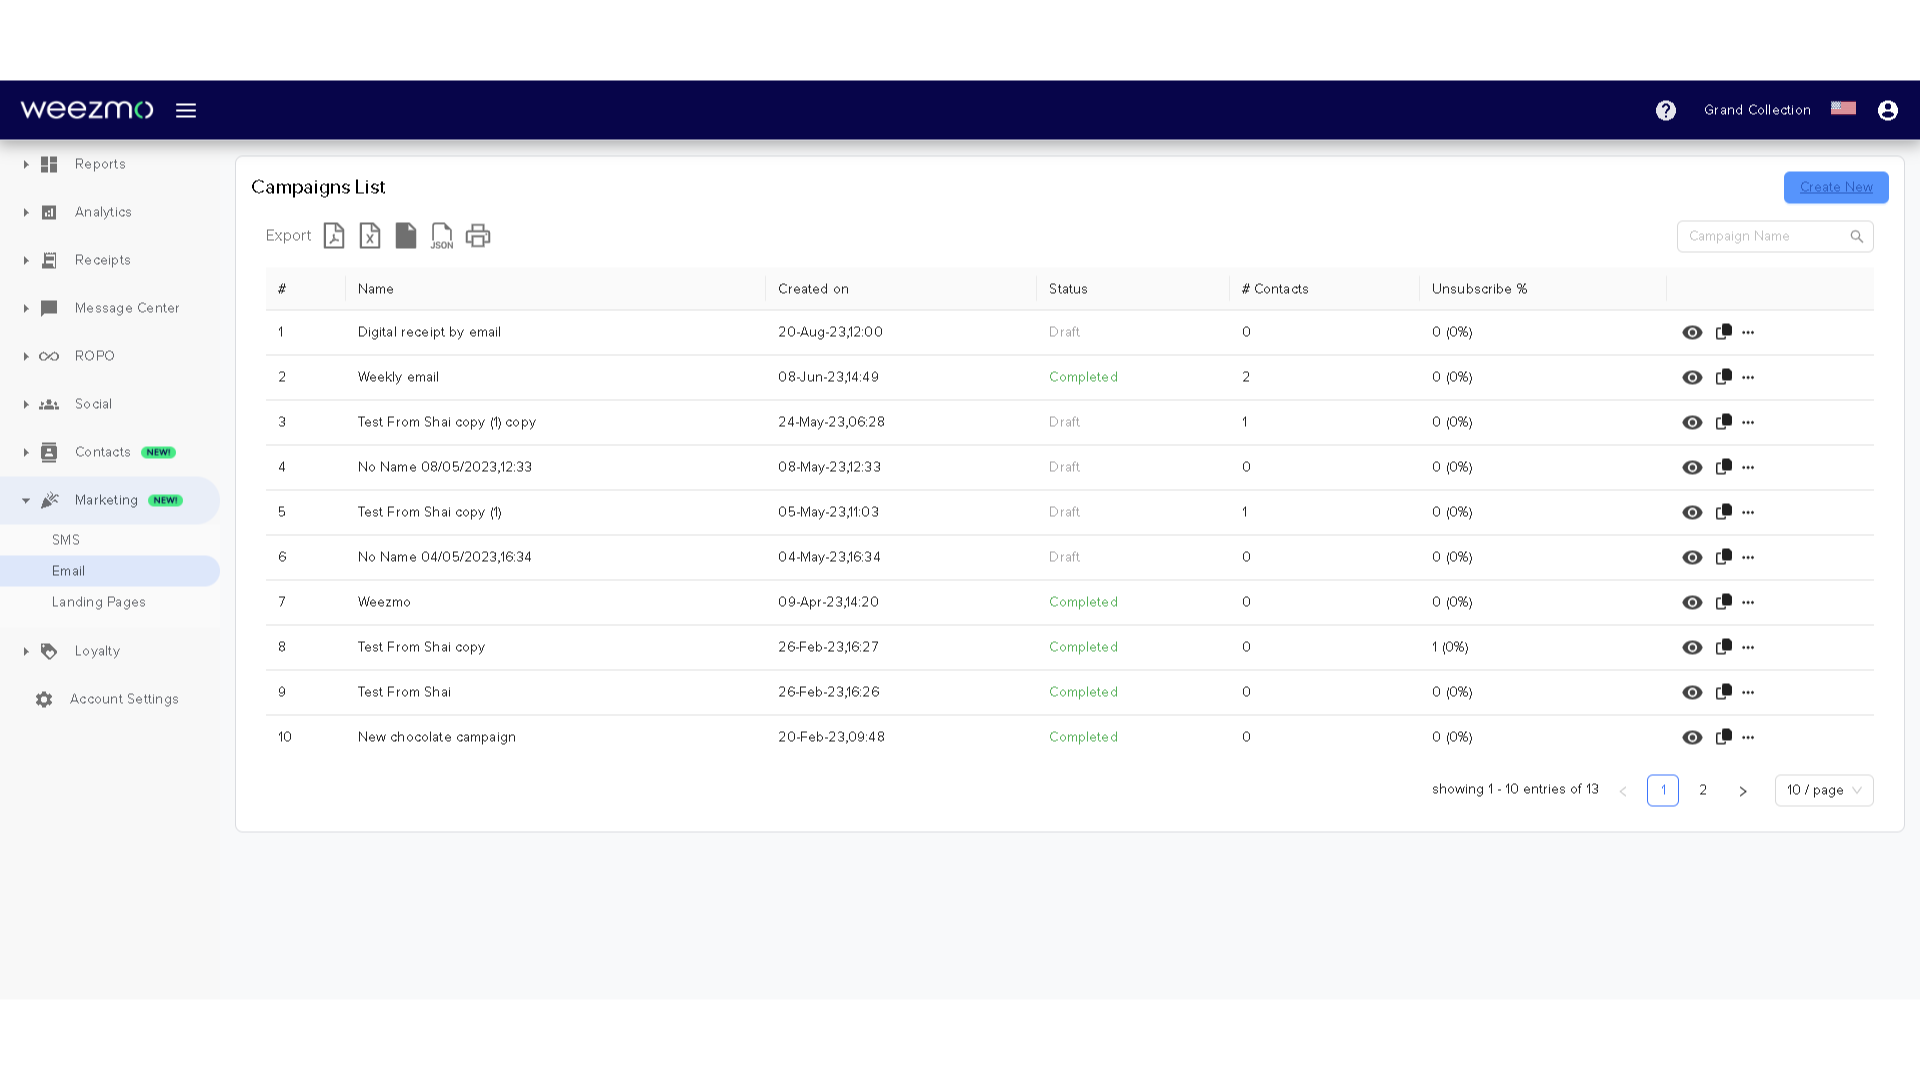
3. Email Campaigns List
The Email Campaigns List displays all existing Email campaigns by name, creation date, status, number of contacts, and unsubscribe precent.
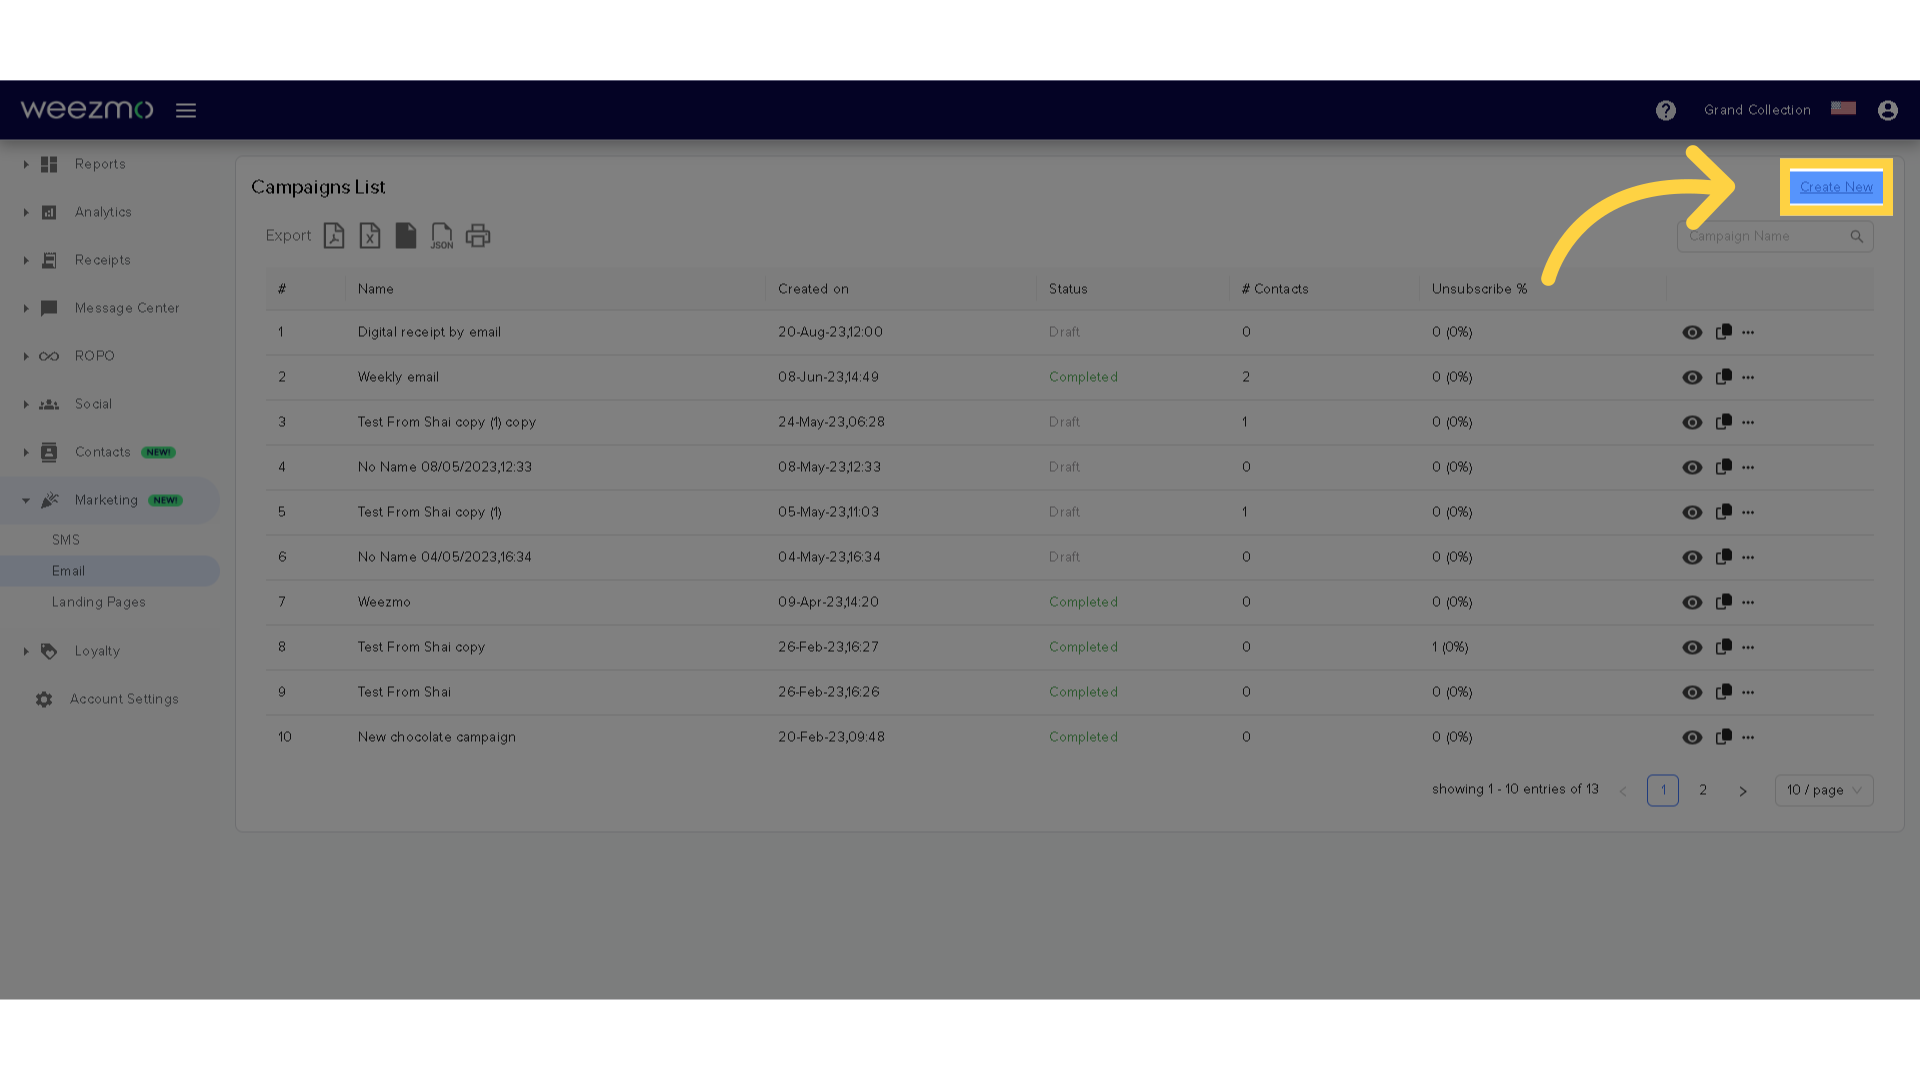
4. Click "Create New"
To create a new Email campaign, click "Create New".
5. Choose template
Choose one of the existing templates to base a new email campaign on.
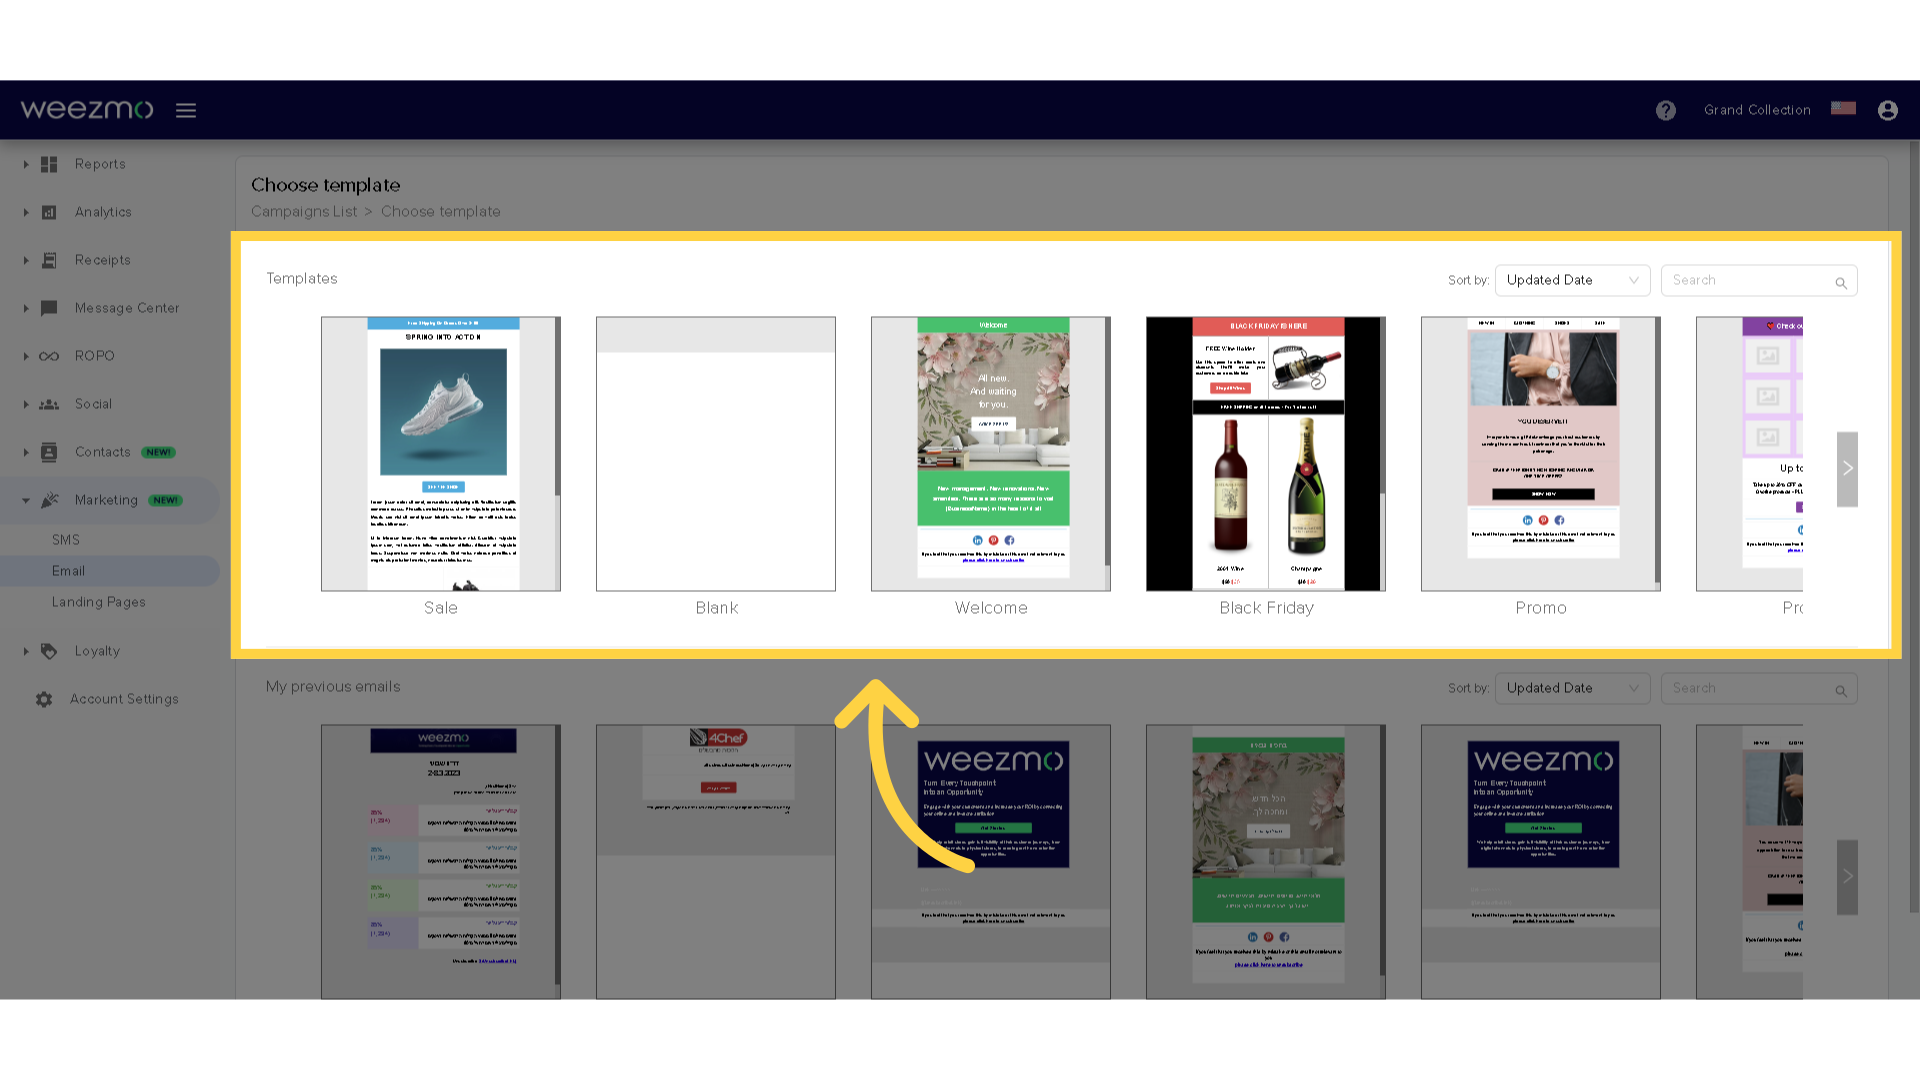
6. Use previous email
You can also select a previous email campaign to base the new campaign on.
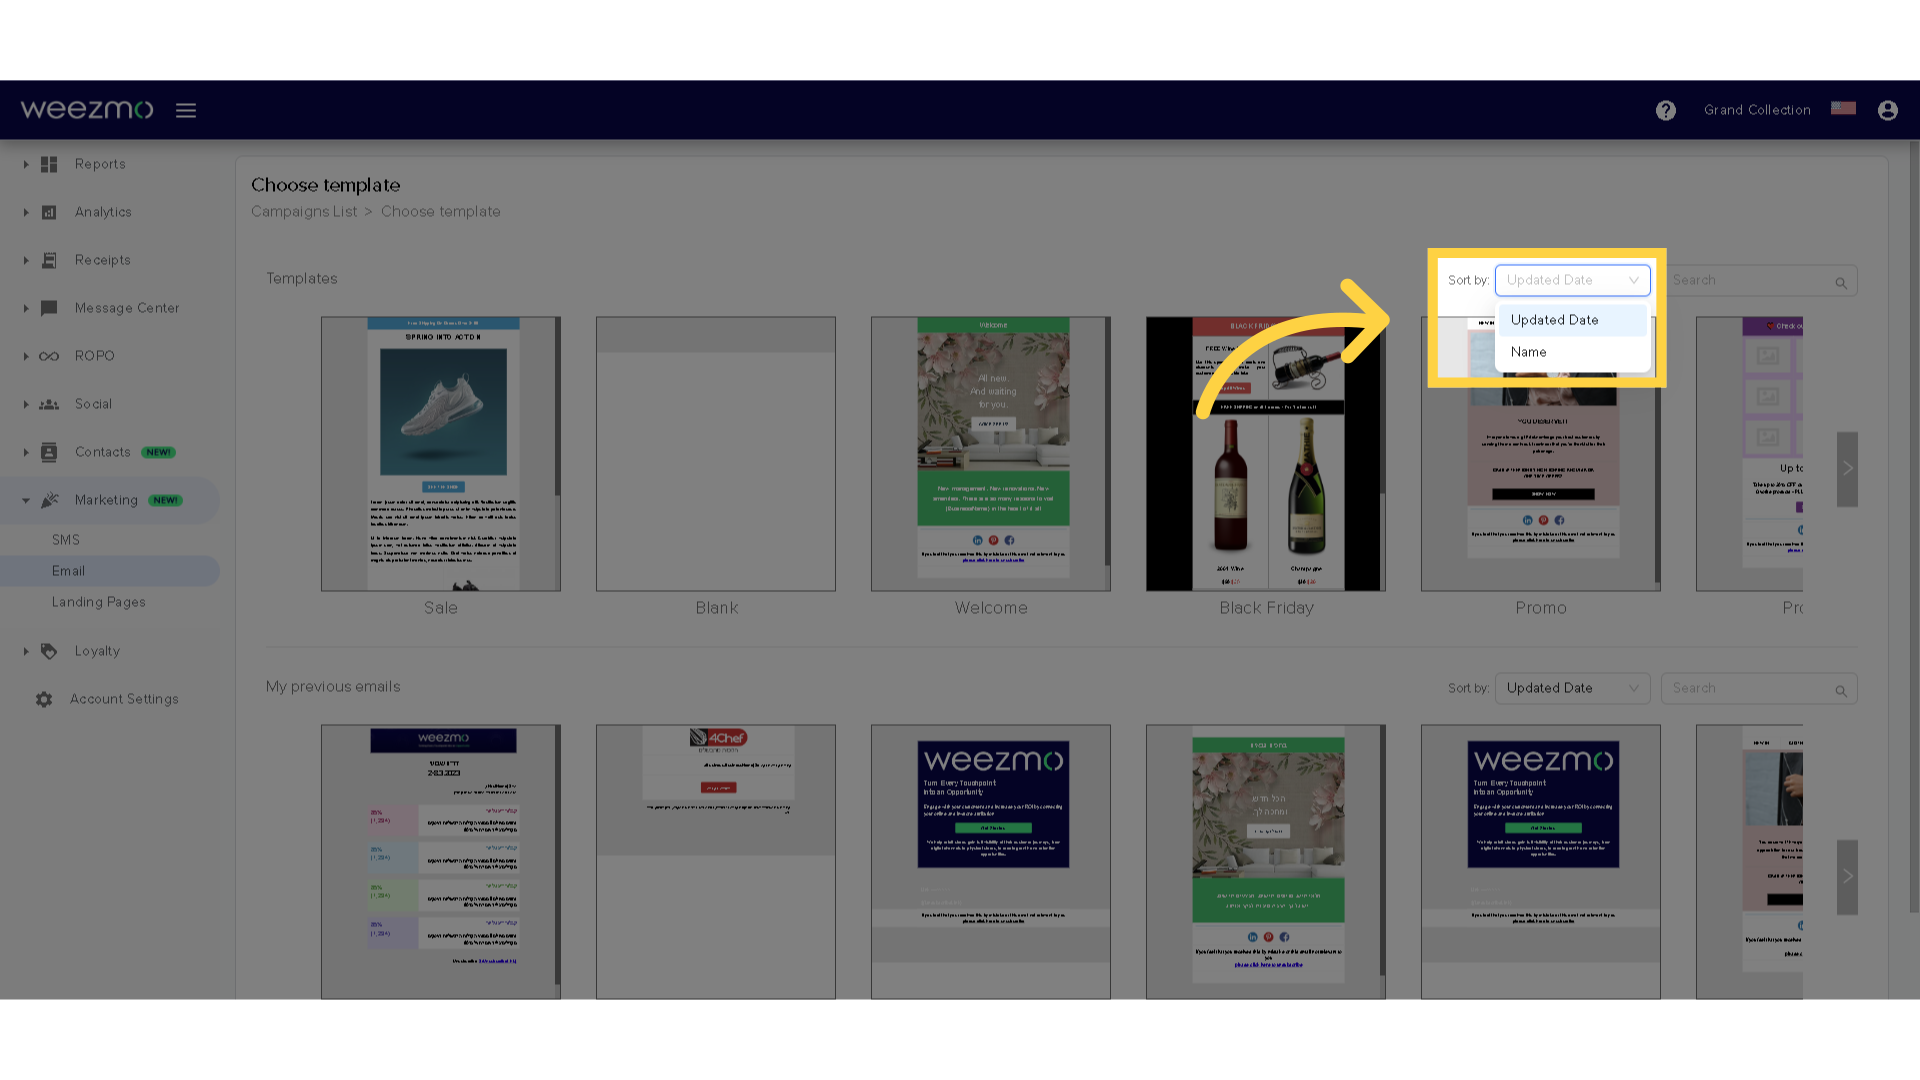
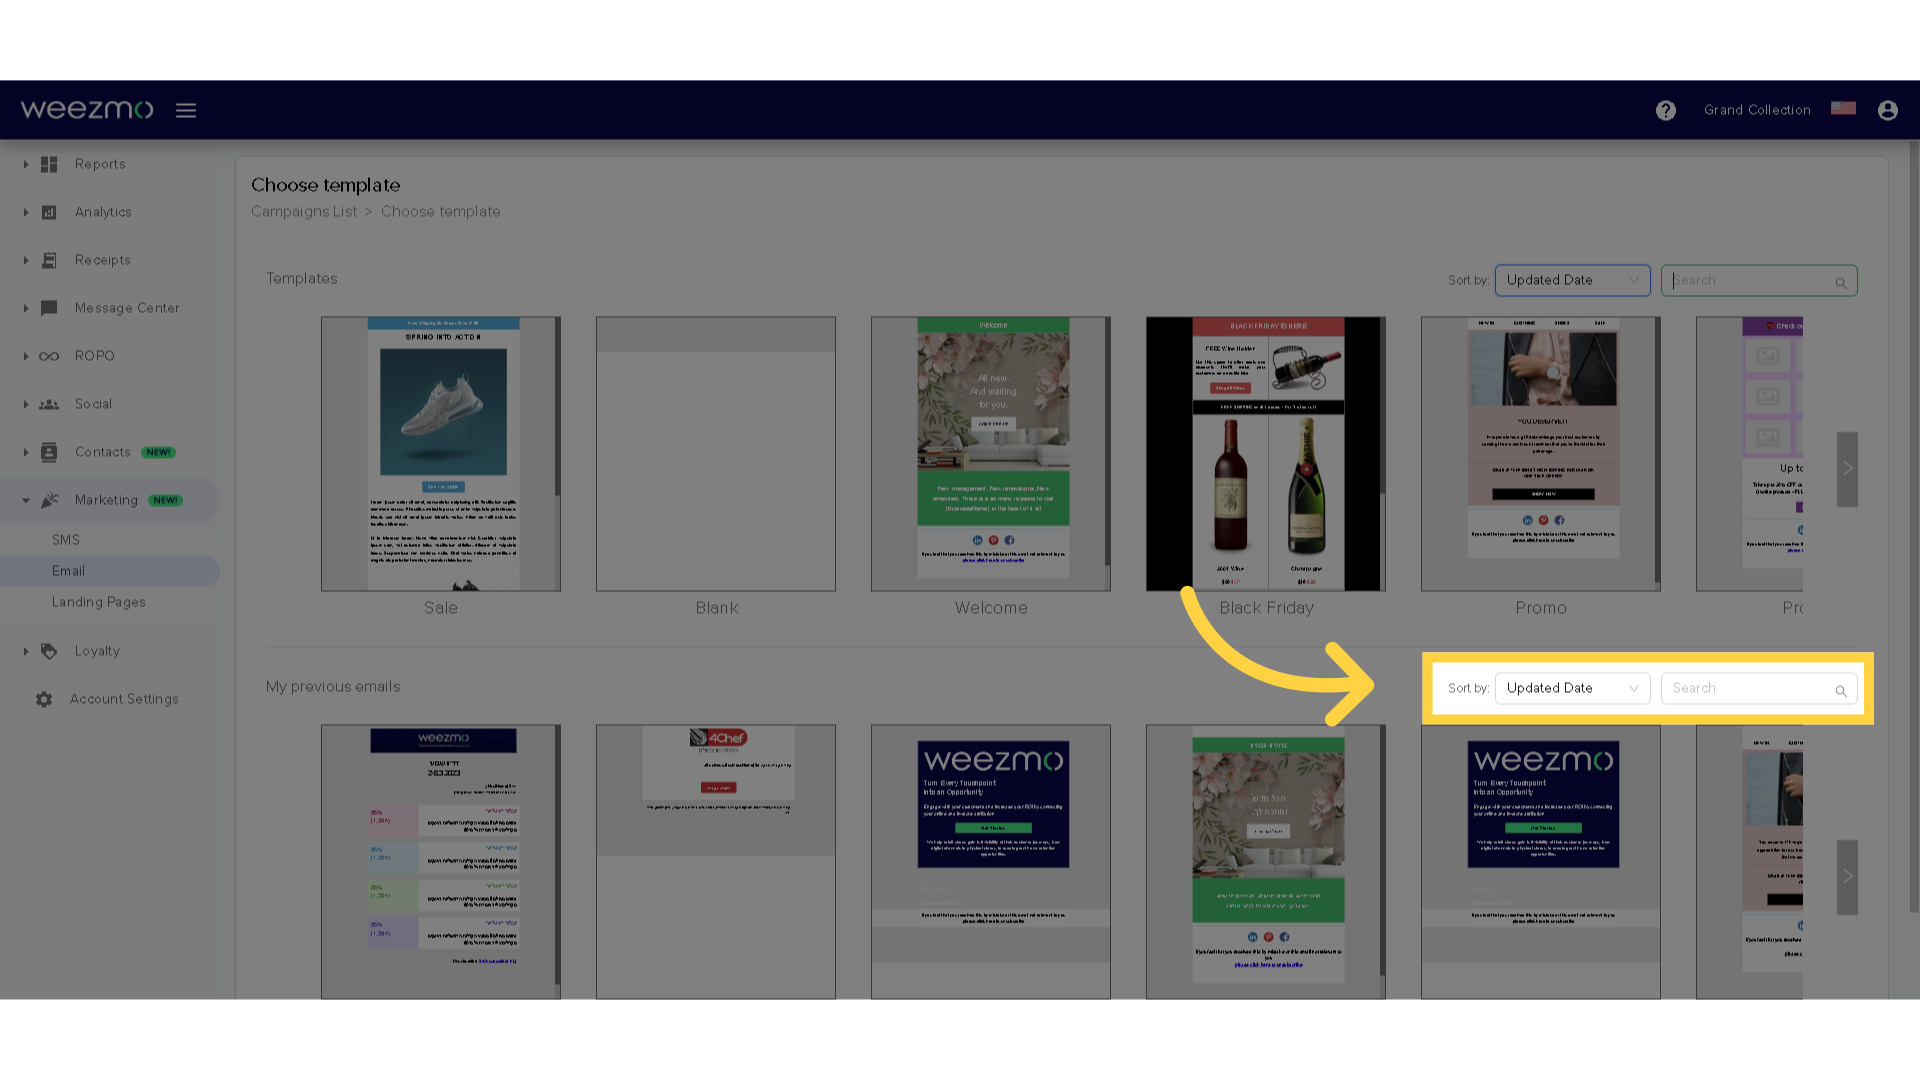
7. Sort templates
Use the "Sort by" field to sort the templates by upload date or name.
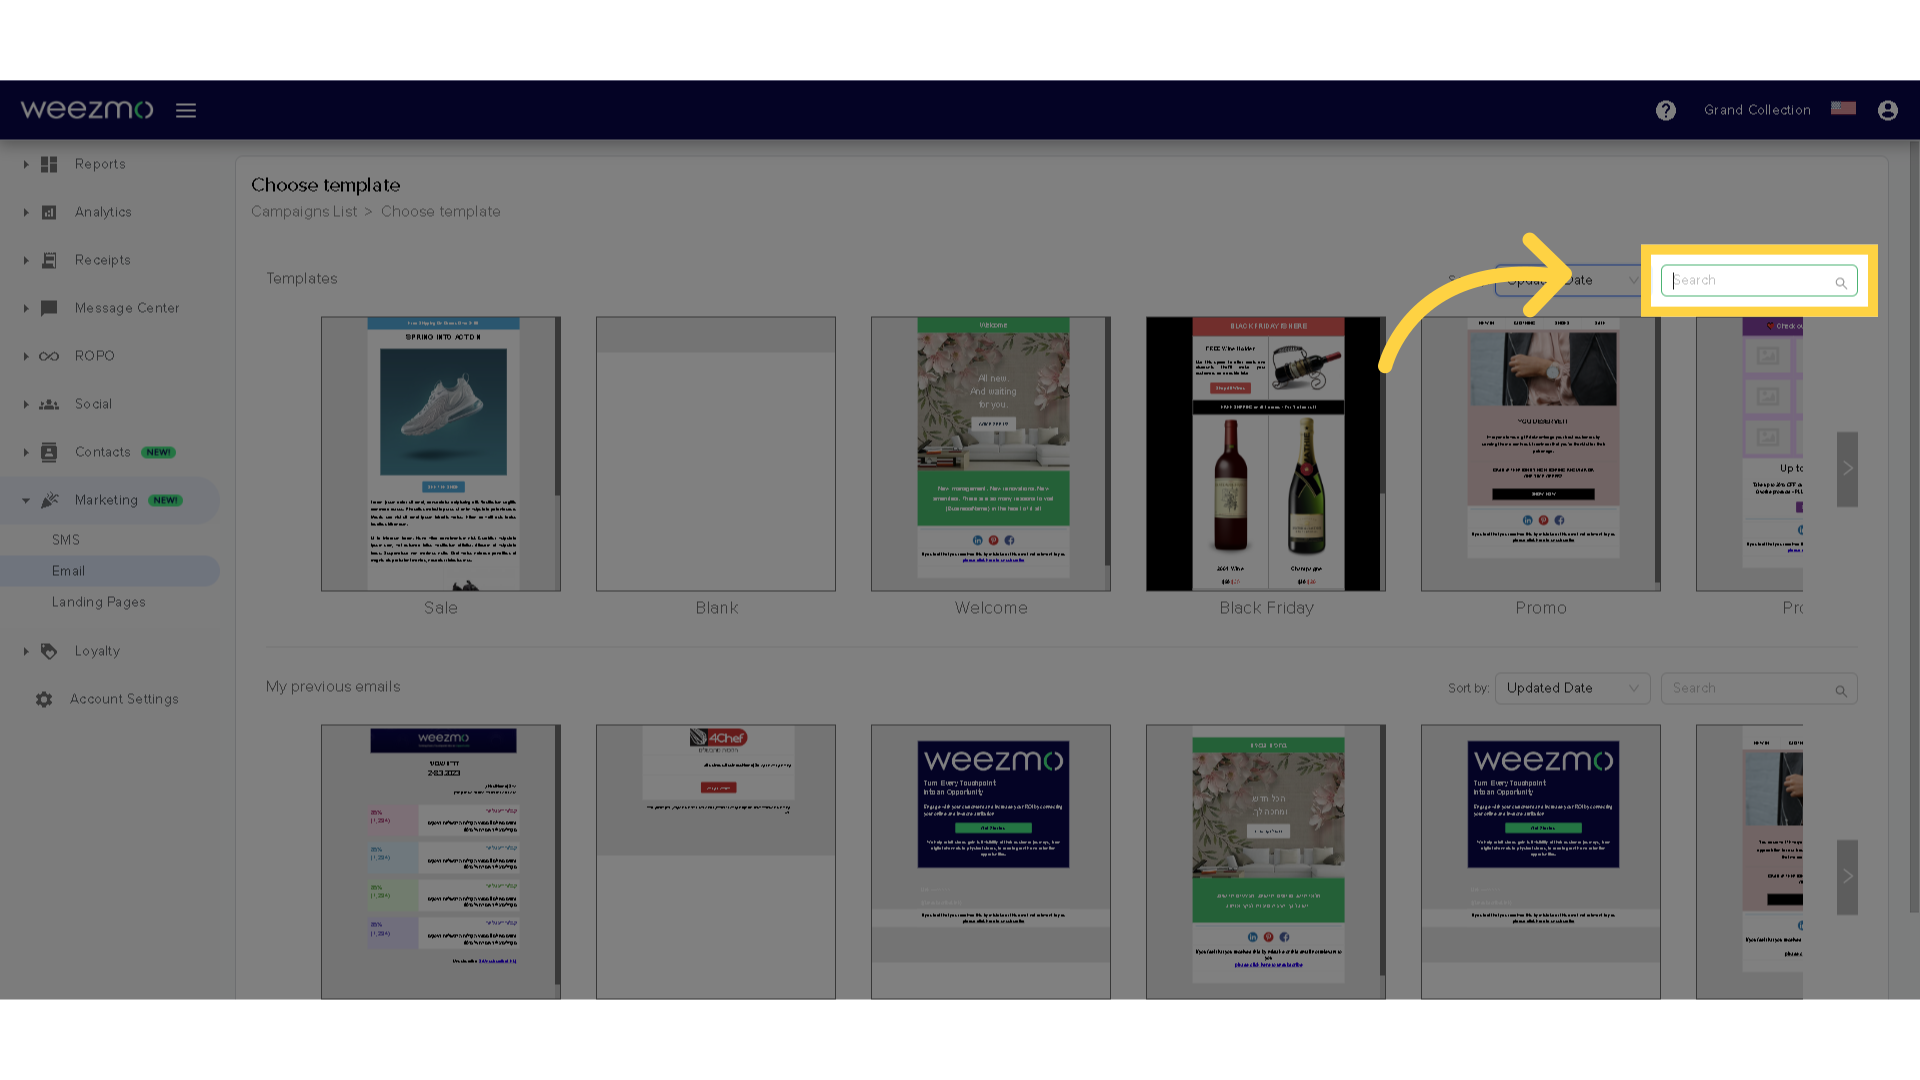
8. Search templates
You can also use the search bar to search for specific templates.
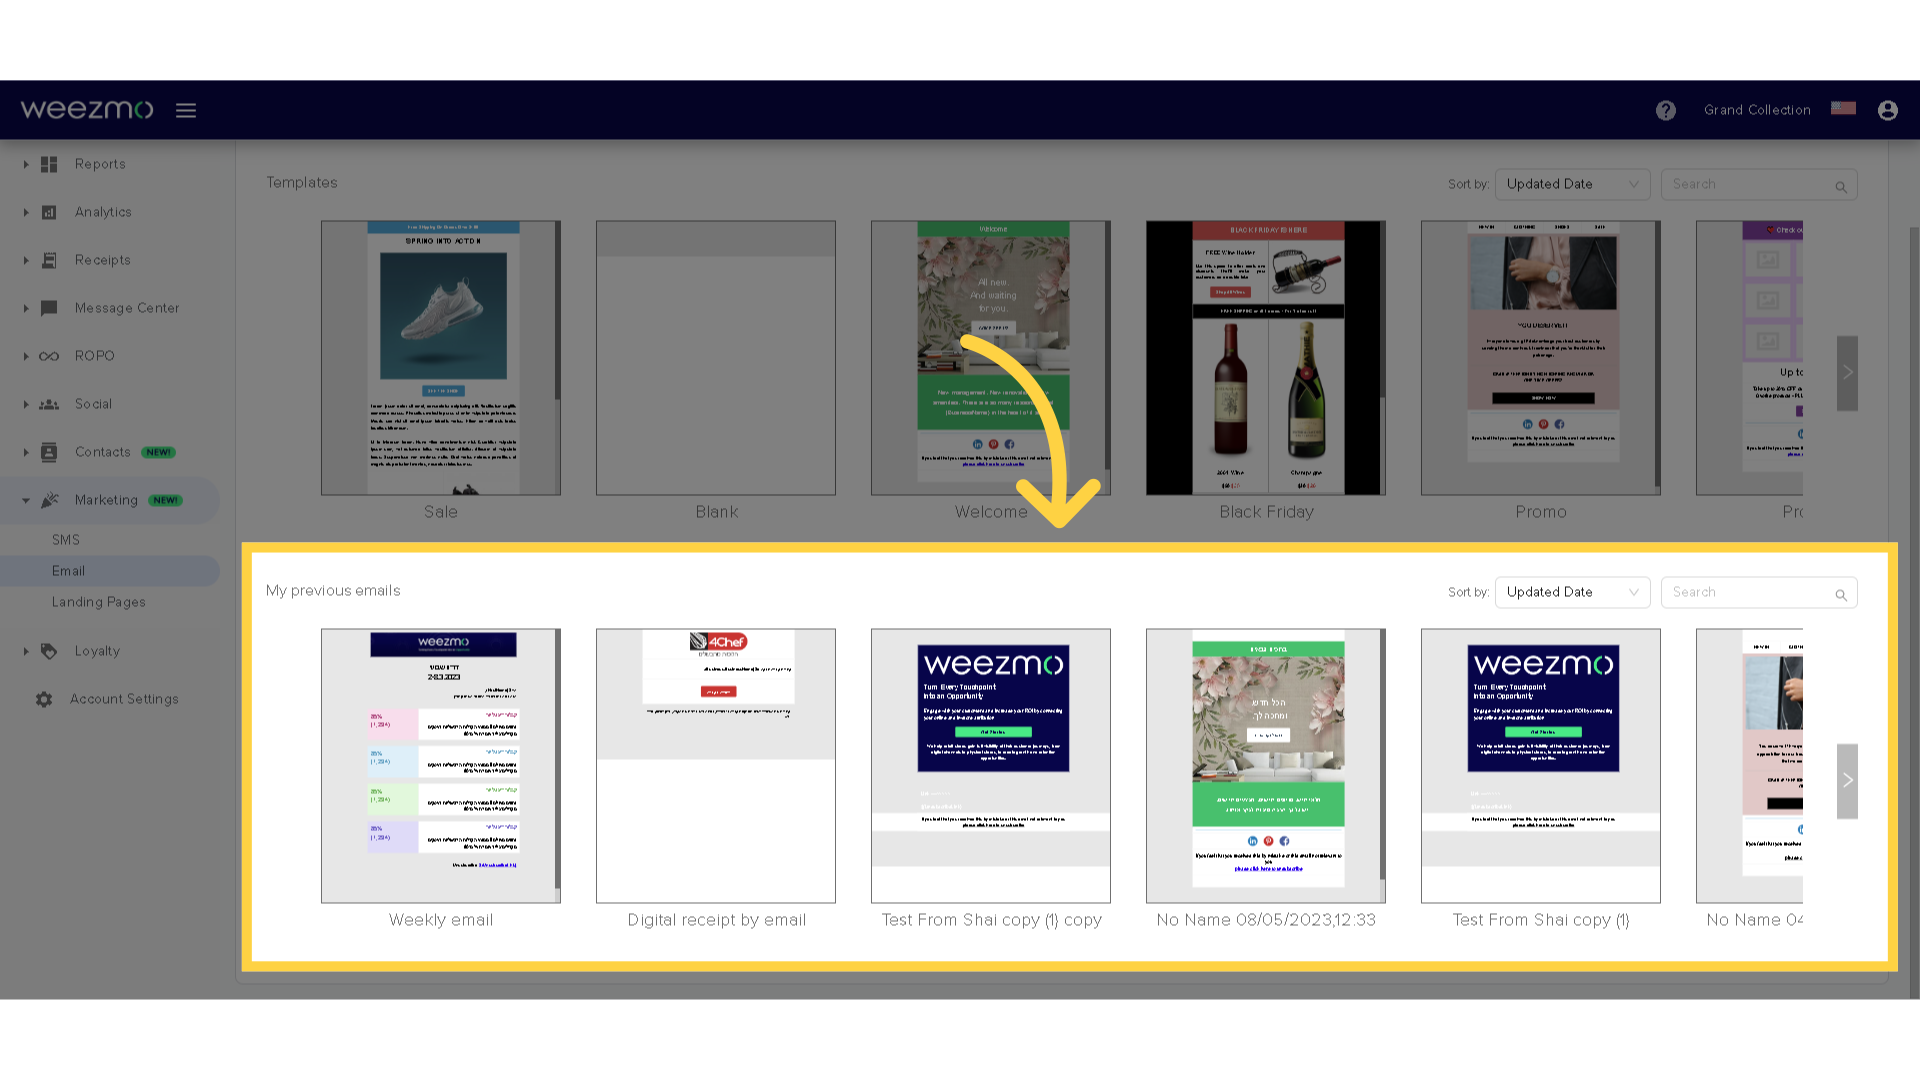
9. Sort and search previous emails
Sorting templates and searching for templates can be done on previous emails as well.
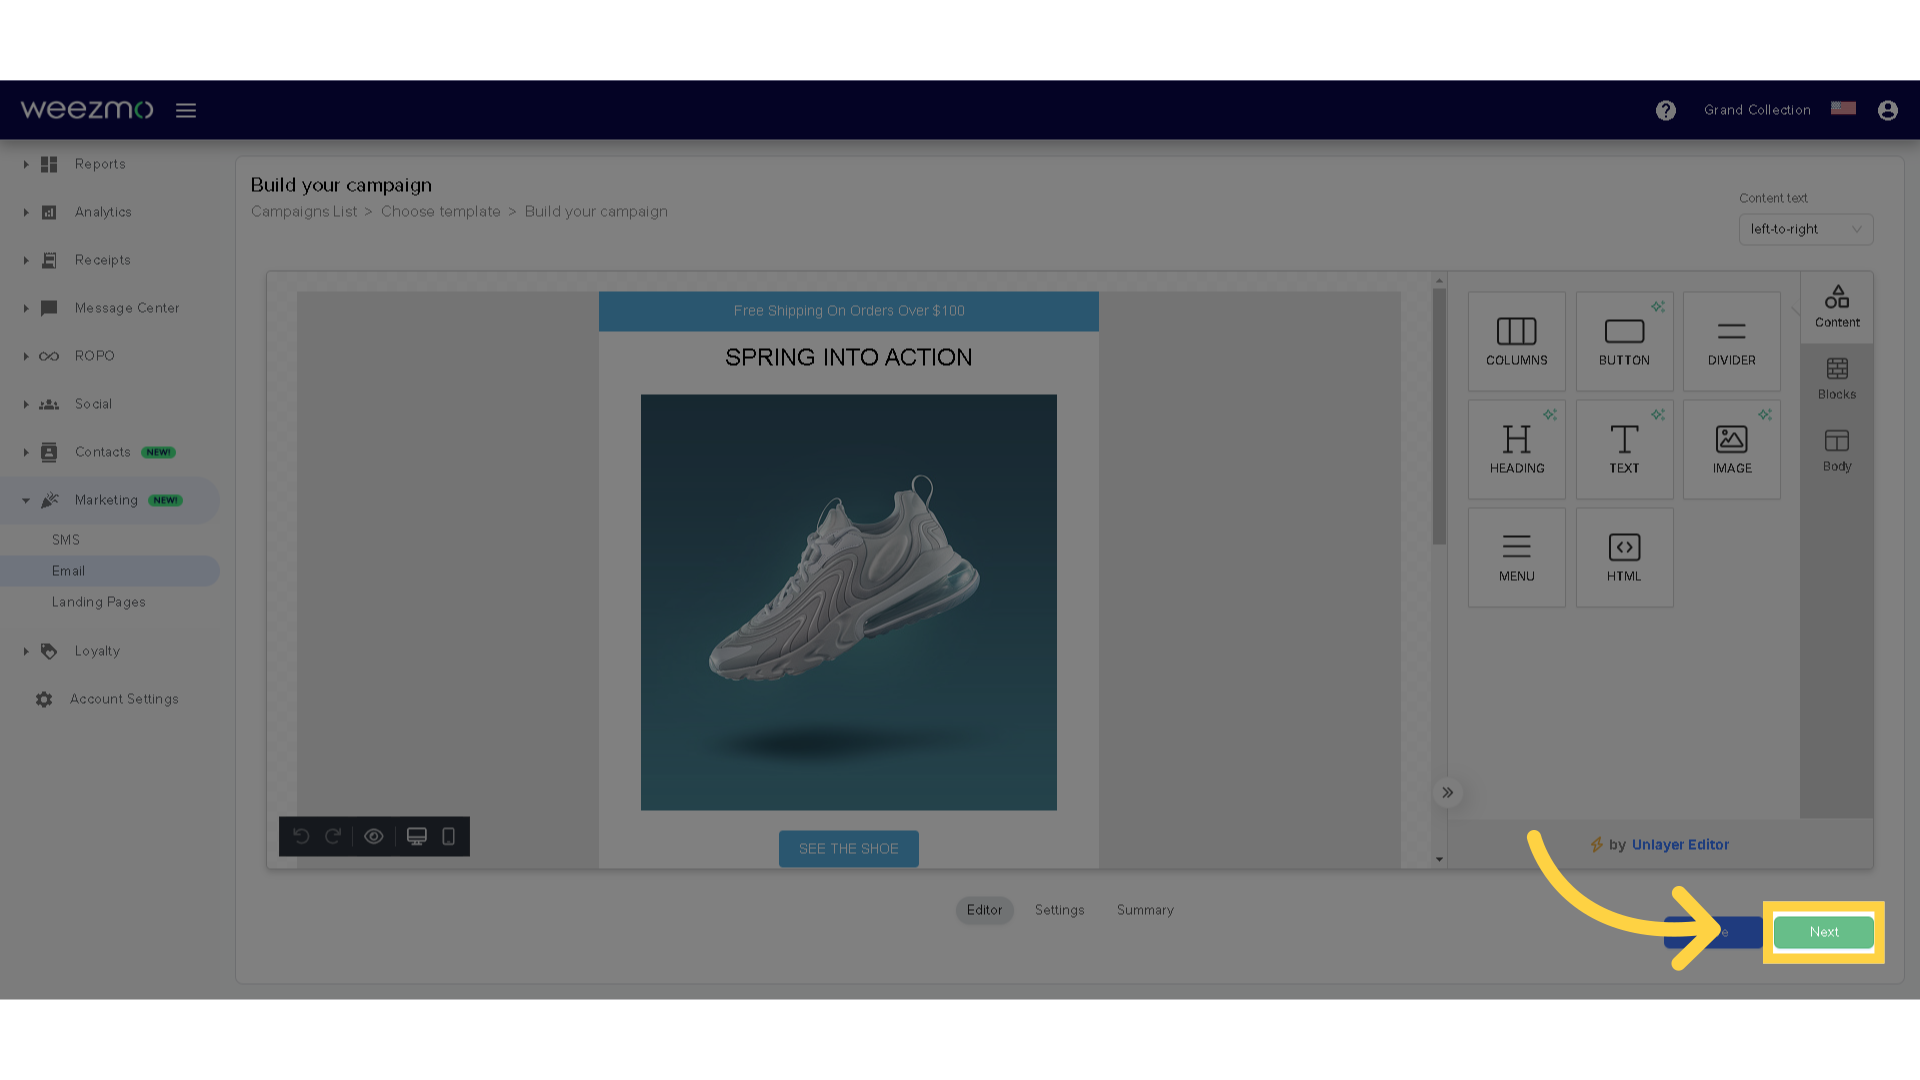
10. Email Campaign Editor
The Email campaign editor allows users to build a campaign using content blocks and an easy-to-use interface.
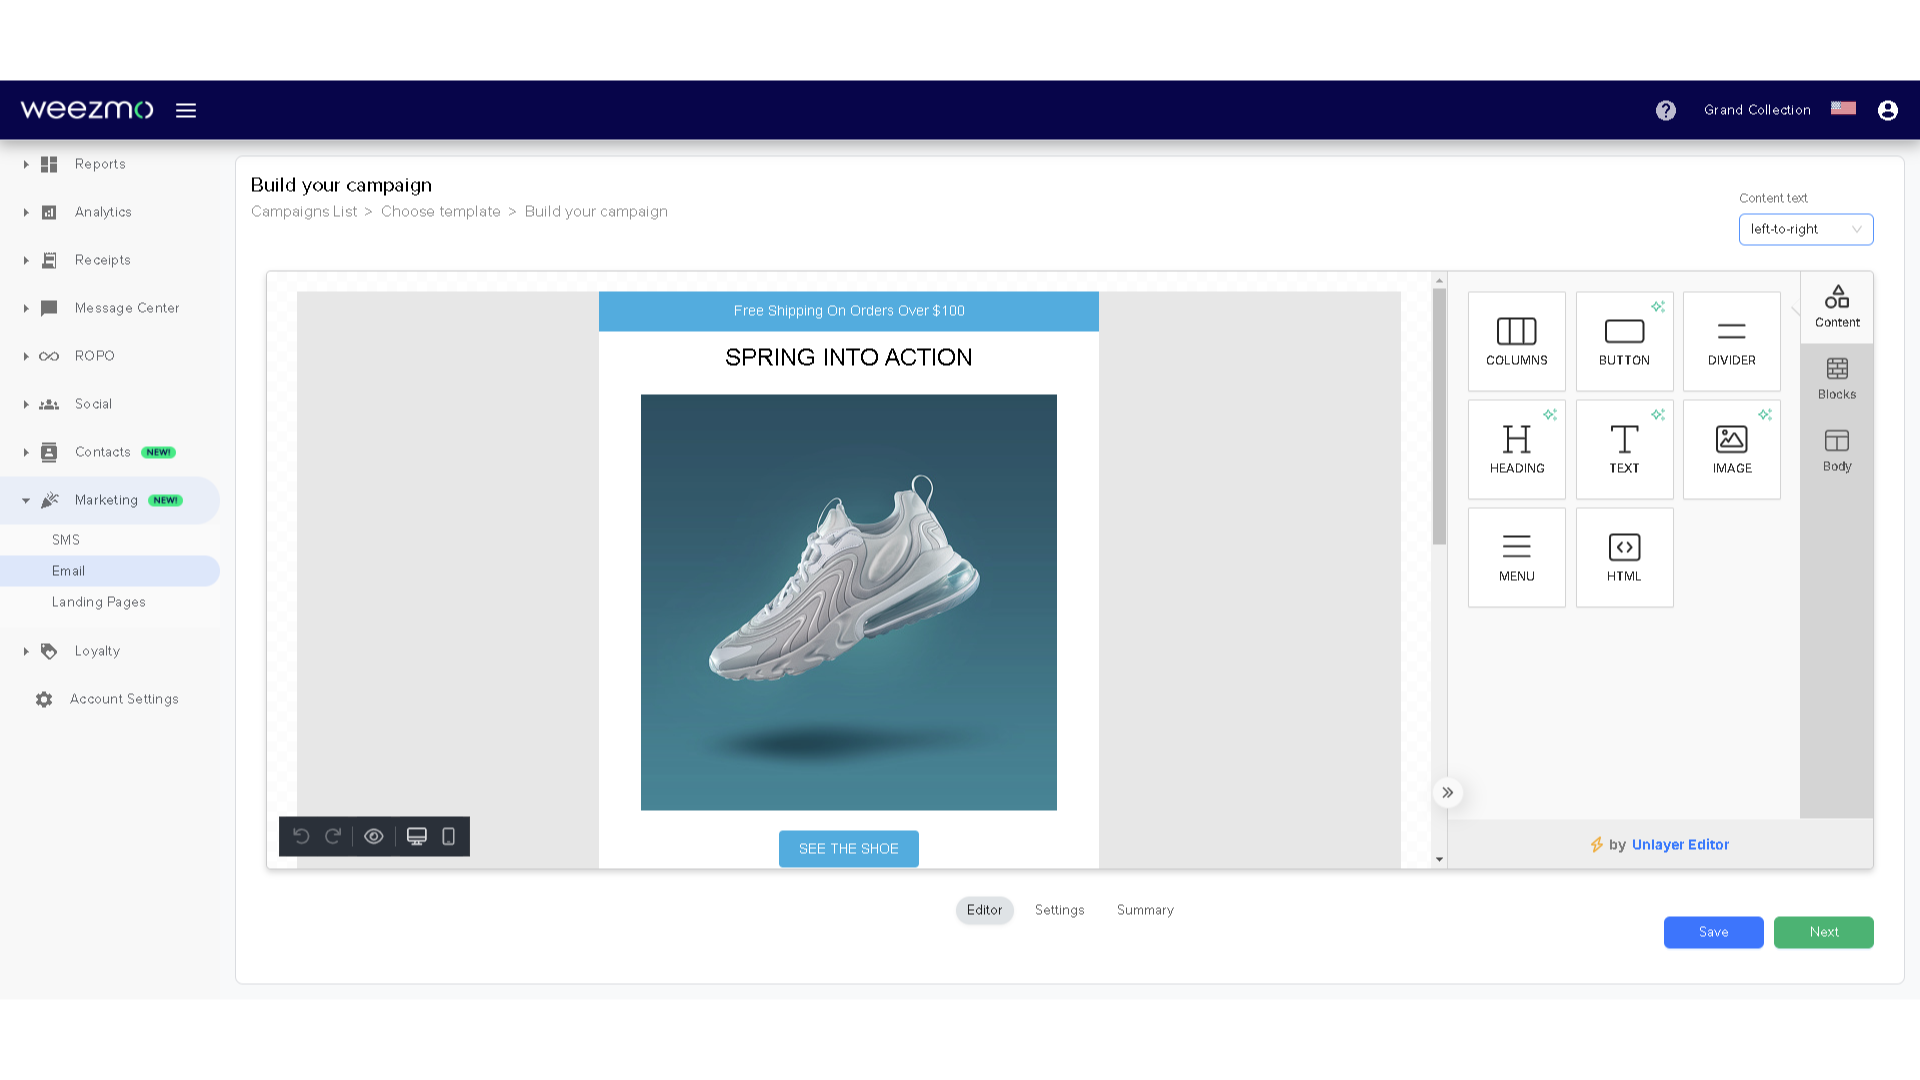
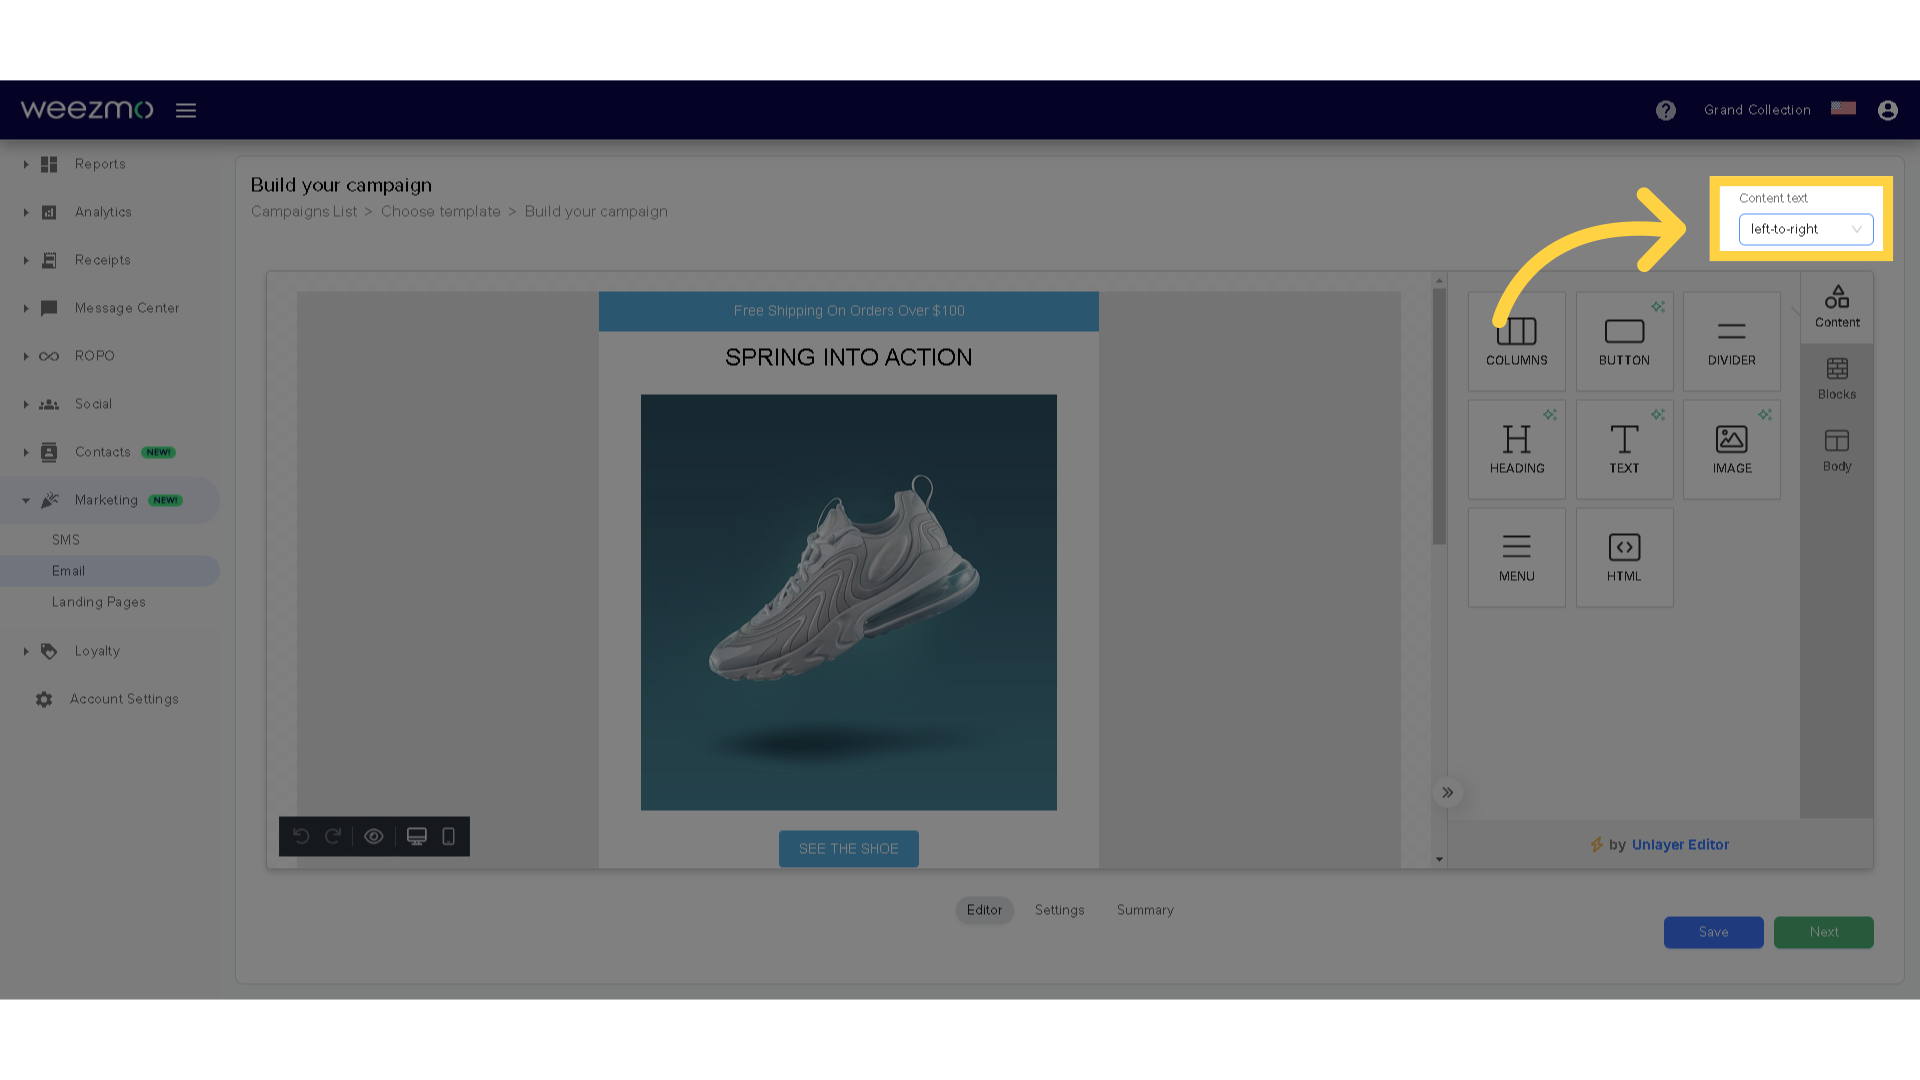
11. Select text direction
Begin by selecting a text direction. This is important, as it affects the way content is displayed in the email campaign.
12. Email editor
Use the email editor interface to create your email campaign. For in-depth instructions on the email editor, view our other guides.

13. Add unsubscribe link
In the Email editor, click a content block to which you want to add the unsubscribe link.
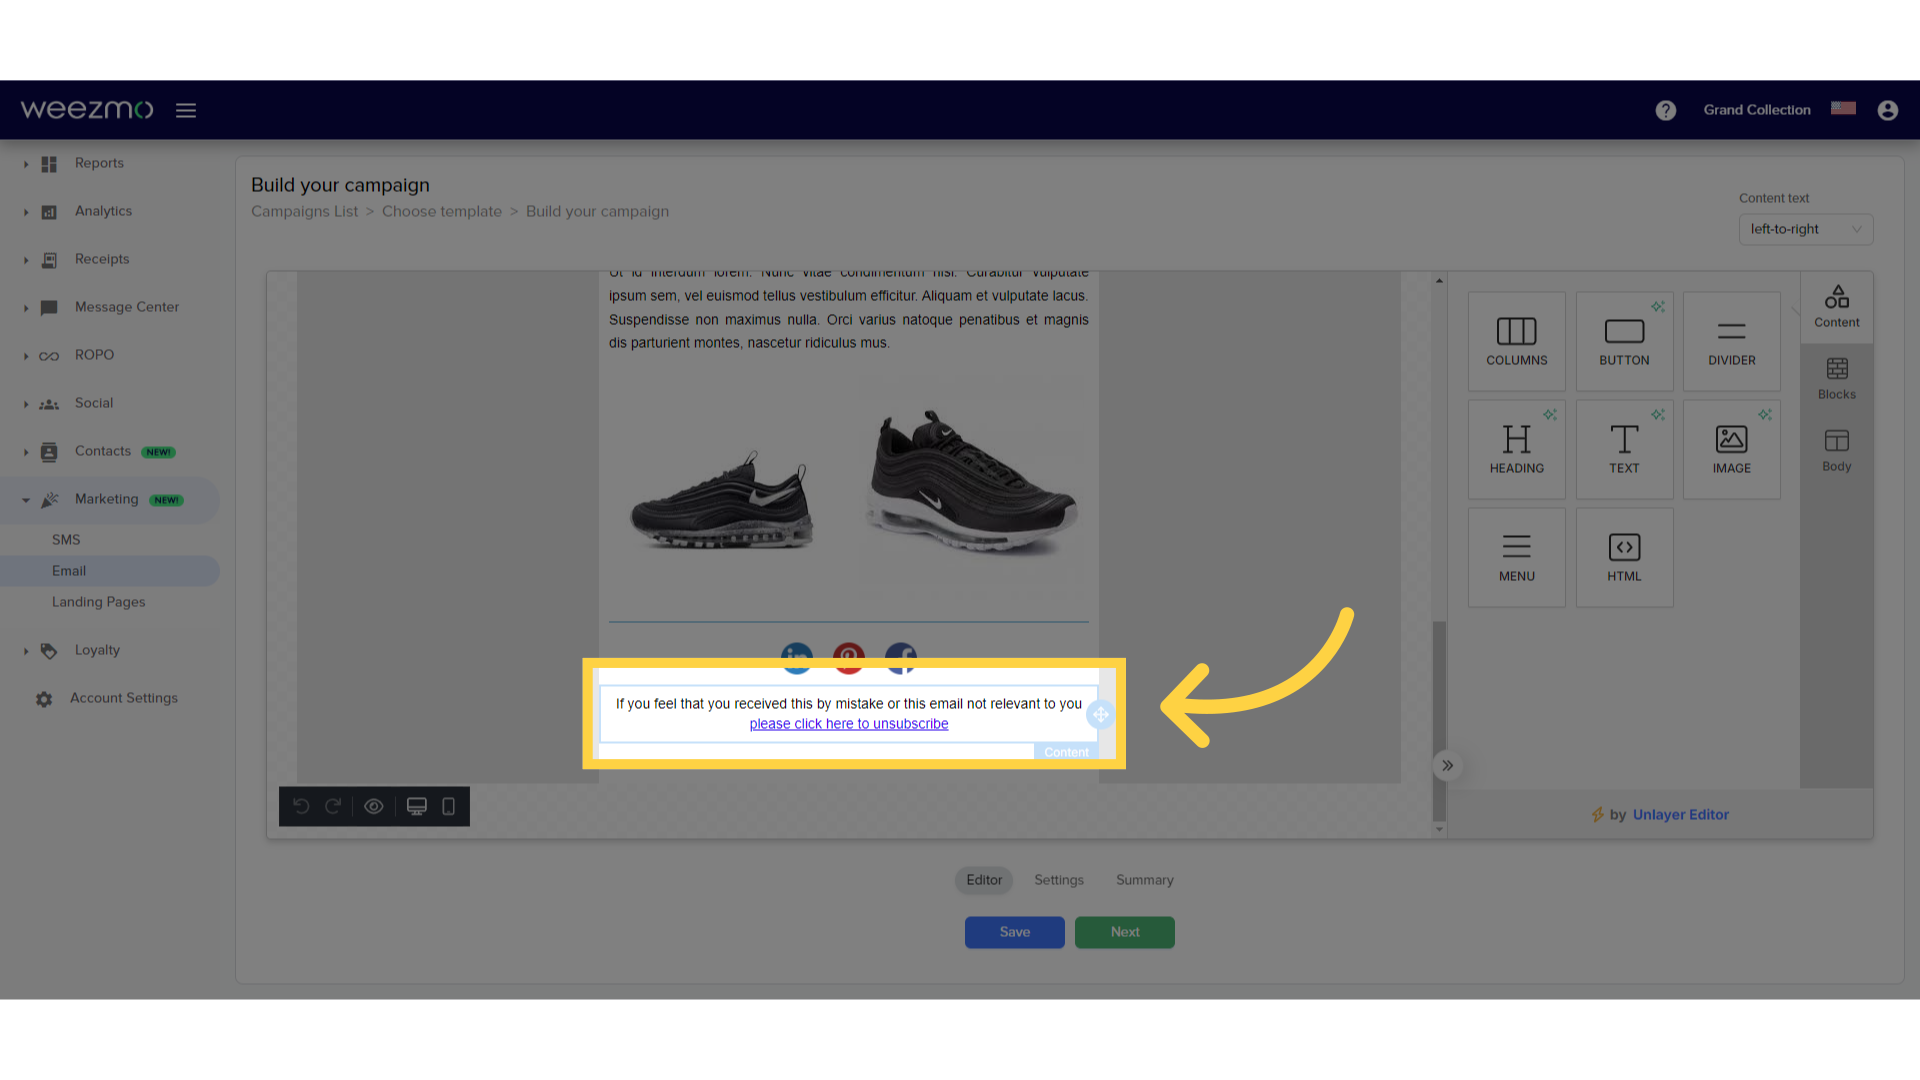
14. Add unsubscribe link
Click "Merge Tags".
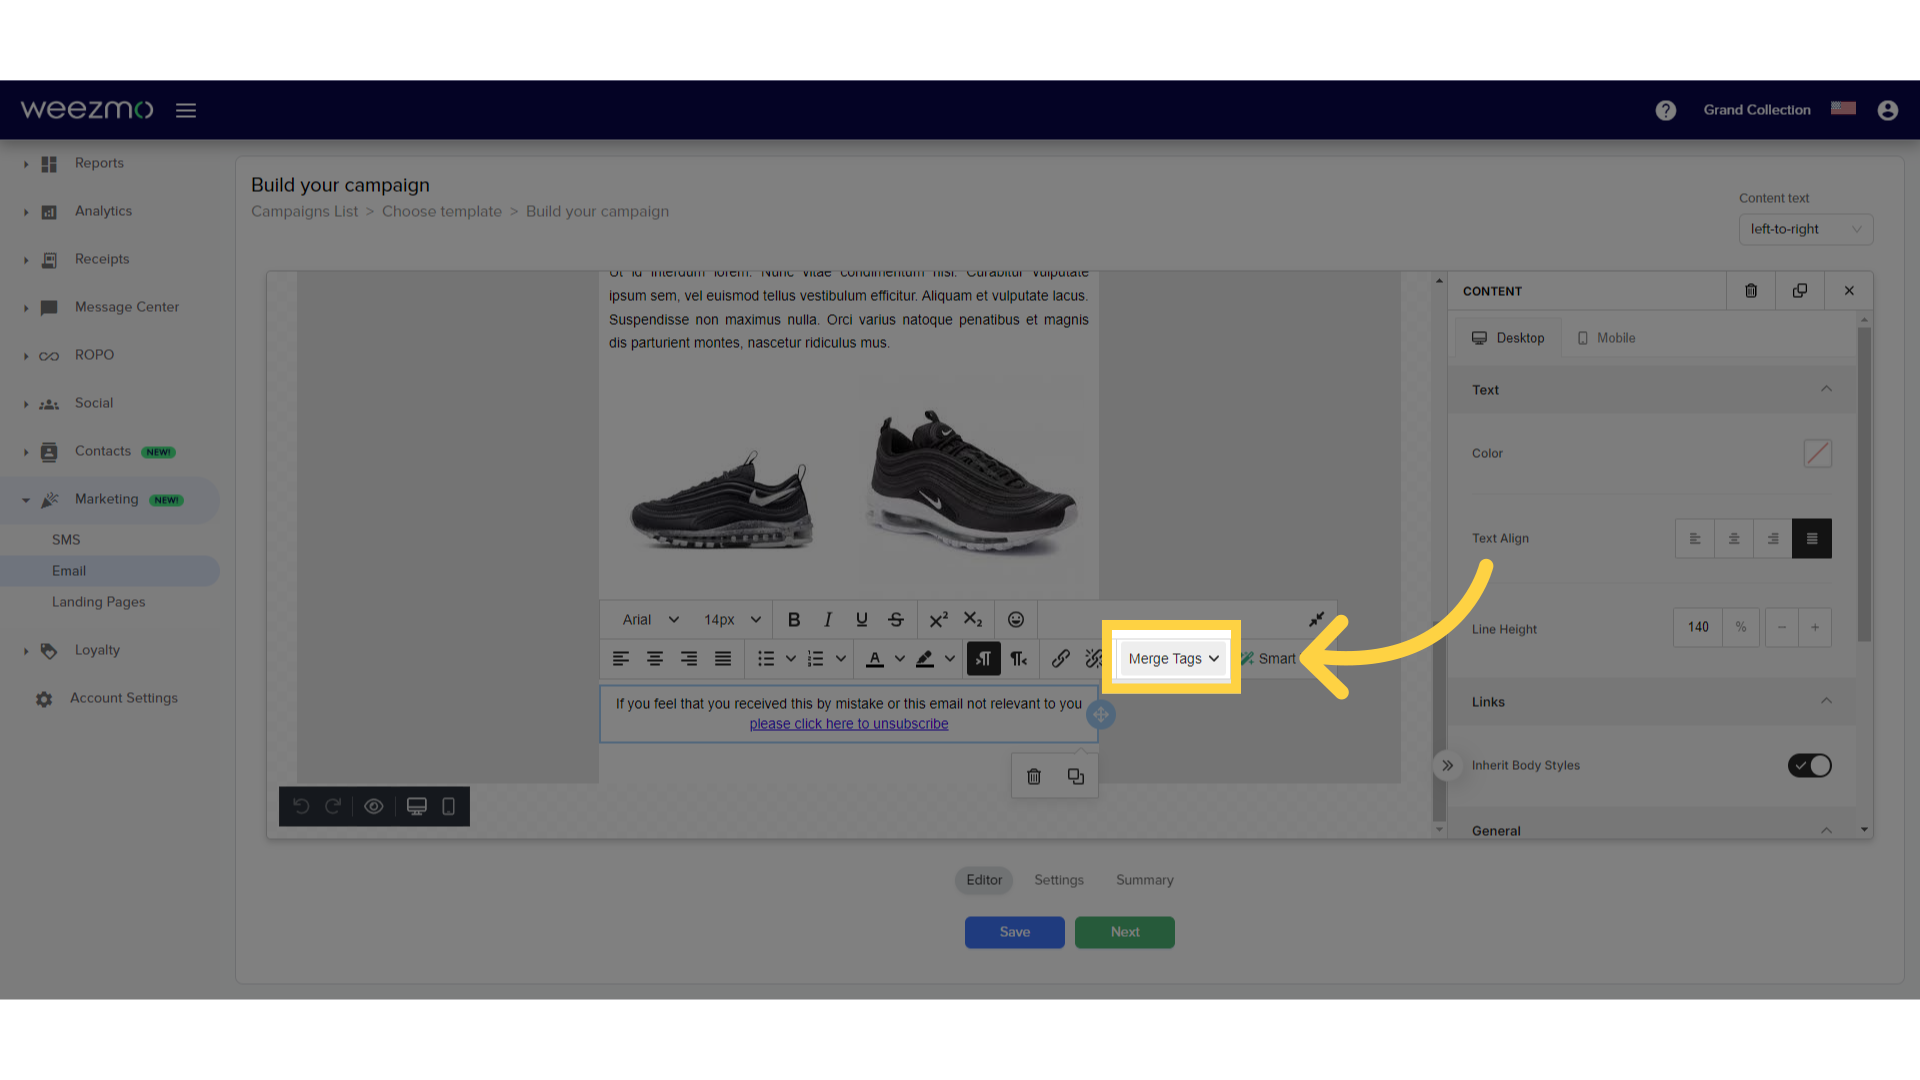
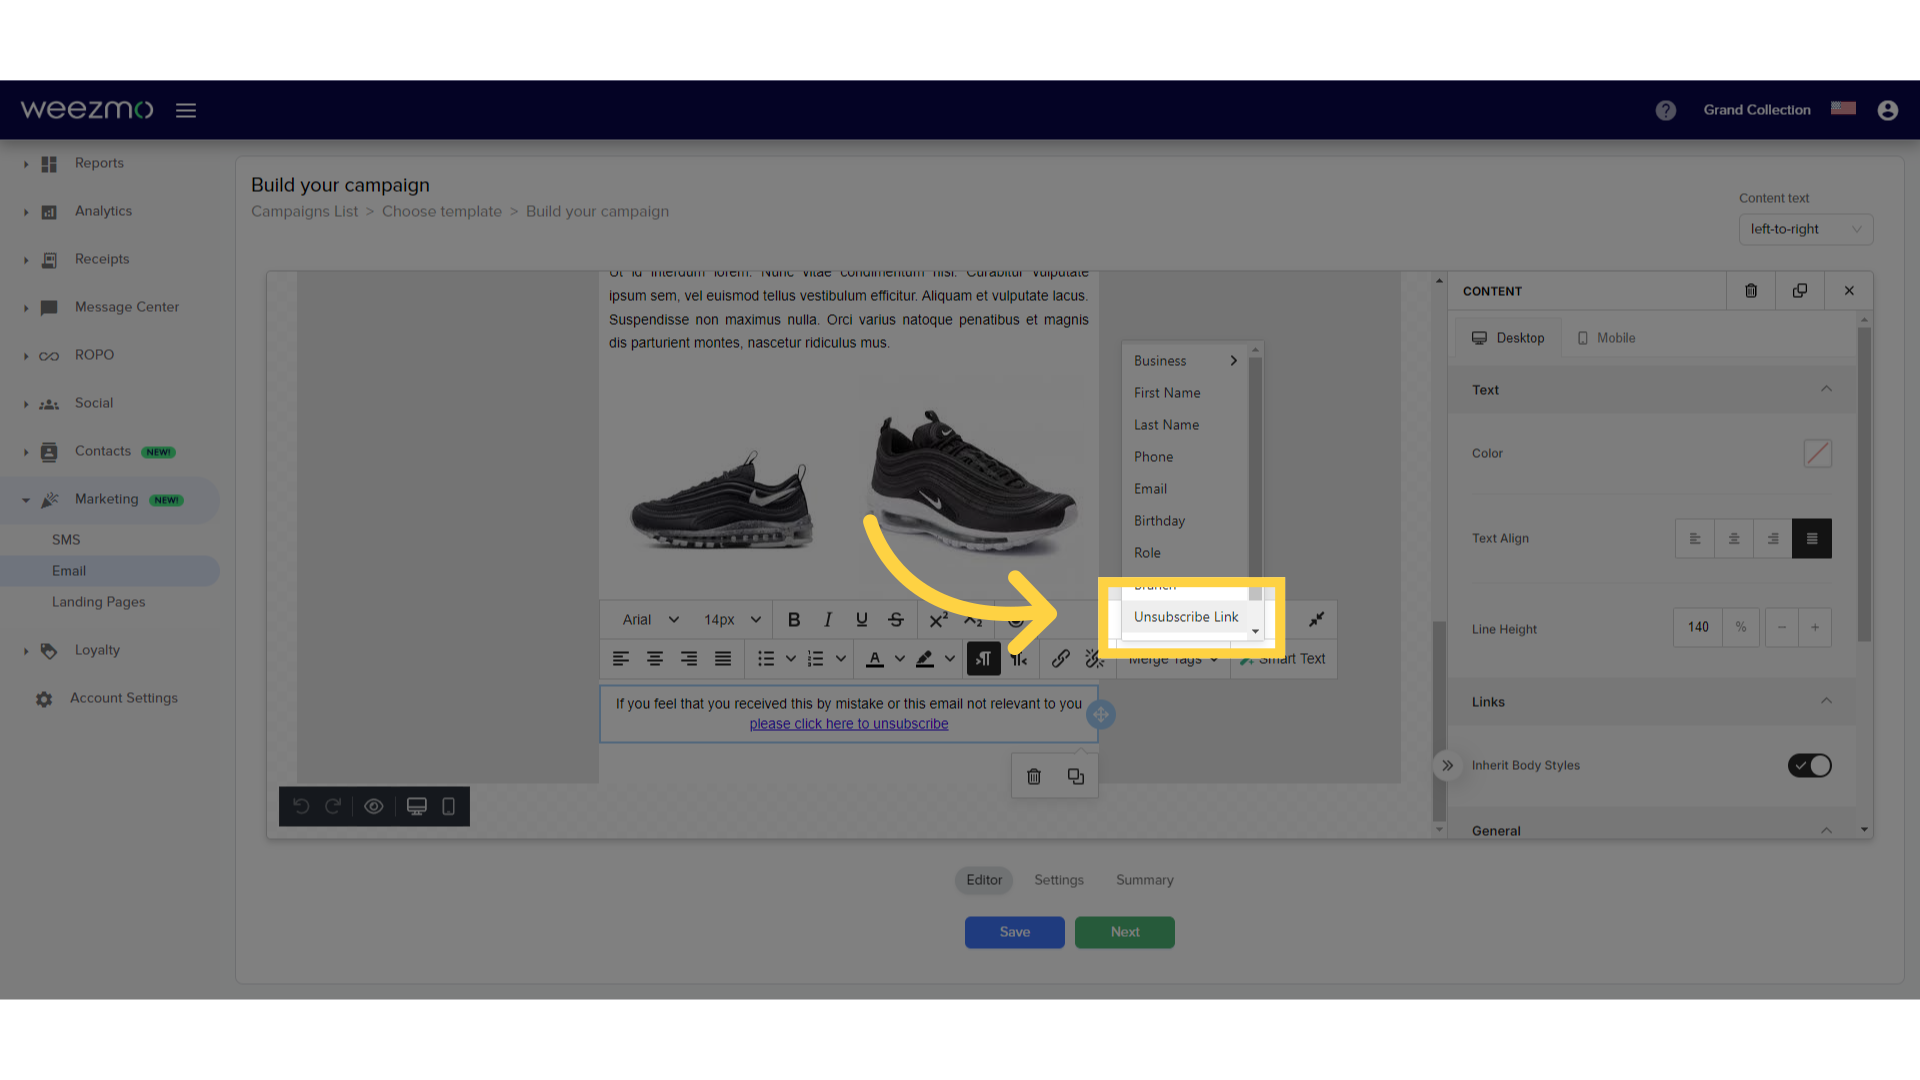
15. Click "Unsubscribe Link"
Click "Unsubscribe link" to add an unsubscribe link. It's important to perform this step before sending your campaign.
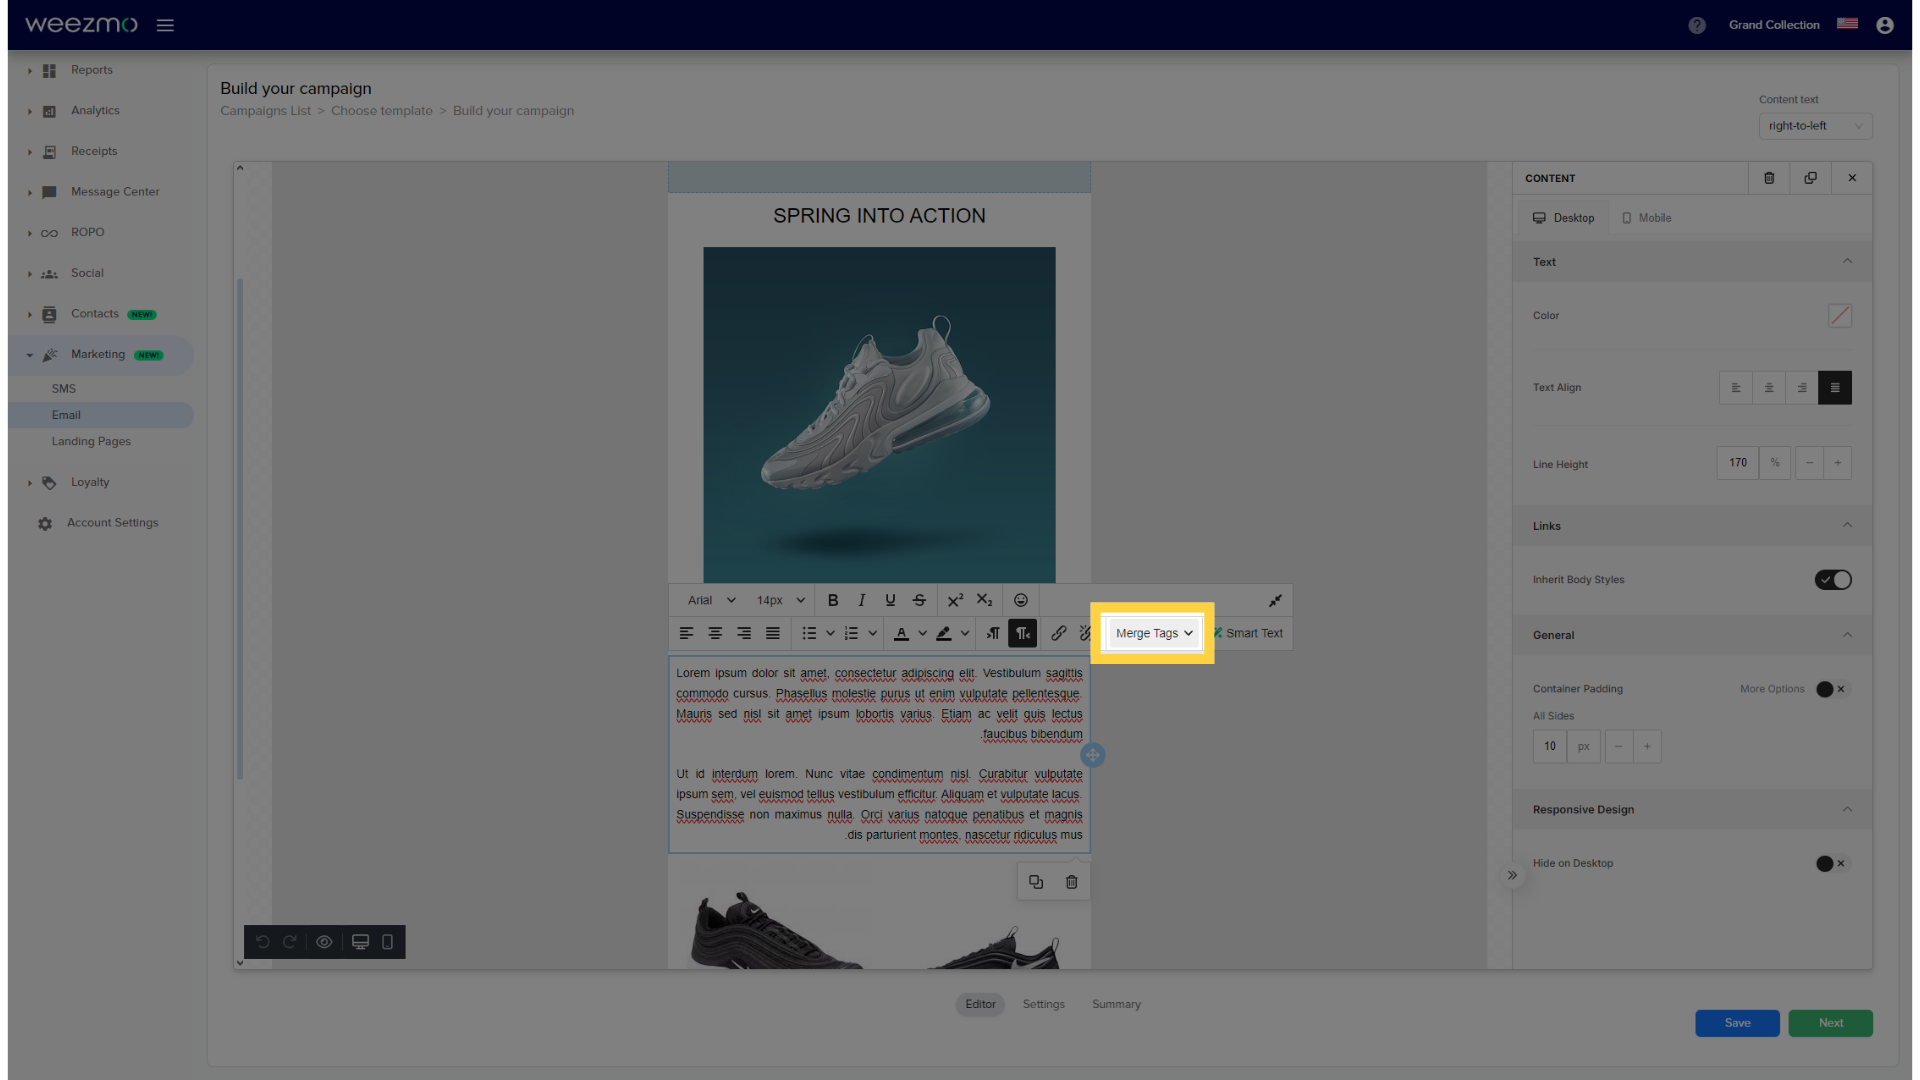
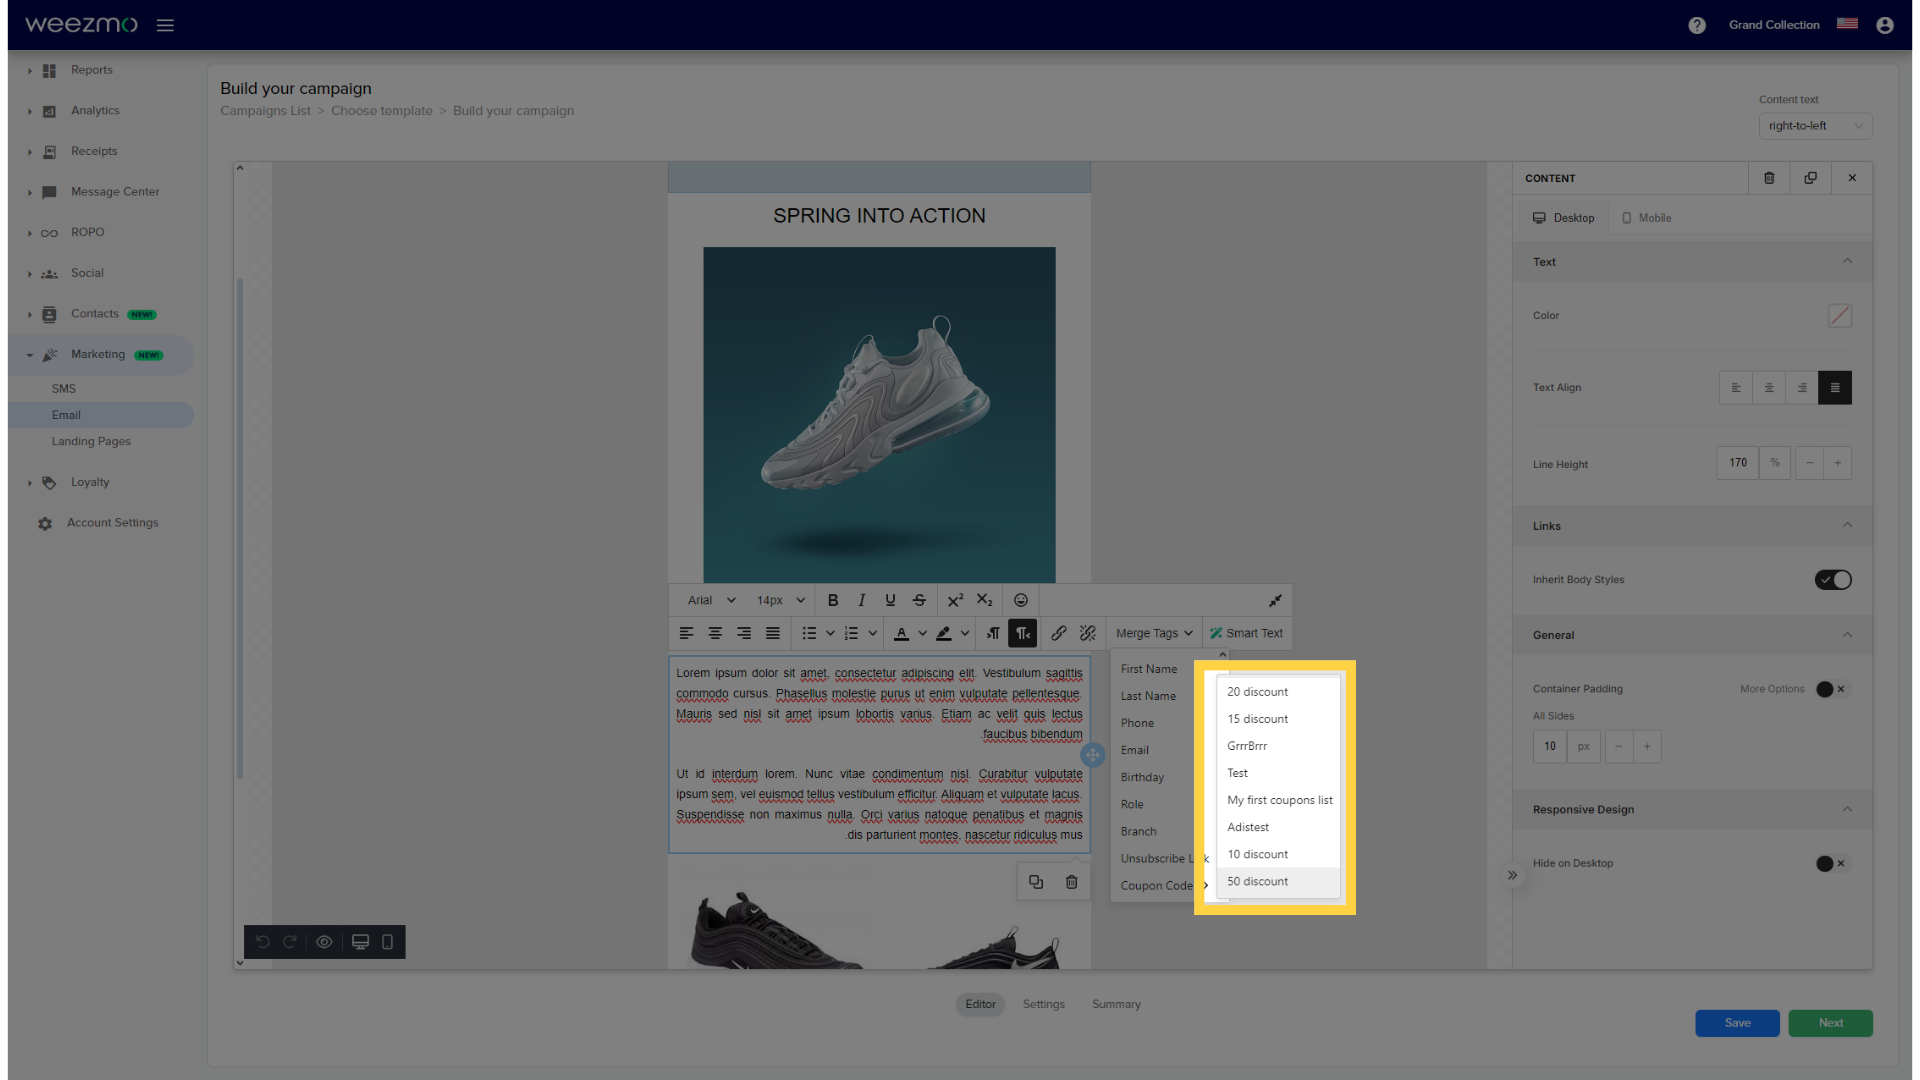
16. Add Coupon Code
You can also add coupon codes from the "Merge Tags" menu.
17. Coupon list
Access the "Coupon Code" option.
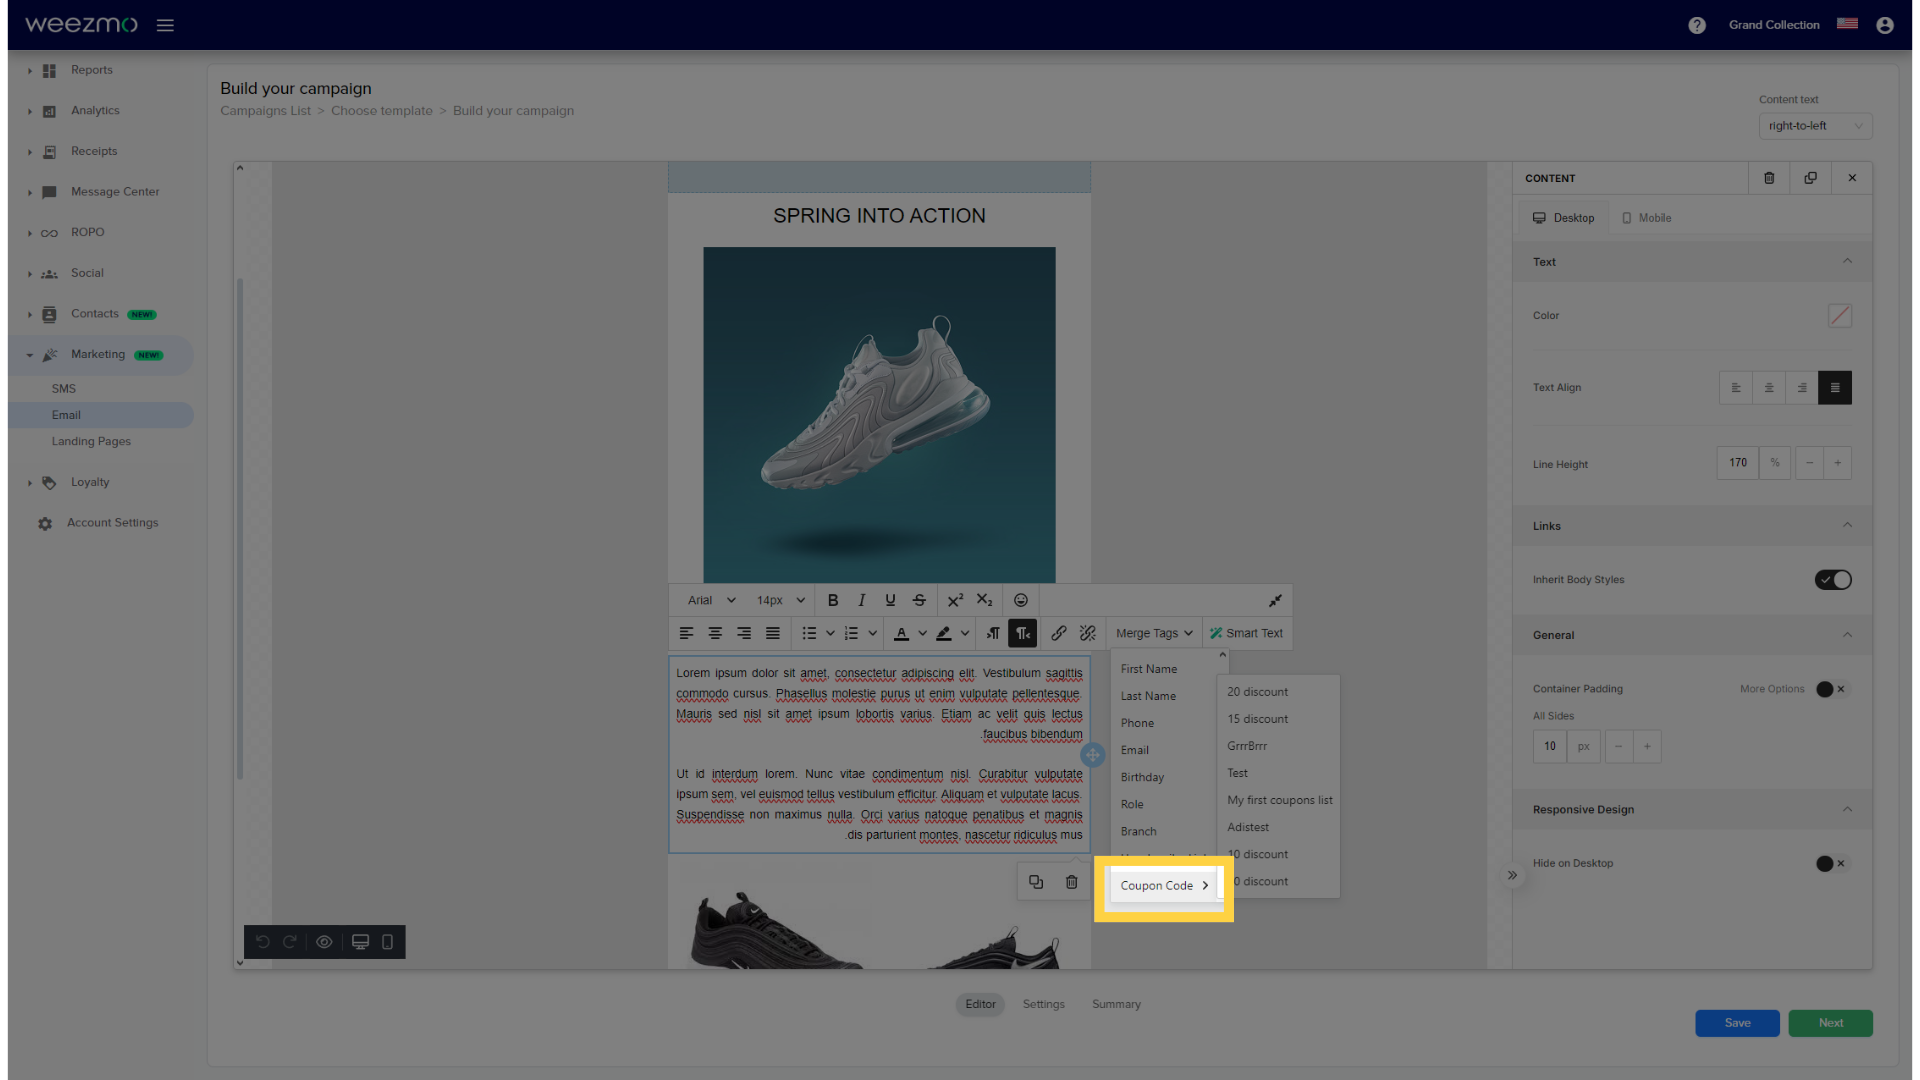
18. Select coupon code
Select the coupon you would like to add to the campaign.
For additional information about managing and creating coupons, click here.
16. Click "Next"
Proceed to the next step.
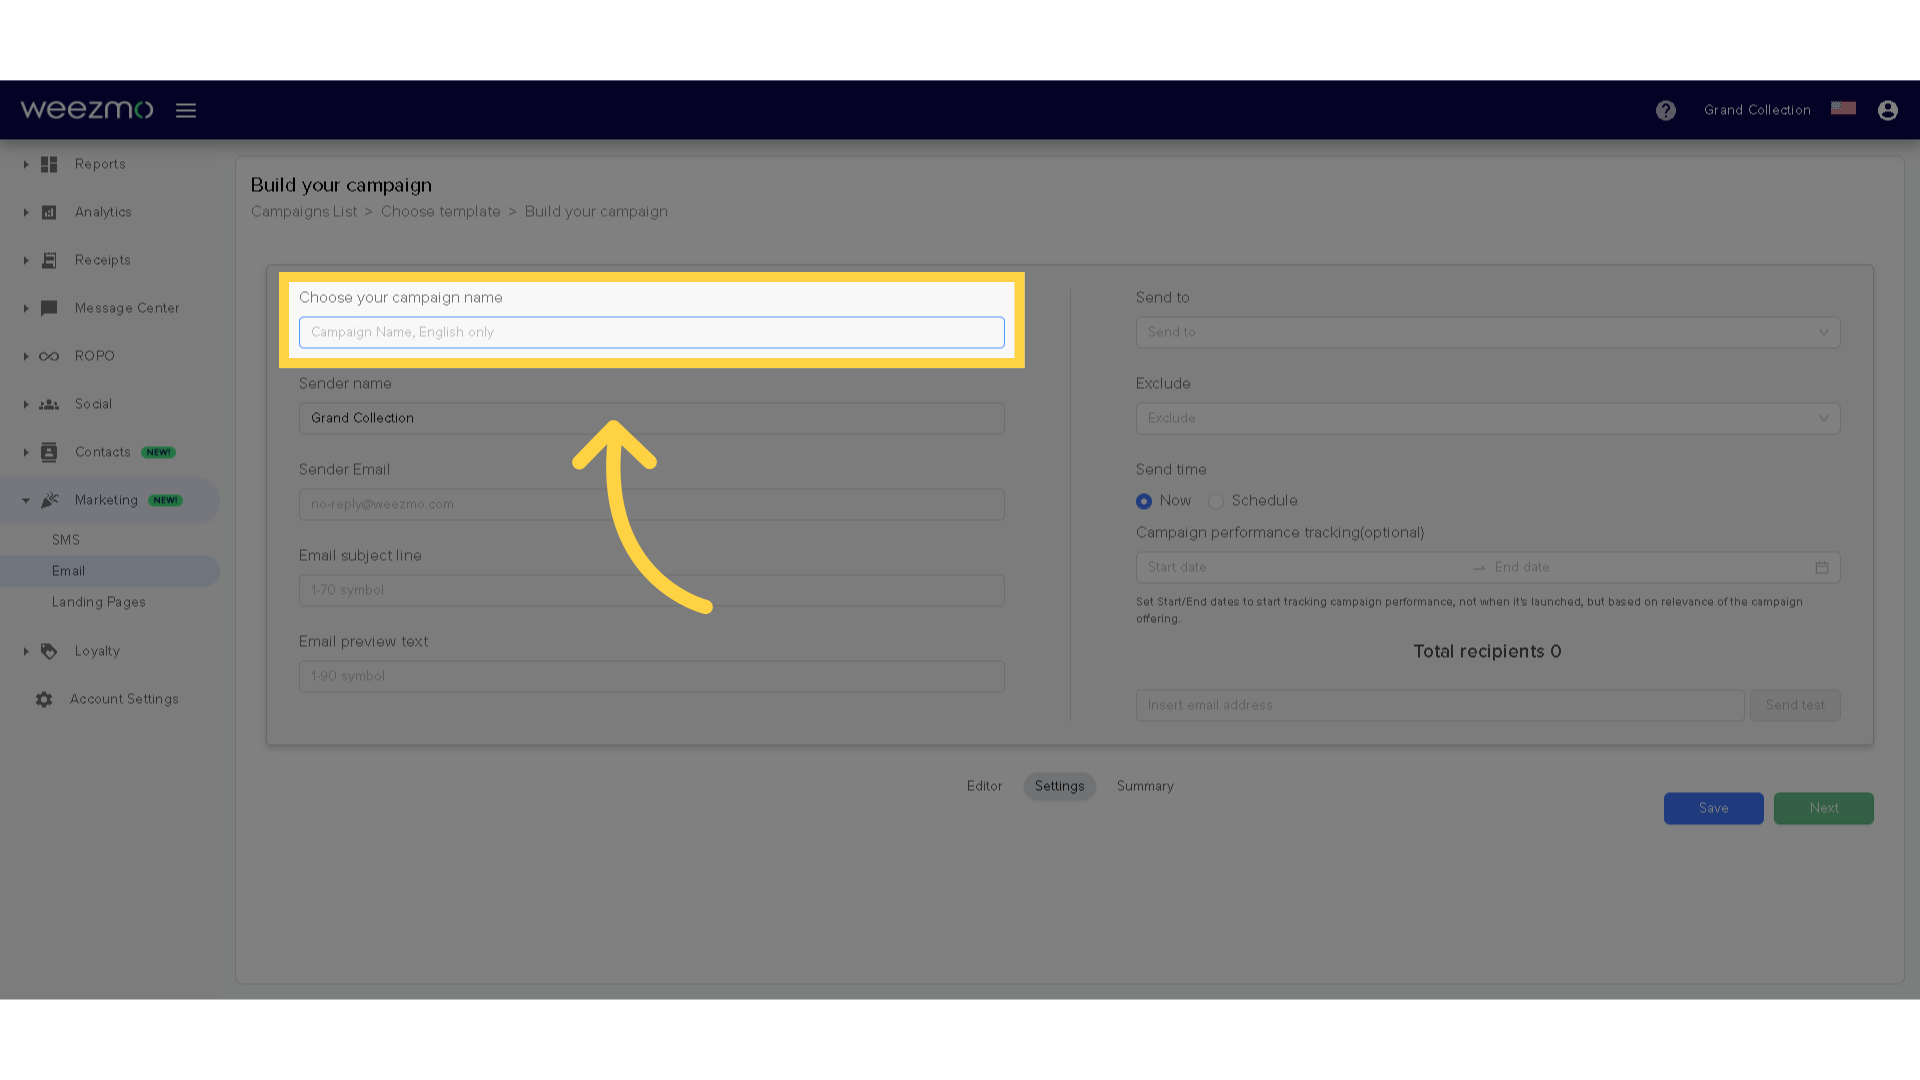
20. Enter campaign name
Enter a name for the campaign. This is only displayed for users, contacts receiving the campaign will not see this.
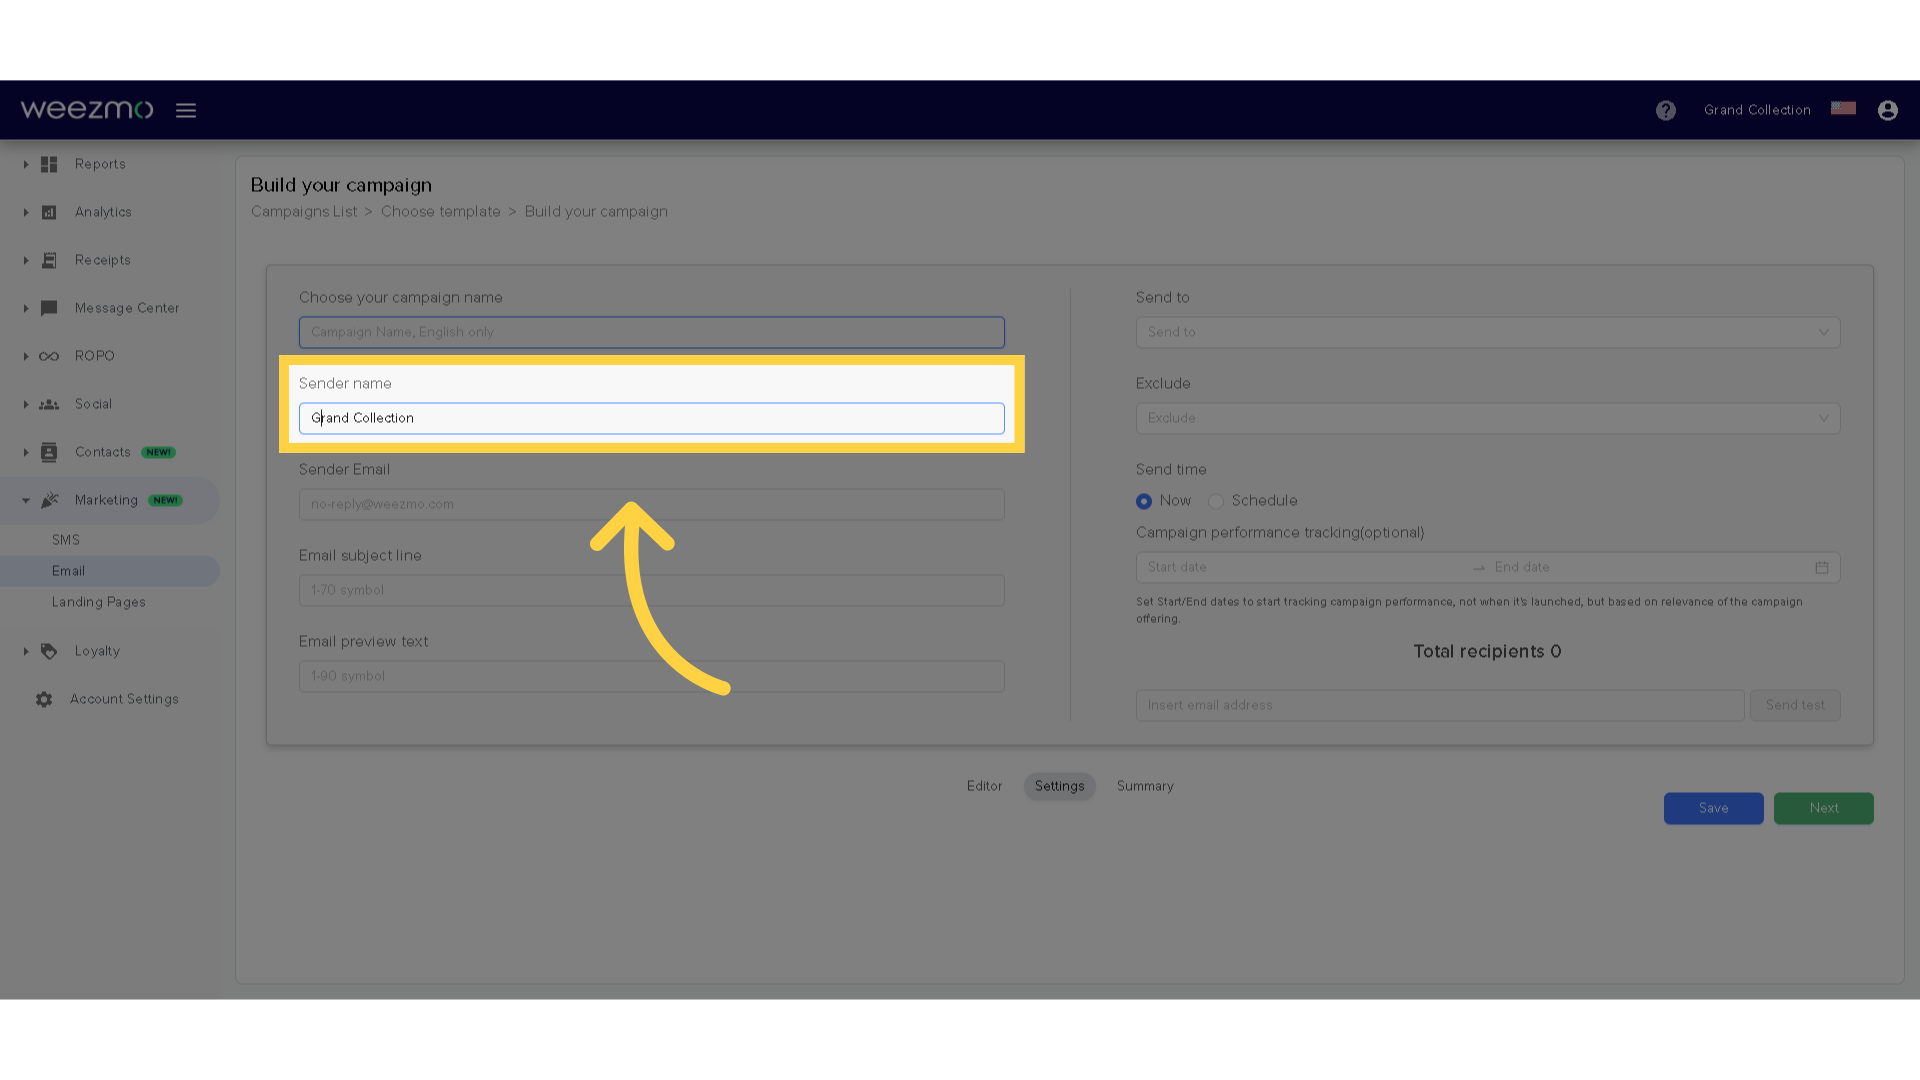
21. Enter sender name
Enter a sender name to display to the receiving customers.
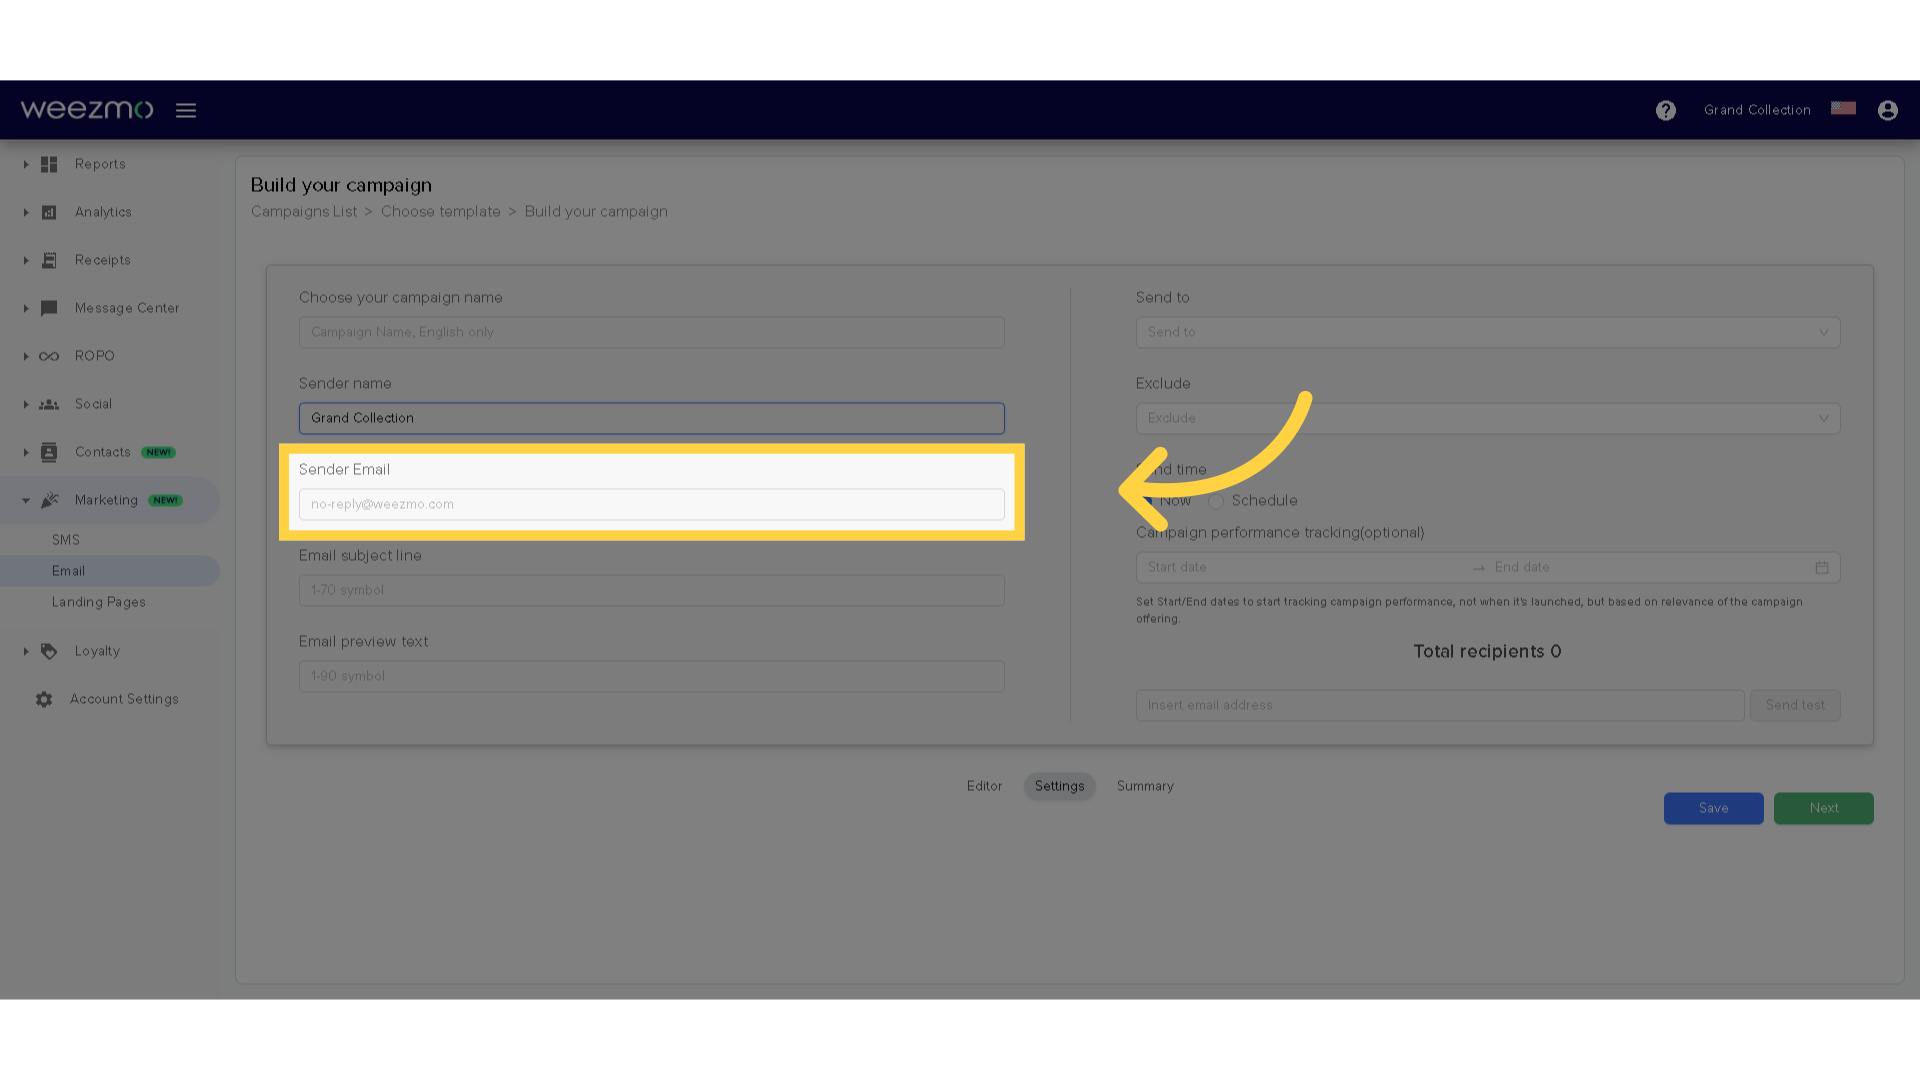
22. Sender Email
The sender email is displayed here. This can be edited in the Account Settings window.
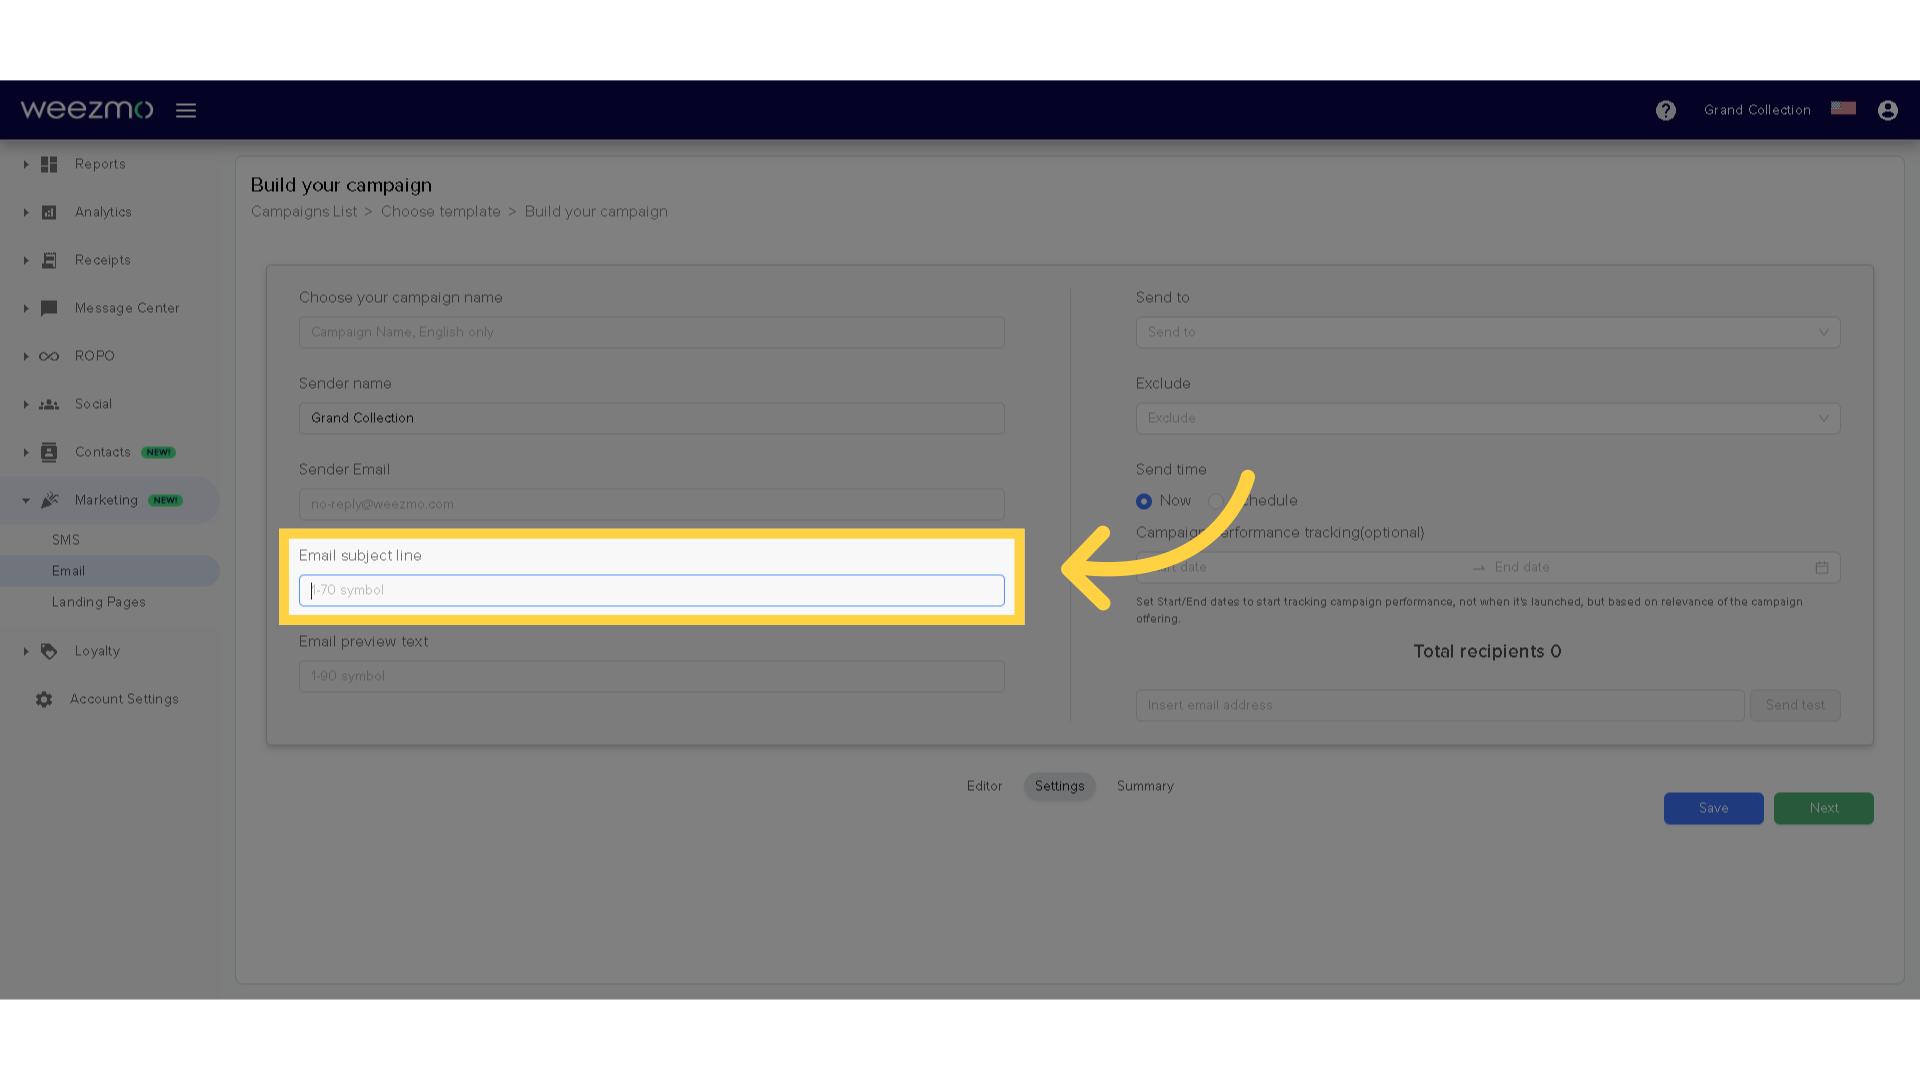
23. Enter email subject
Input a subject line for the email between 1-70 characters.
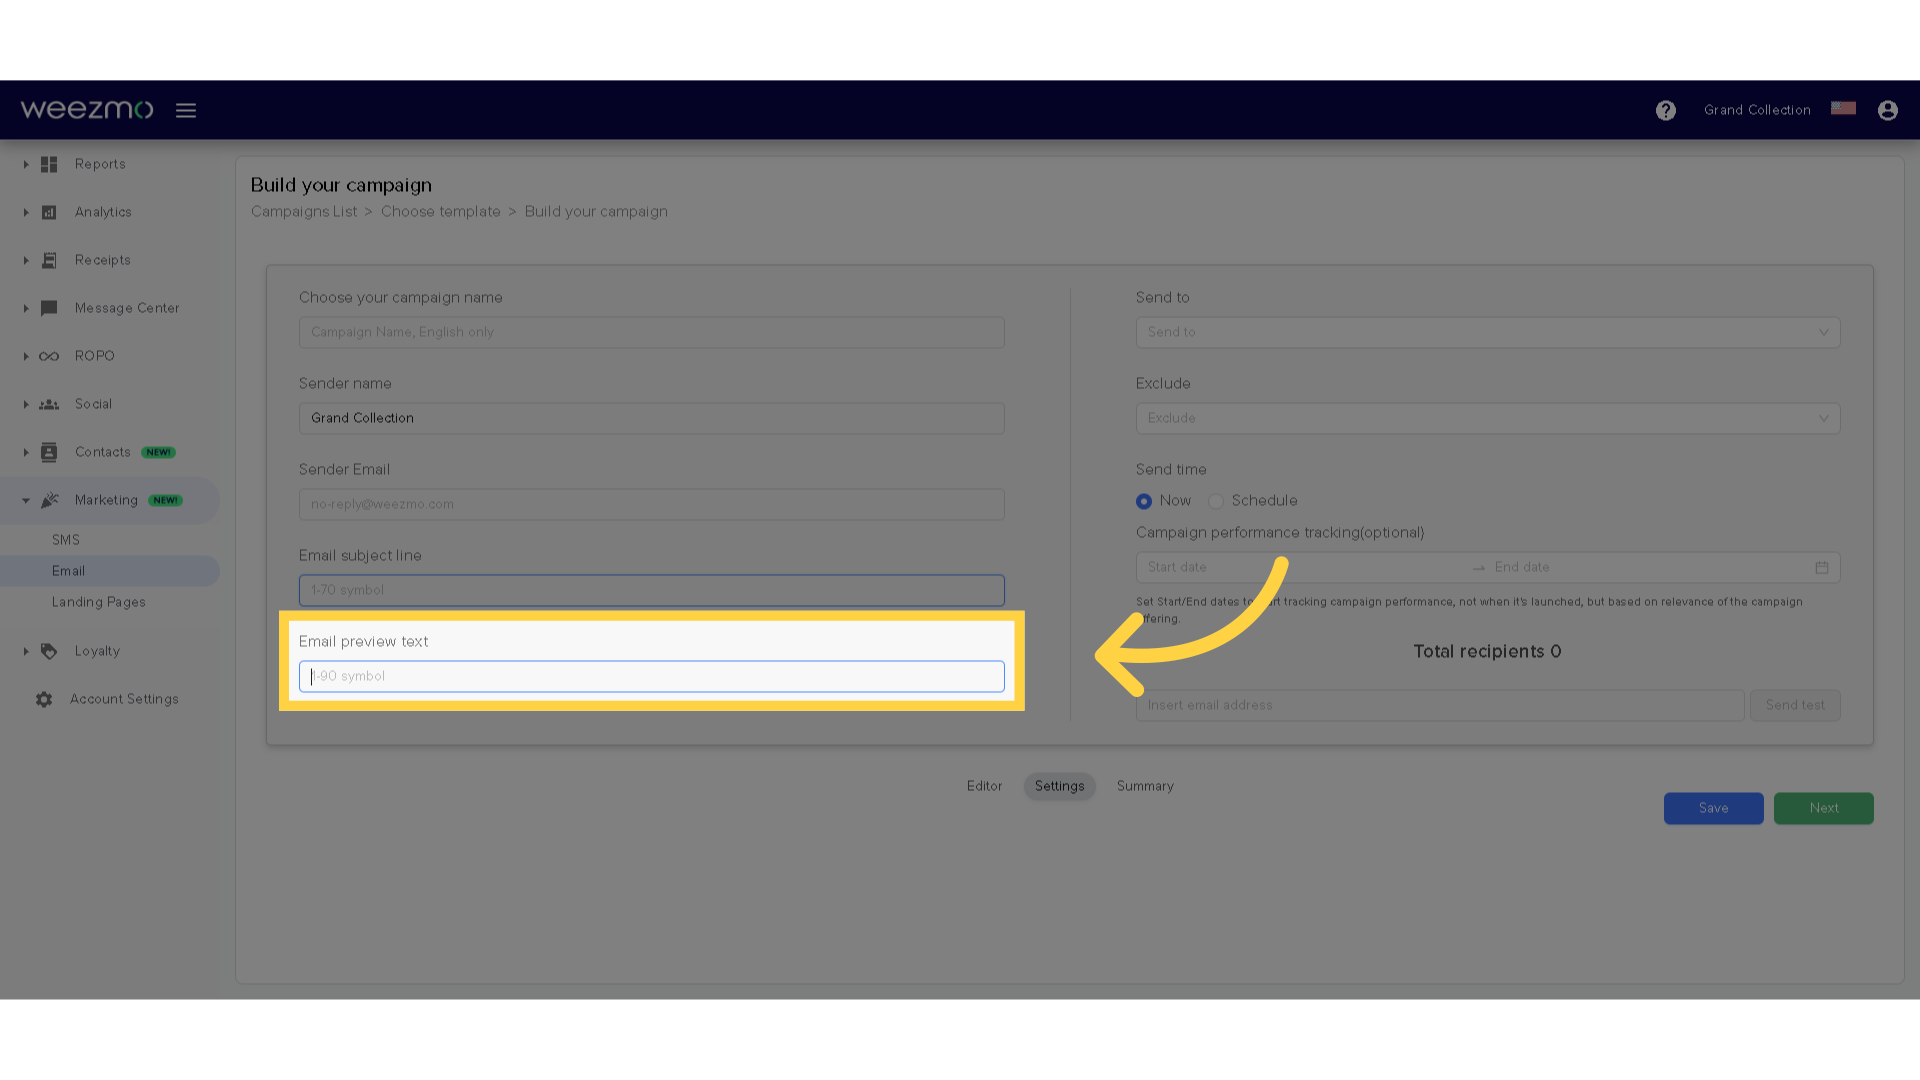
24. Enter email preview
Enter an email preview between 1-90 characters.
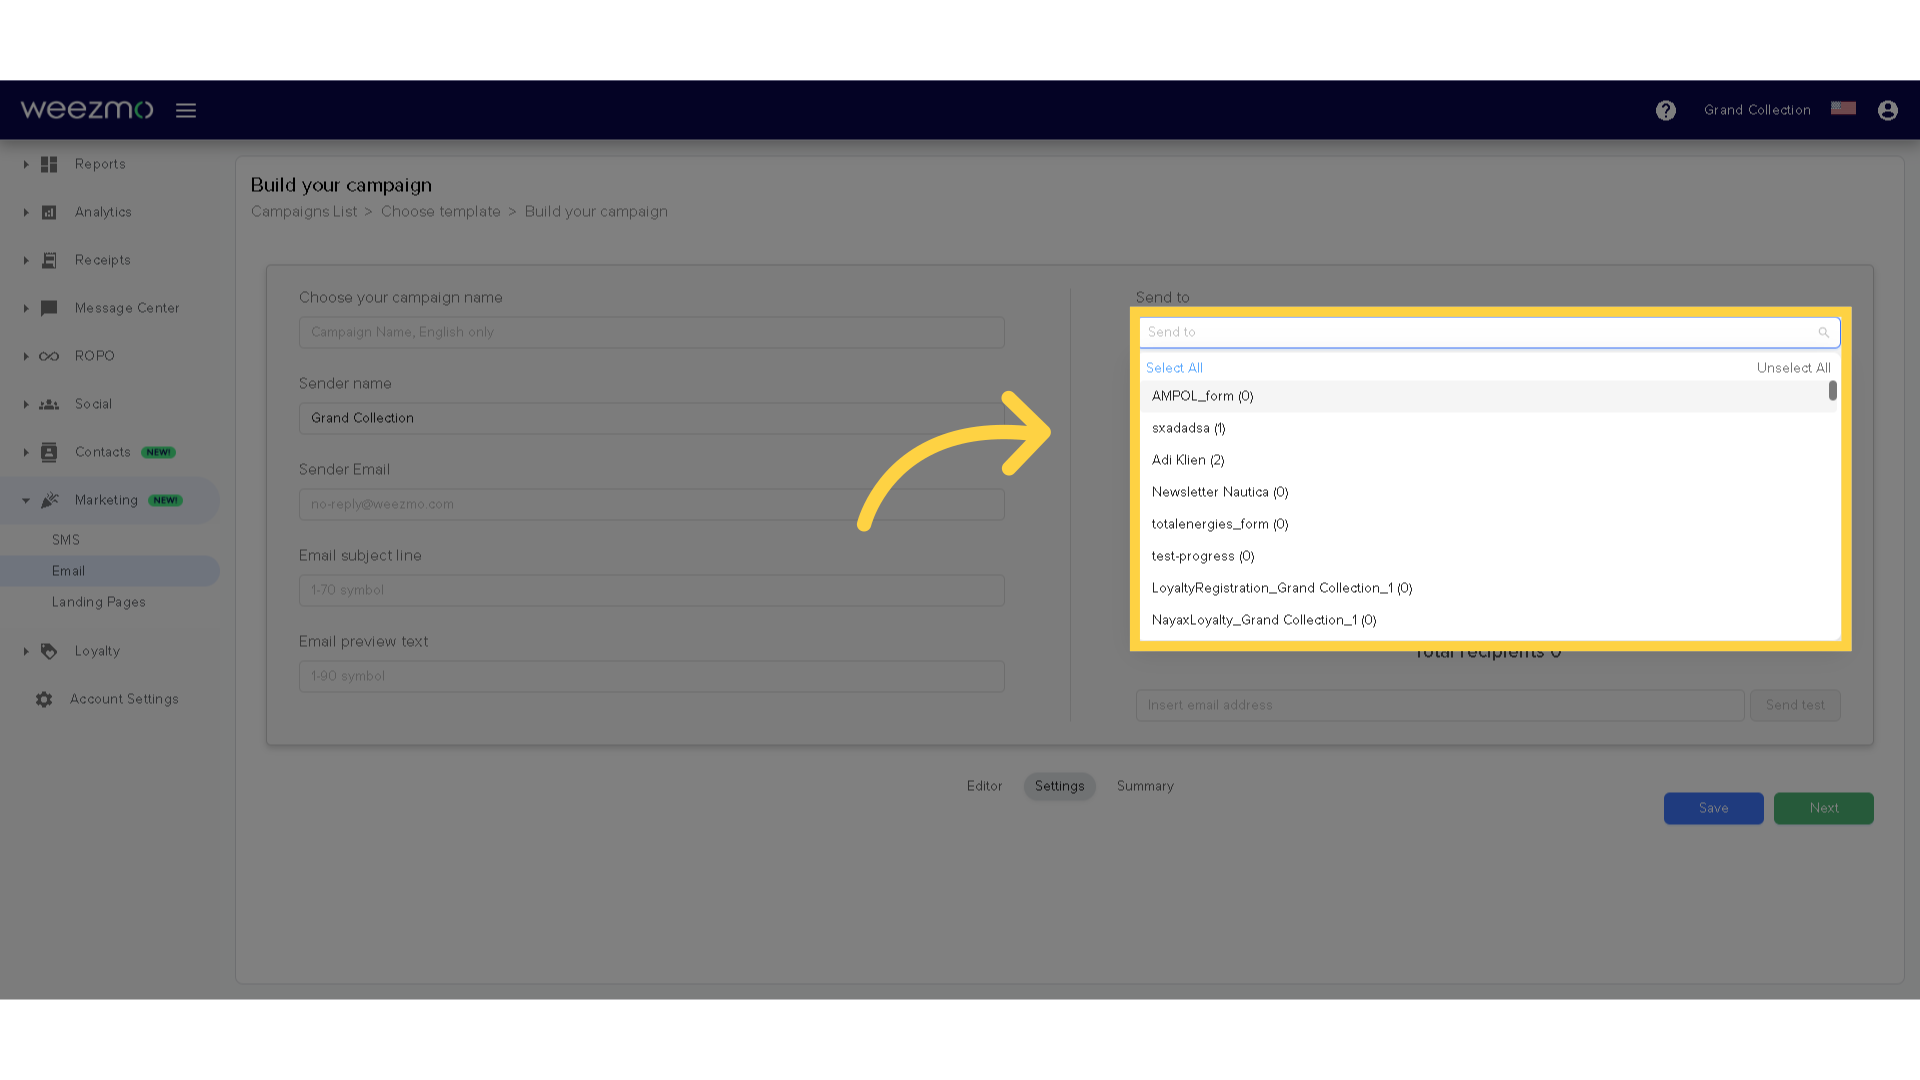
25. Send to lists
Select contact lists to send this campaign to.
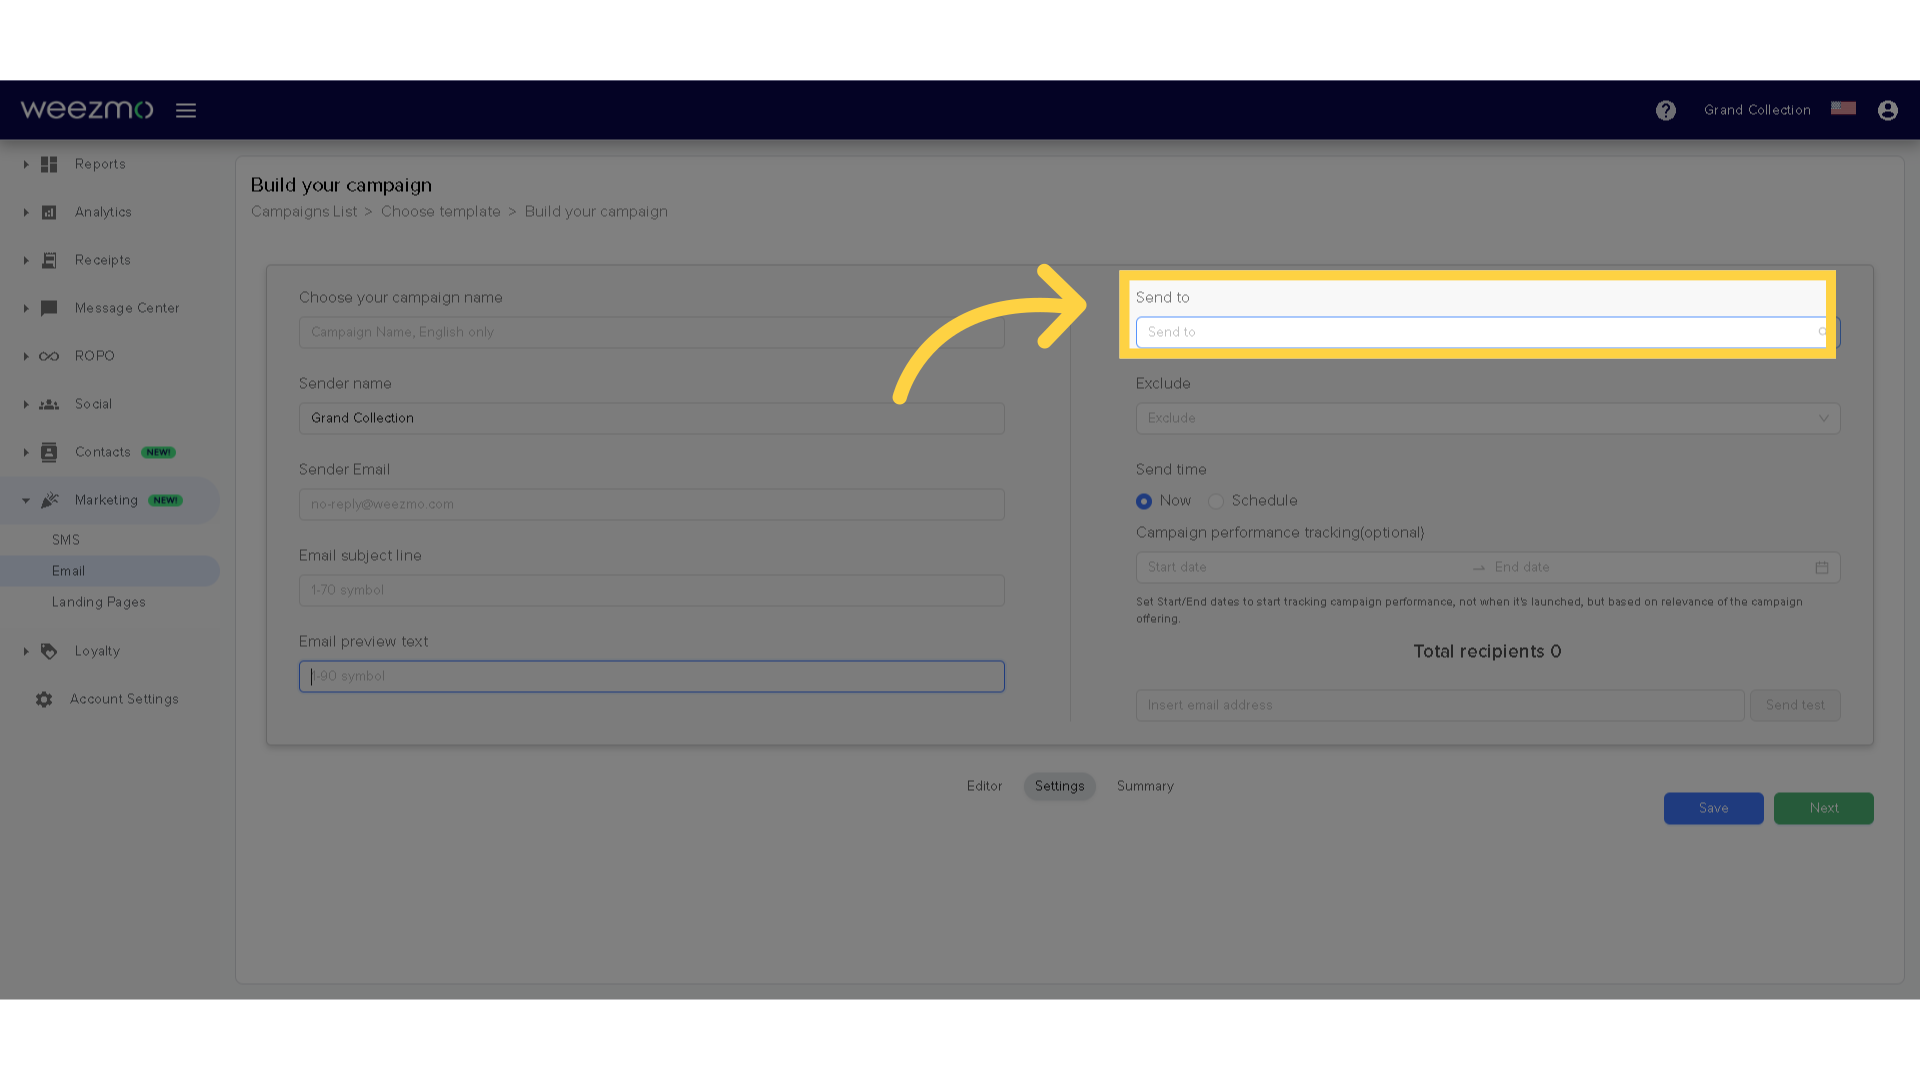
26. Select lists
Select lists from the dropdown menu, use the search bar to search for a specific list, or use the Select All and Unselect all buttons.
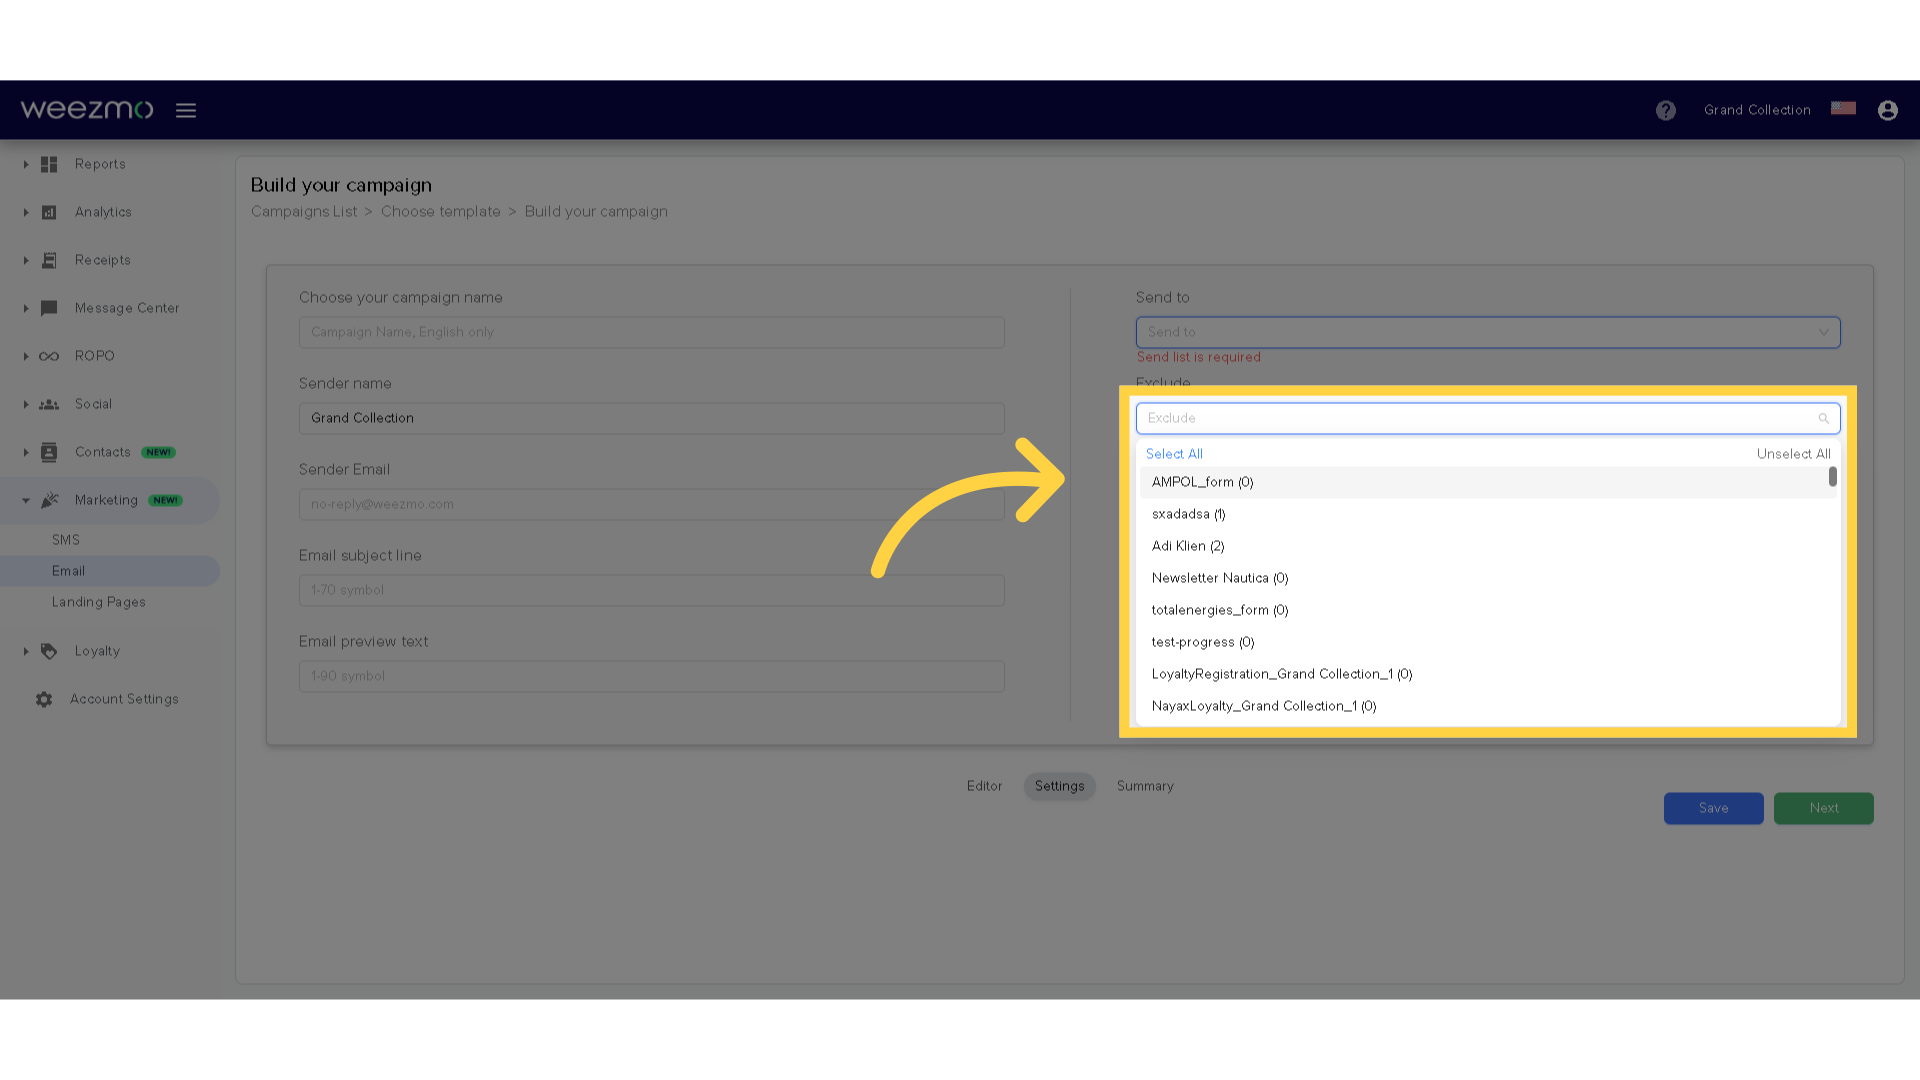
27. Exclude lists
Optionally, you can select contact lists to exclude from this campaign.
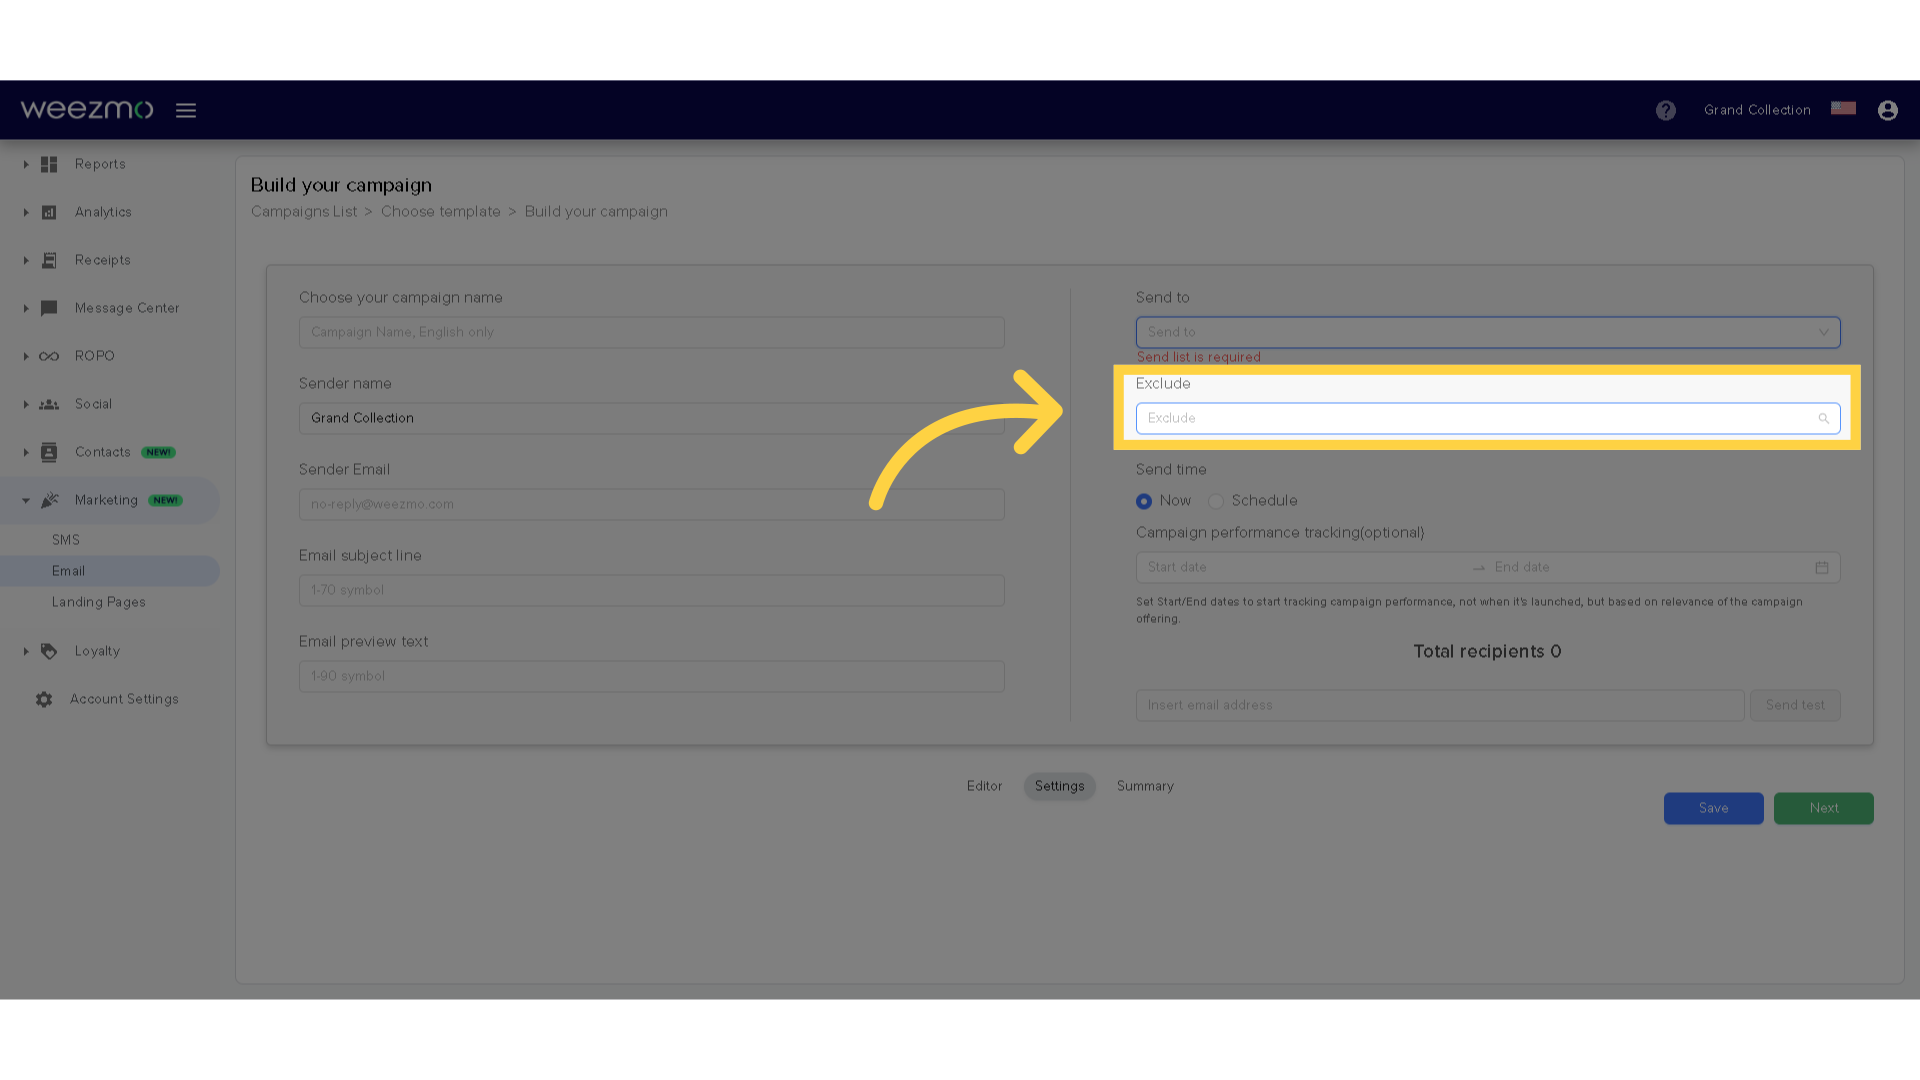
28. Select lists
Select lists from the dropdown menu to exclude from this campaign.
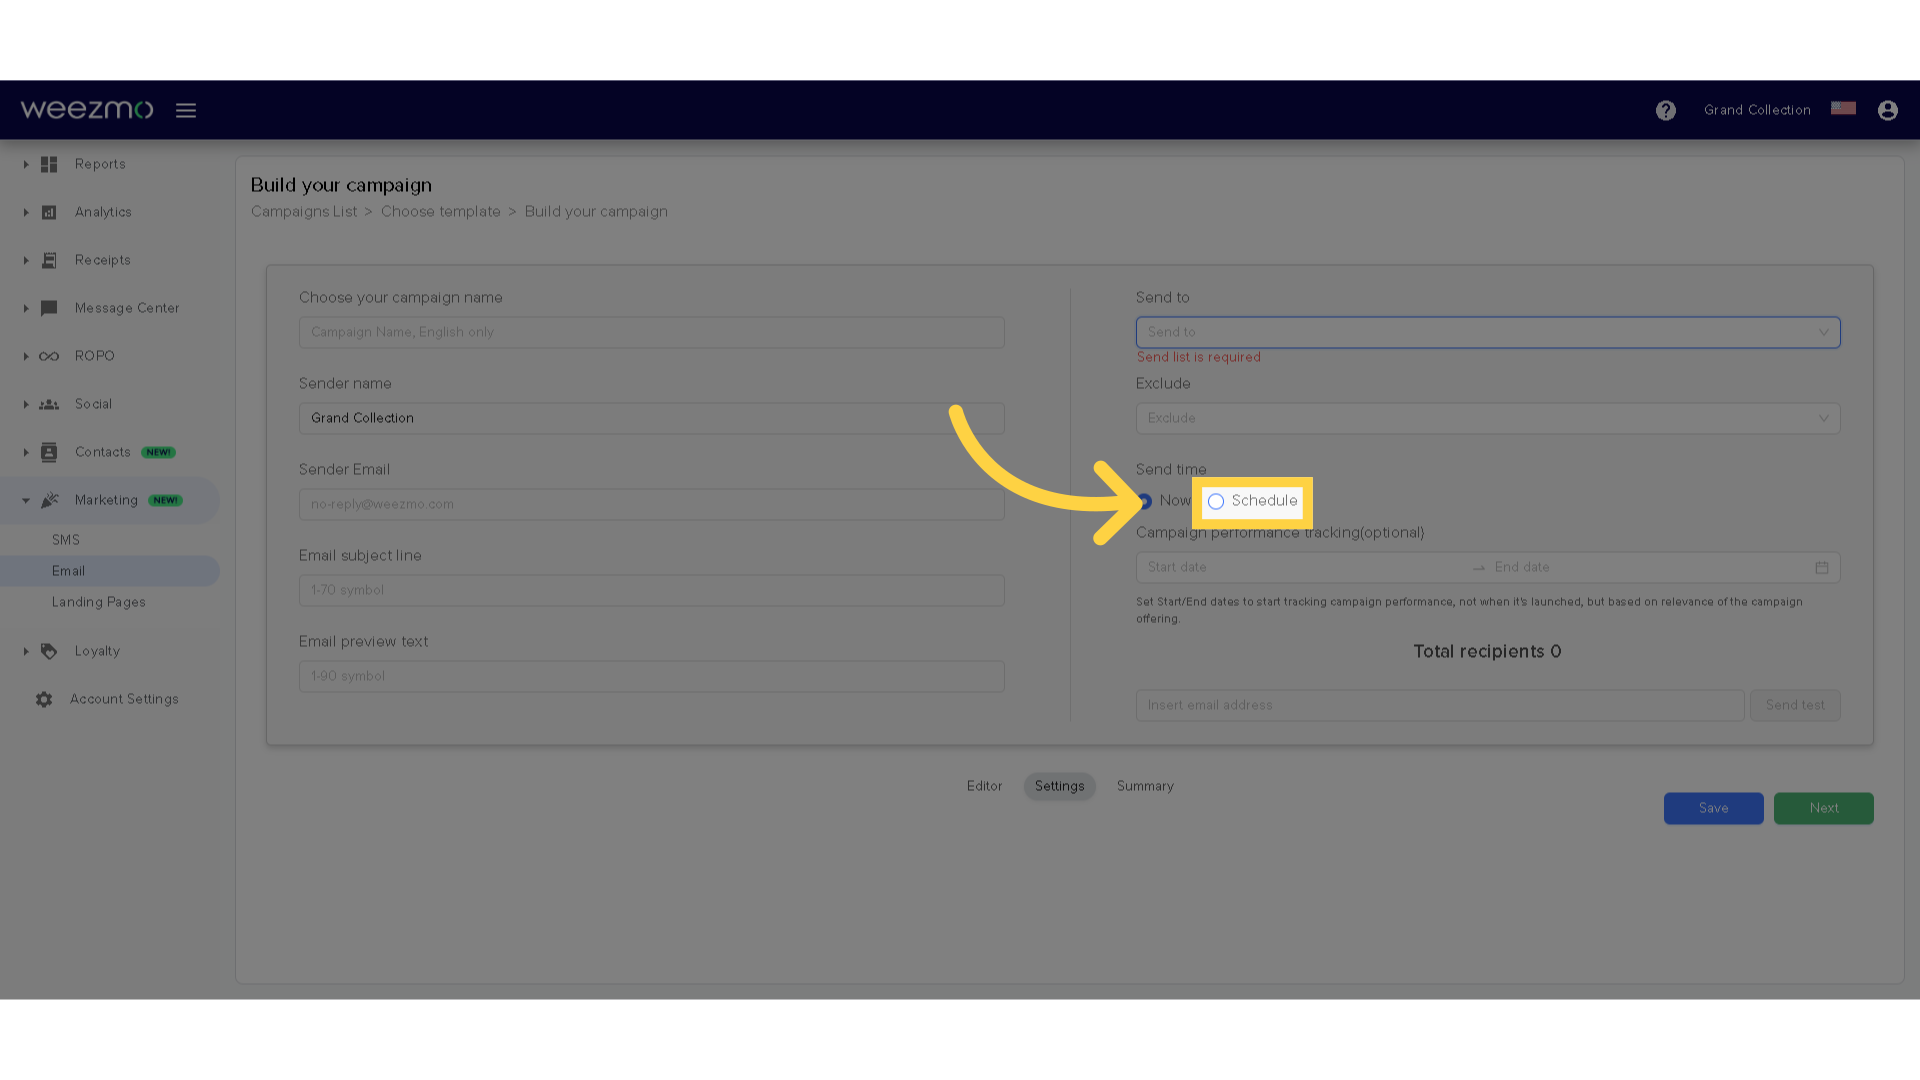
29. Select send time
Select a timing for the campaign. Selecting "Now" will send the campaign as soon as the editing is complete.
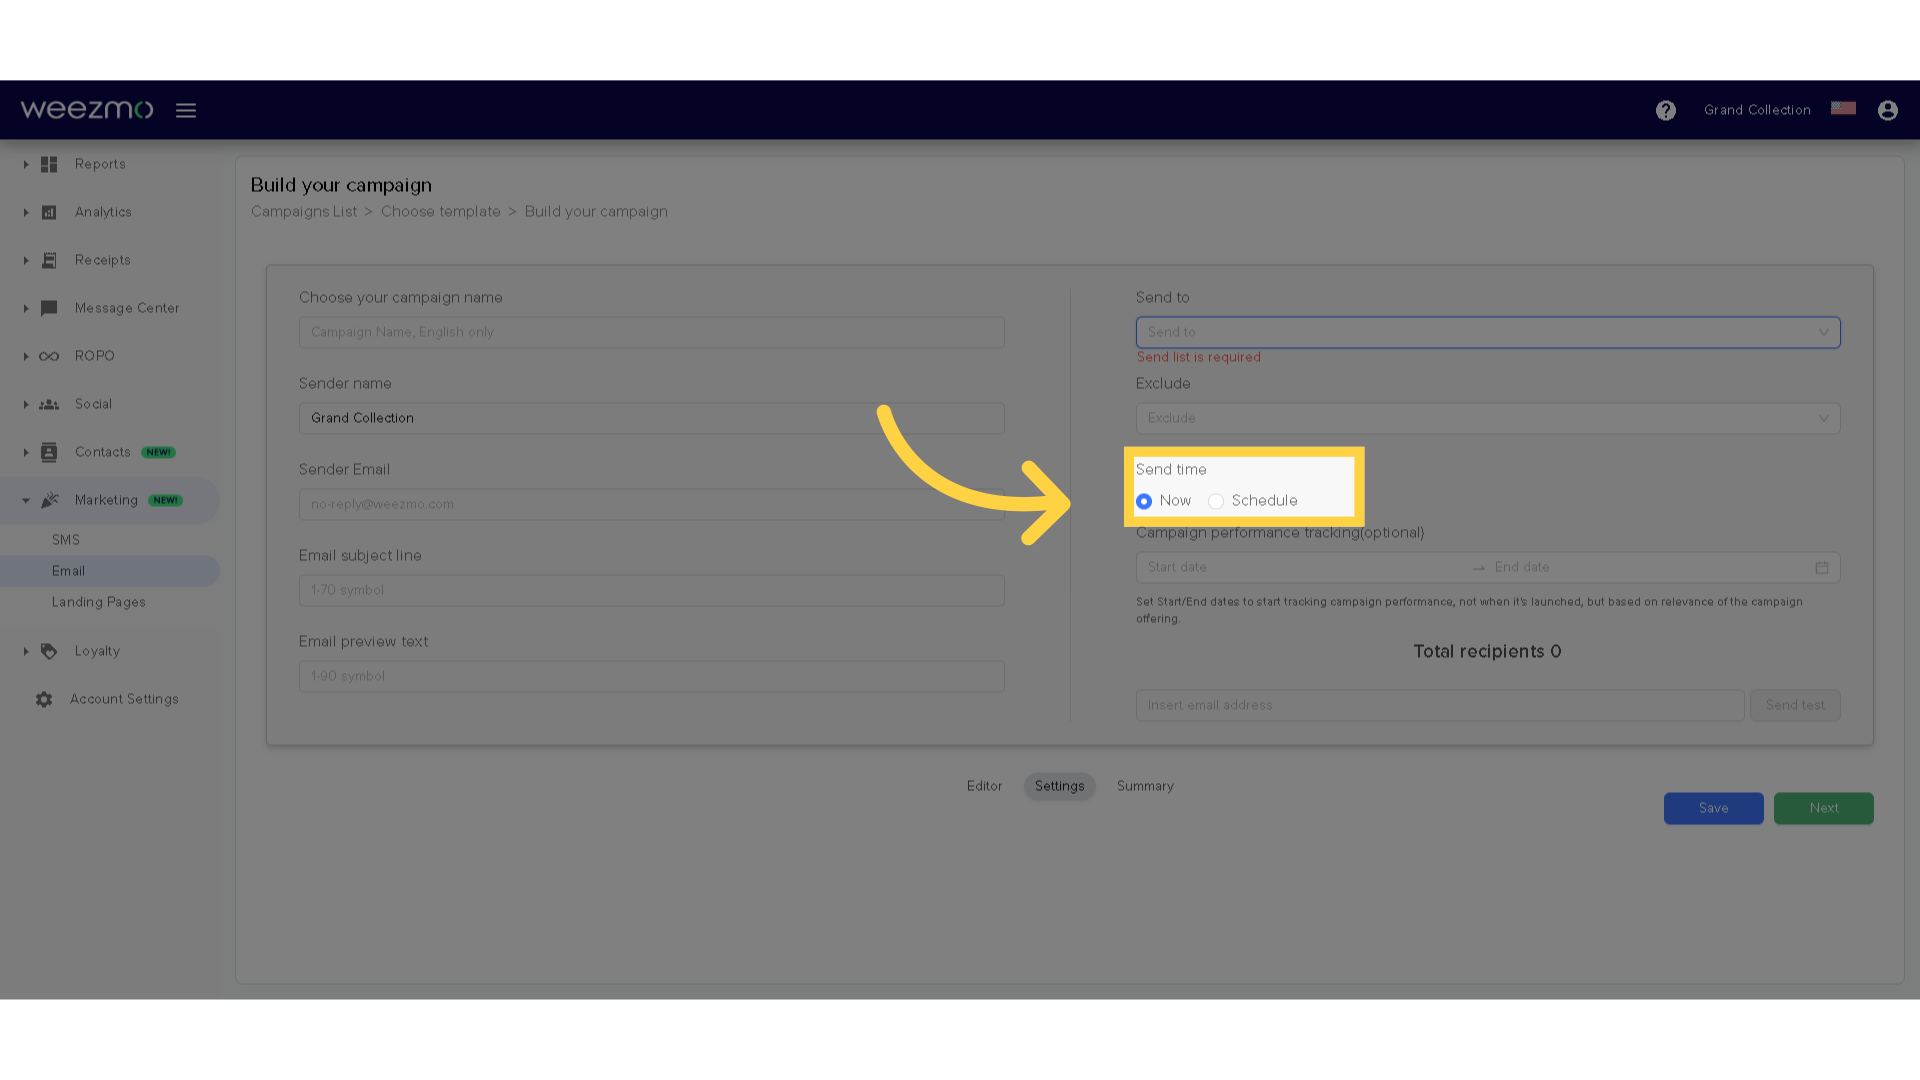
30. Schedule campaign
Click "Schedule" to schedule the campaign for a later time.
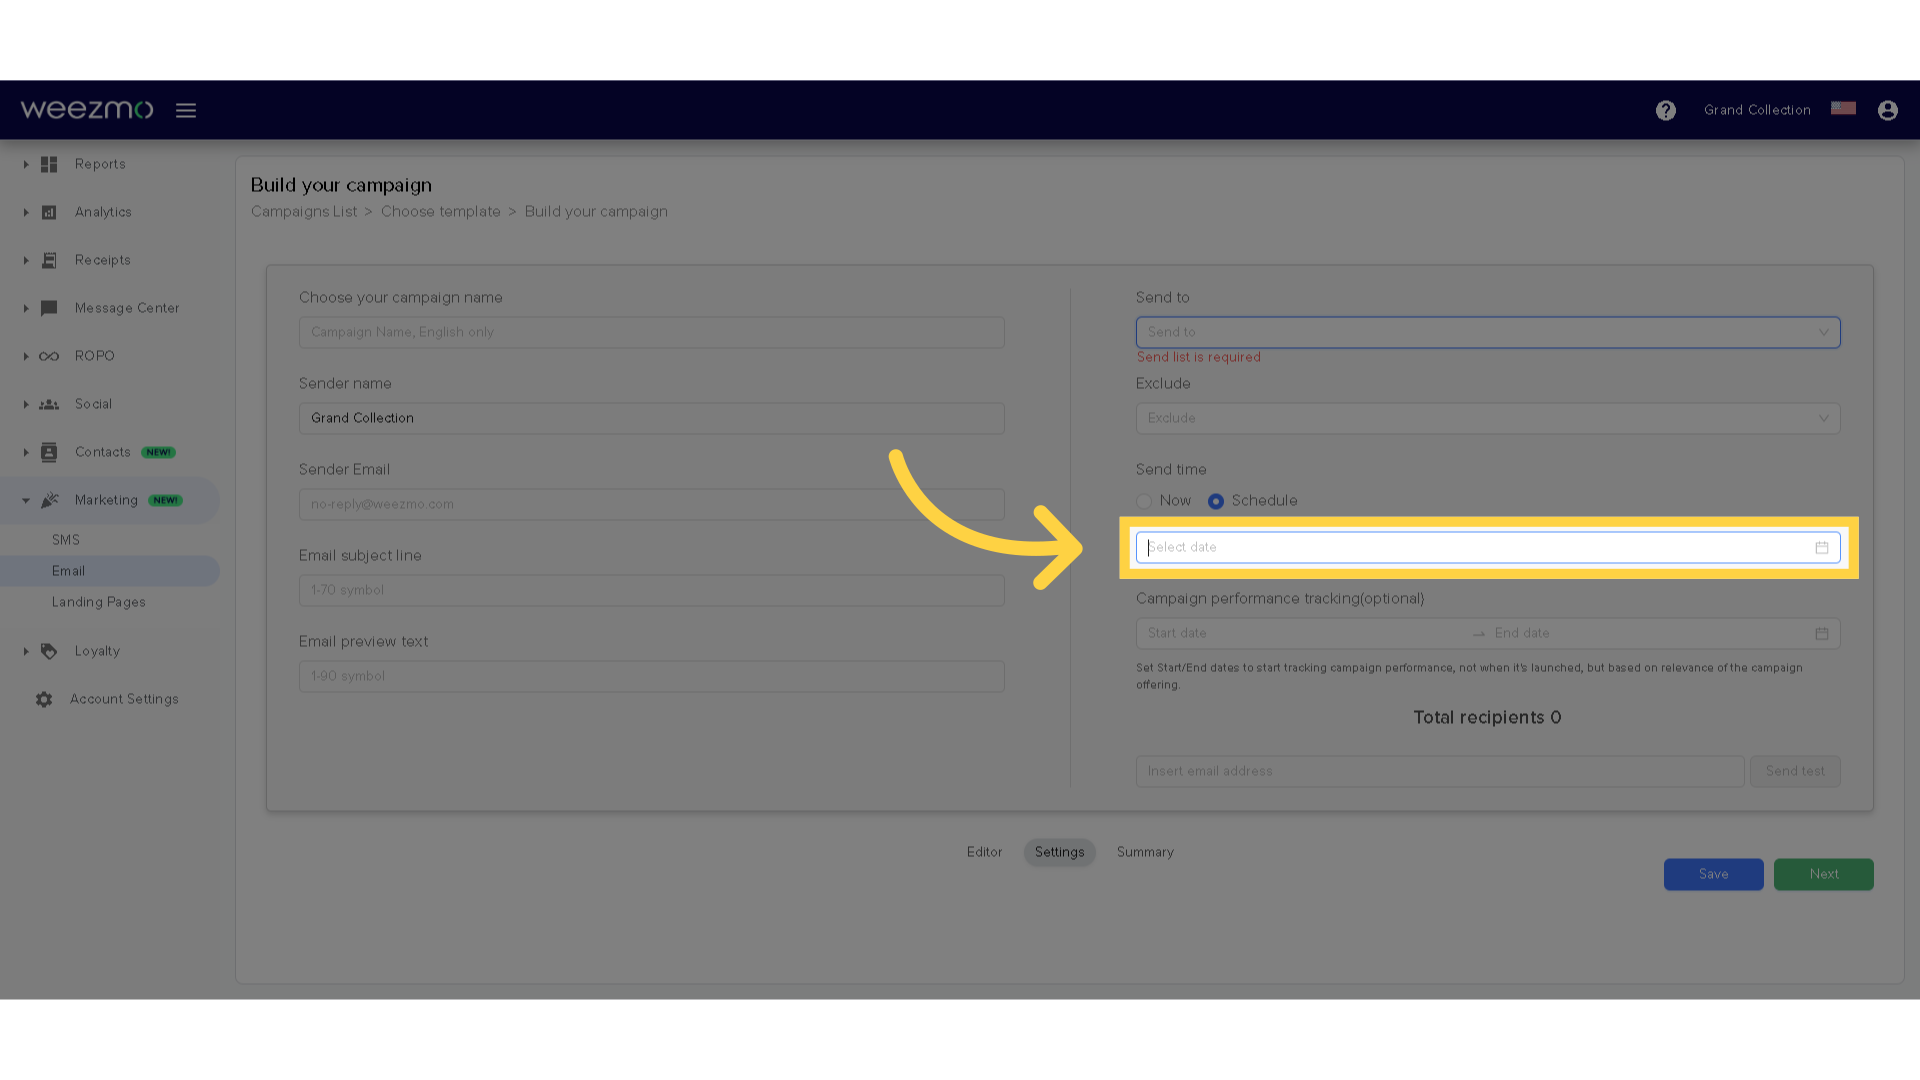
31. Select date
Click here to open the calendar display and select a date for the campaign to be sent.
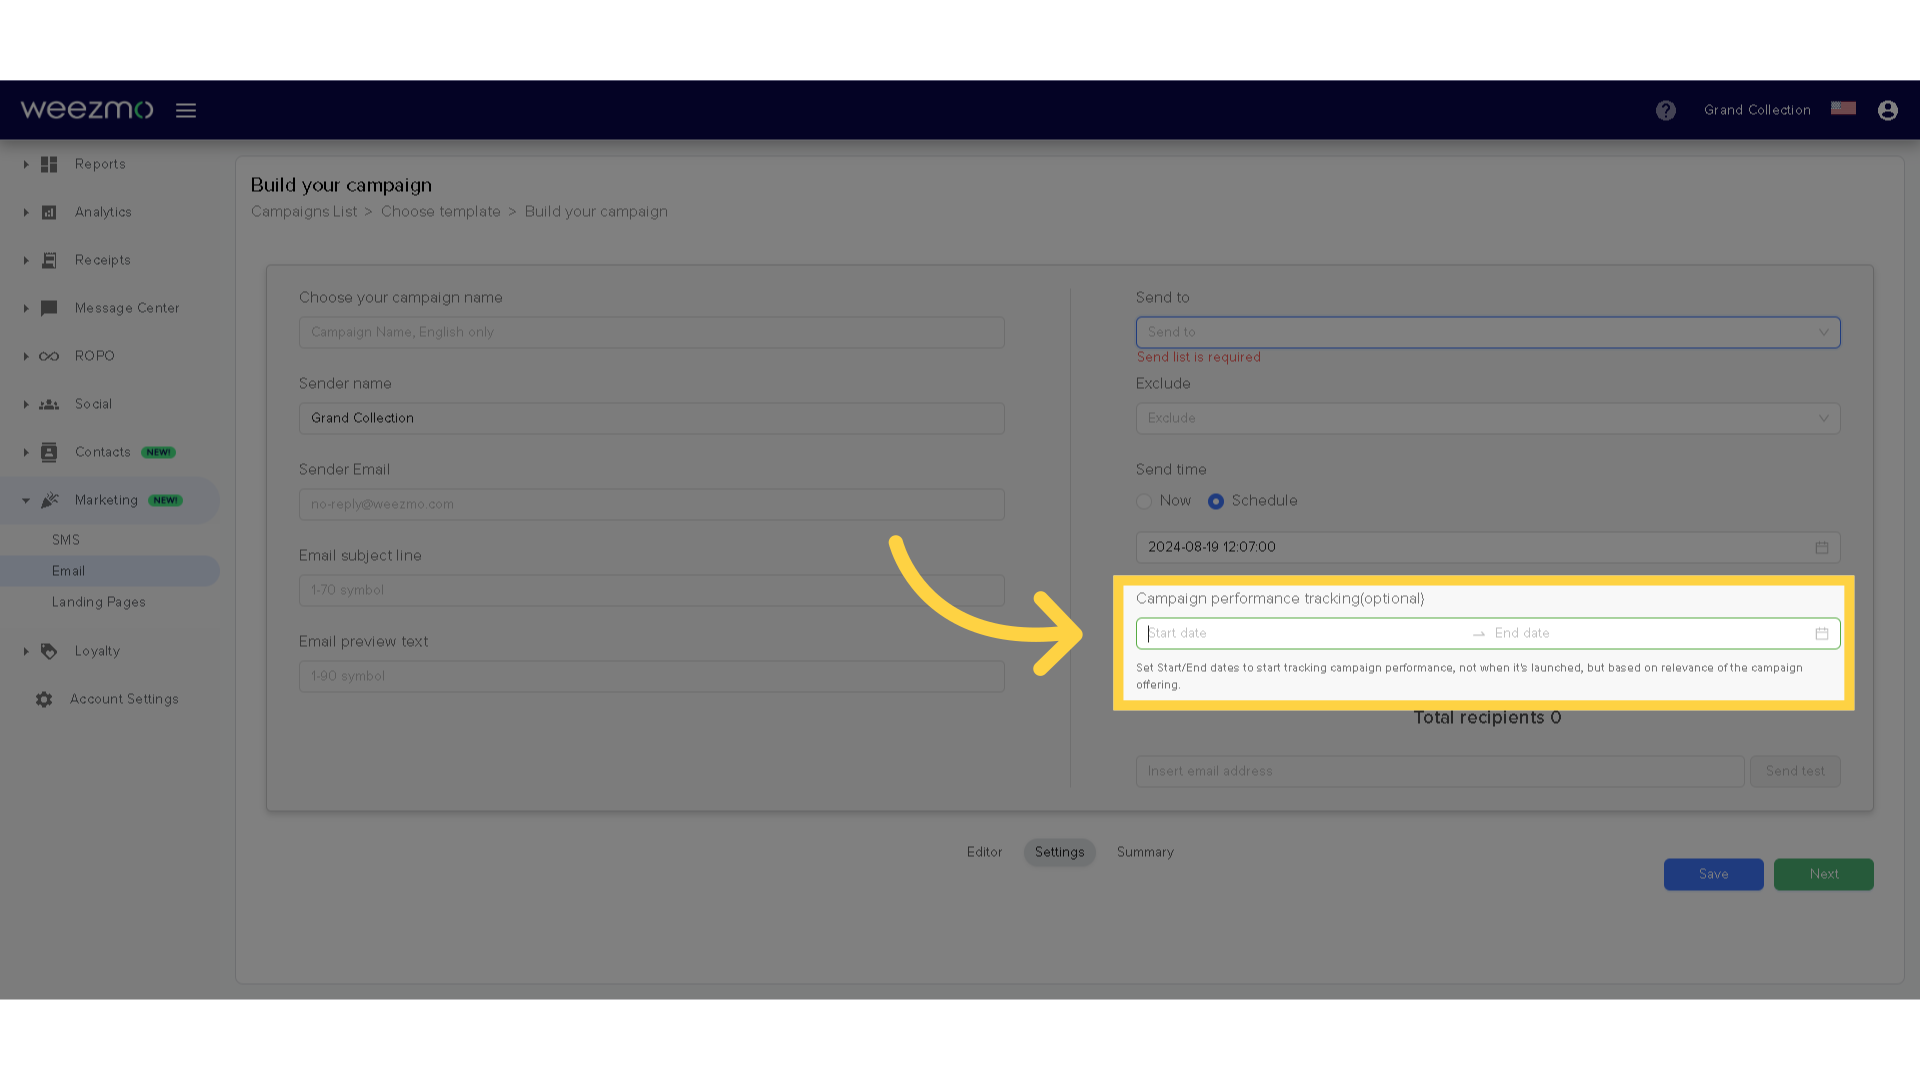
32. Select tracking times
Use the Start date and End date fields to define a date range for the campaign performance tracking. This is optional.
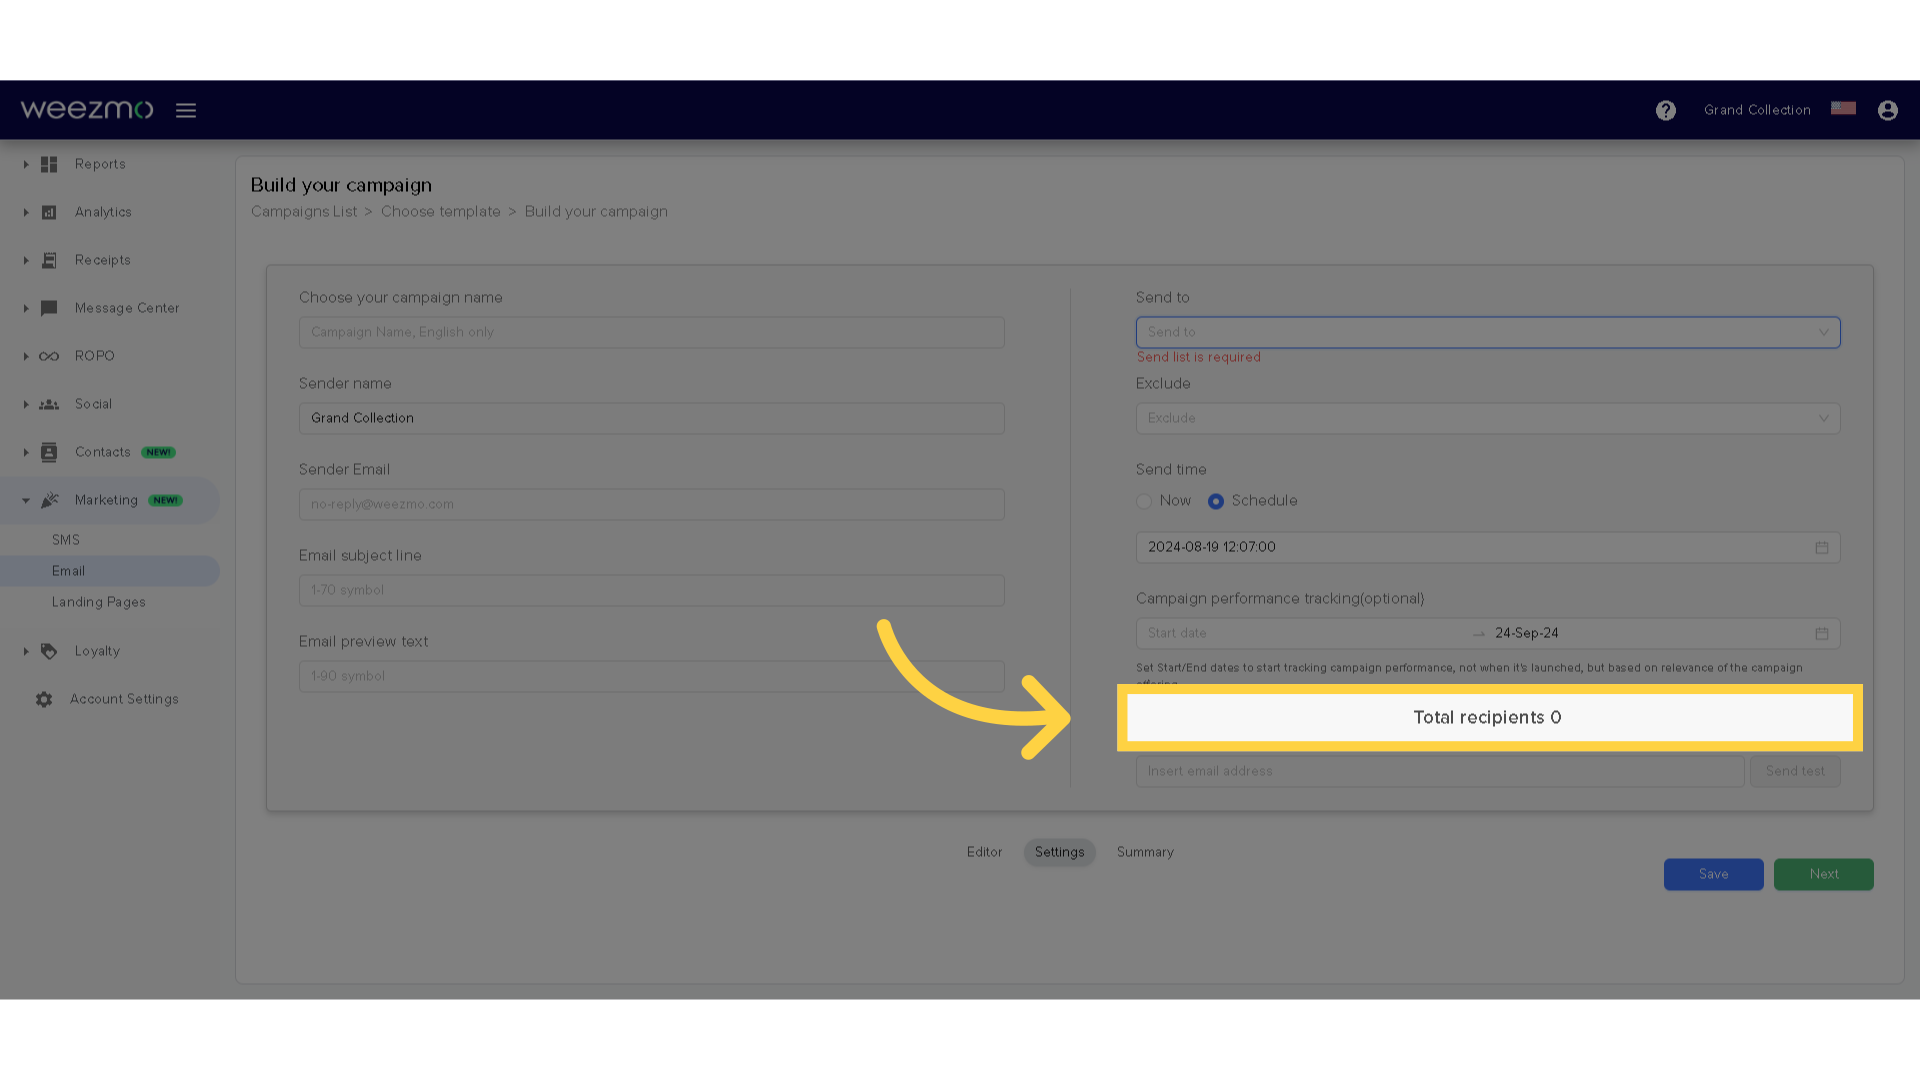
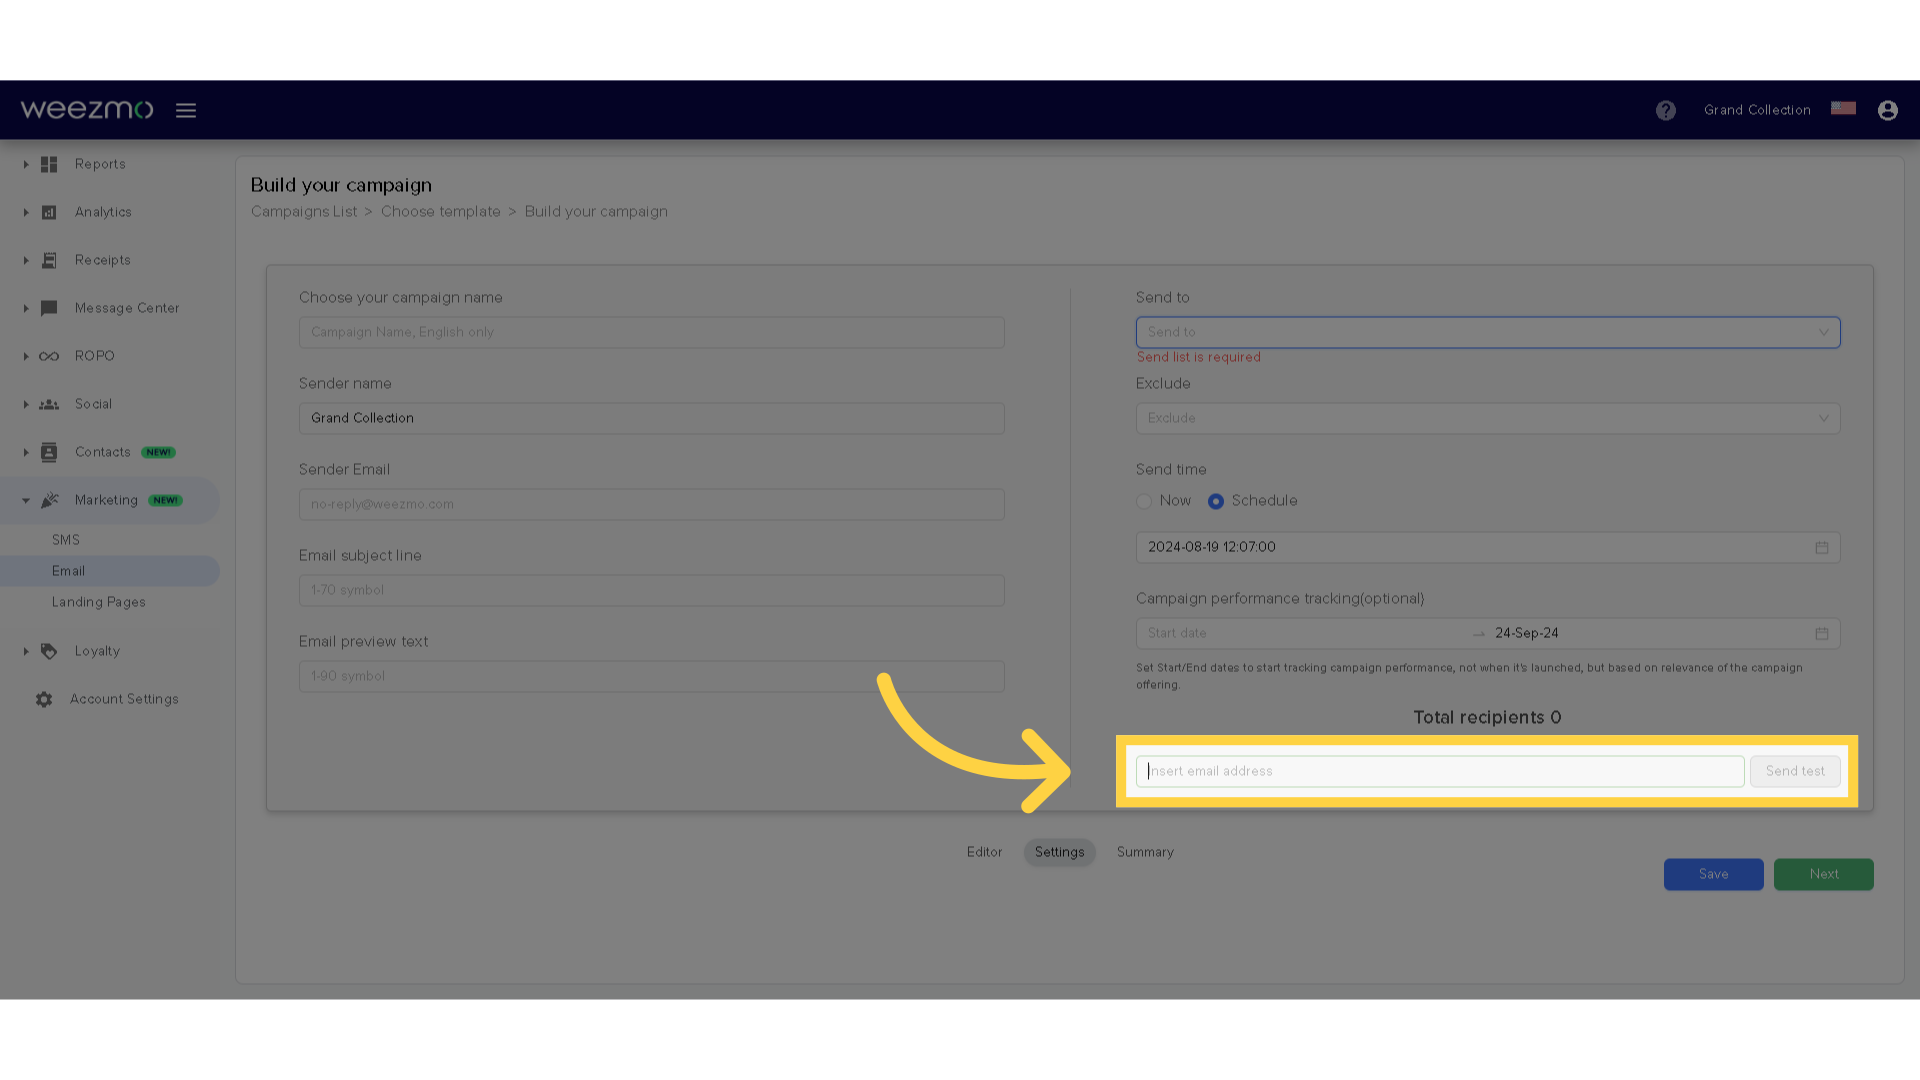
33. Total recipients
Here you can view the total number of recipients.
34. Test email
Enter an email address here, and click "Send test" to send a test message and see a preview of the campaign.
34. Click "Next"
Proceed to the next step.

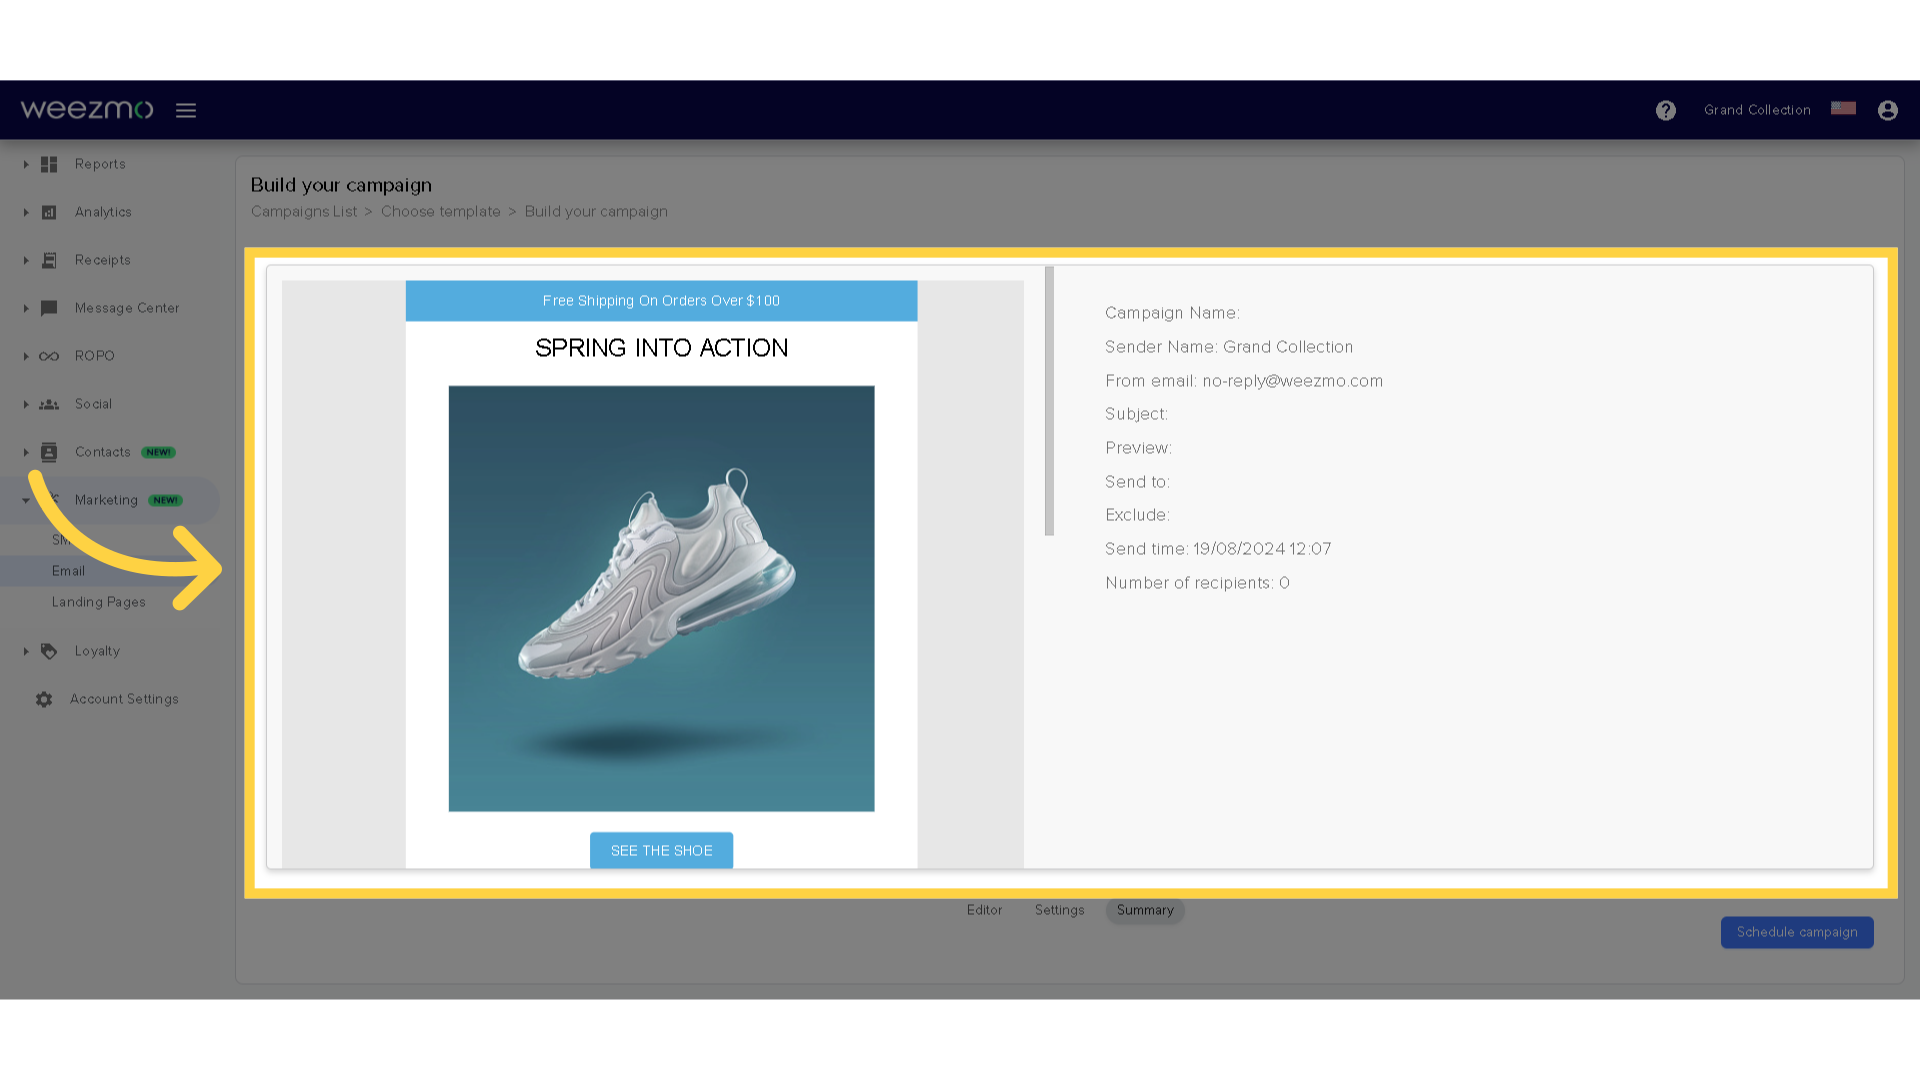
36. Campaign summary
Here you can view a summary of the email and the defined settings for the email campaign.
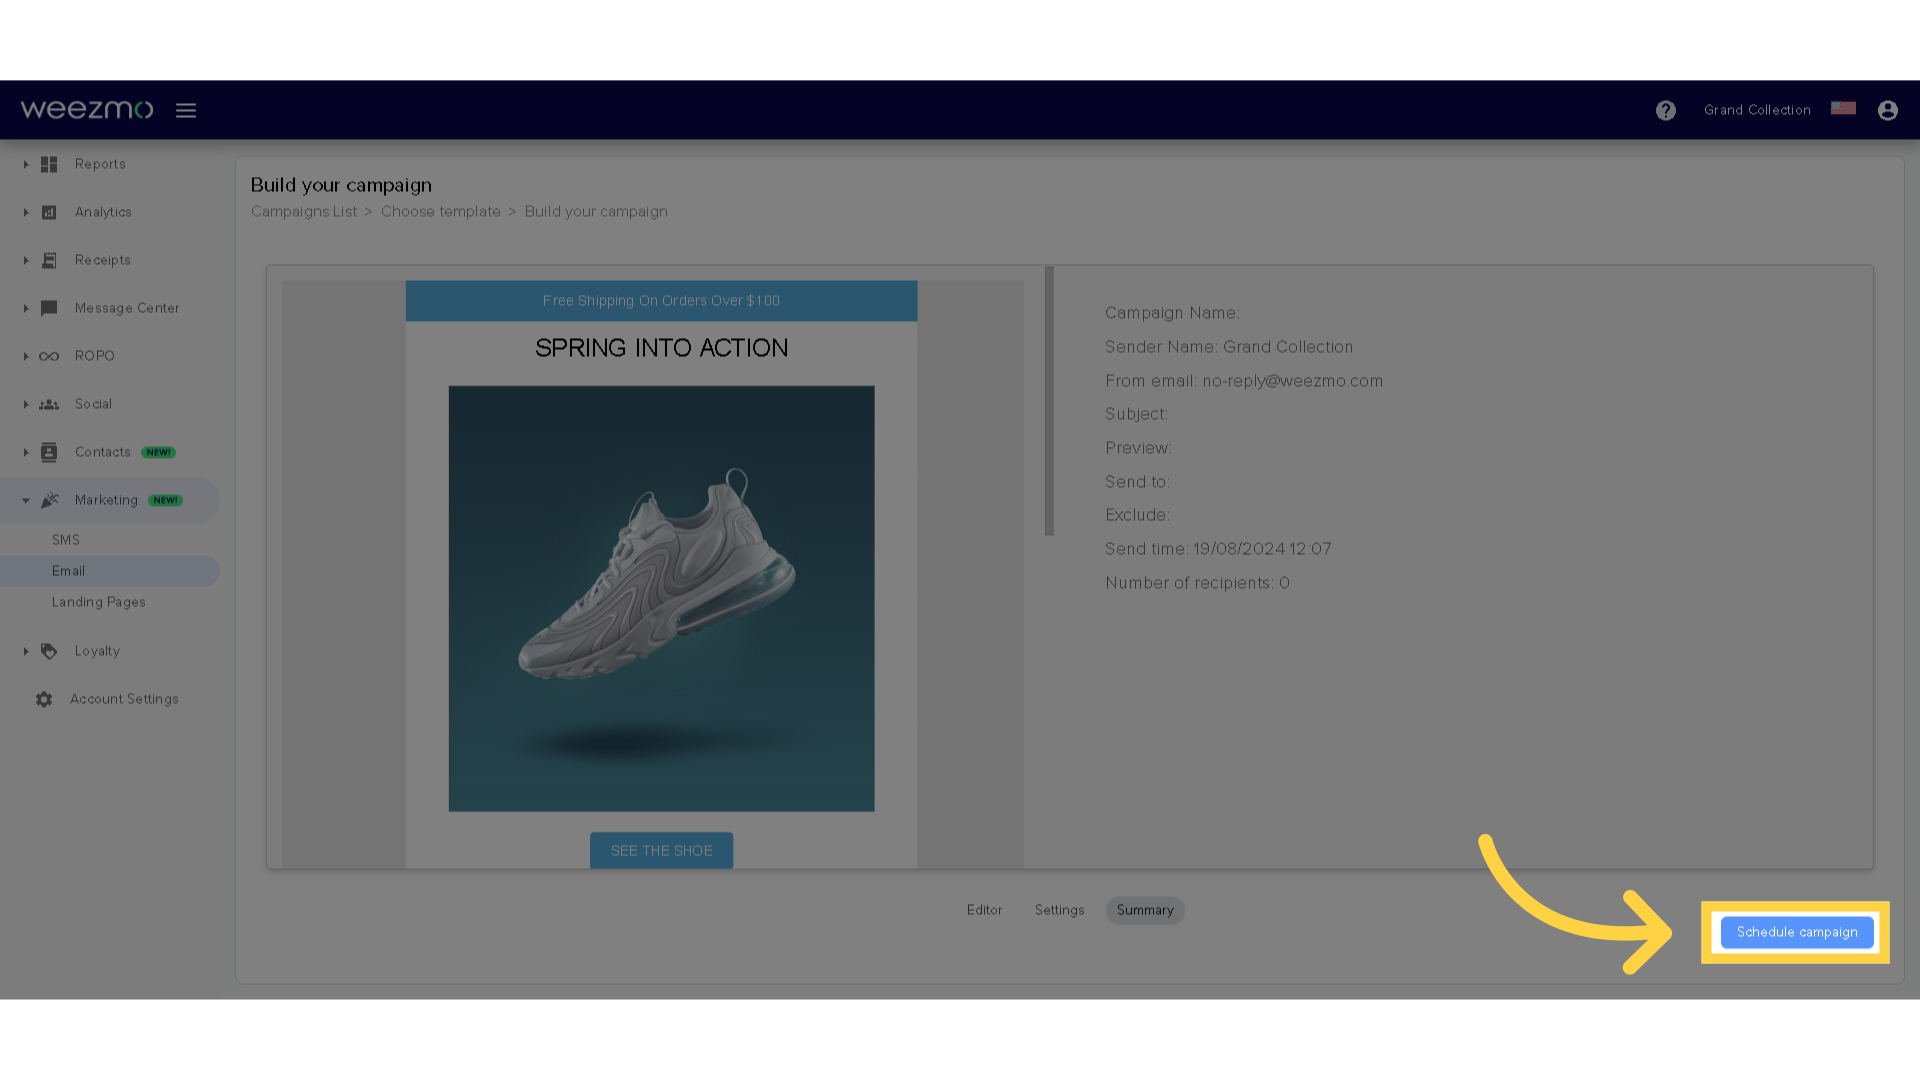
37. Send or schedule campaign
Click here to schedule the campaign to be sent at the selected time. If the campaign is scheduled to be sent "Now", a "Send" button will be displayed instead, and upon clicking it the campaign will be sent.
2. Managing an Email campaign
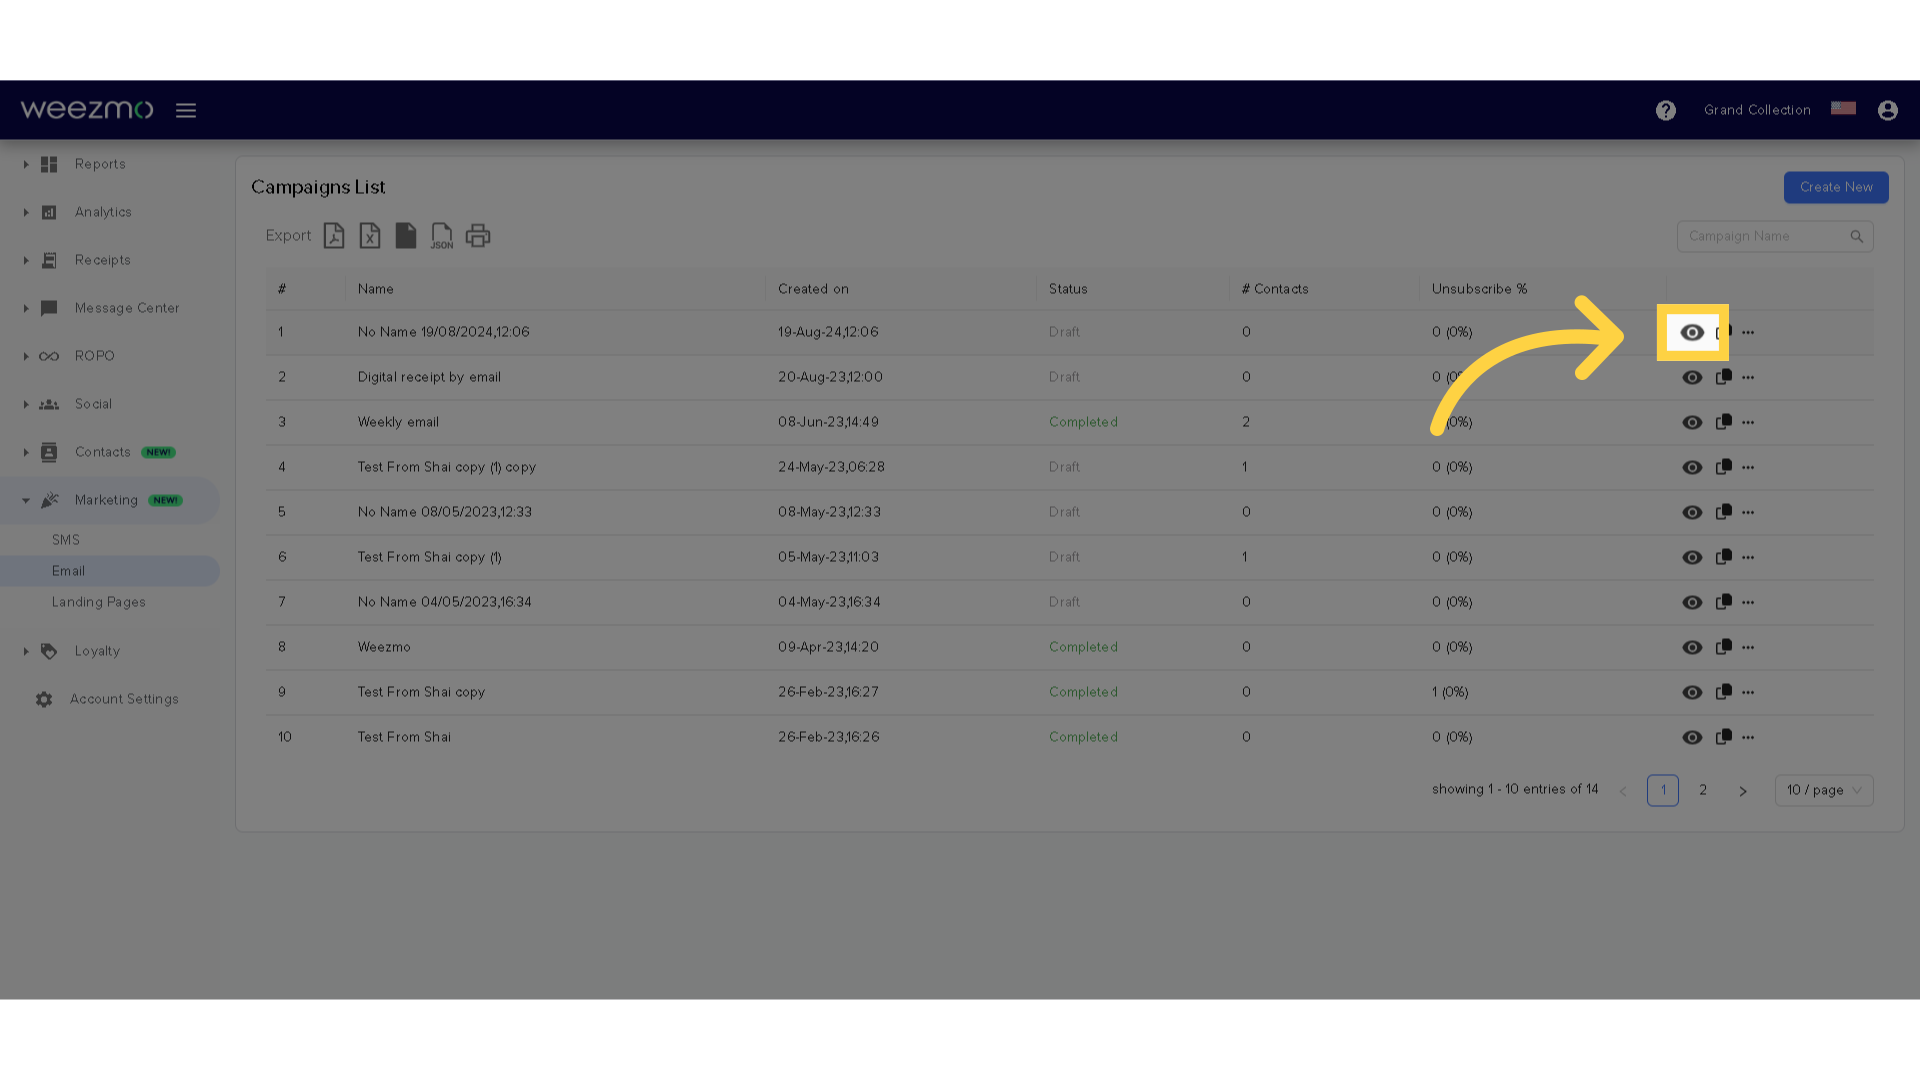
1. Preview
In the Campaigns List window, click here to see a preview of the campaign.
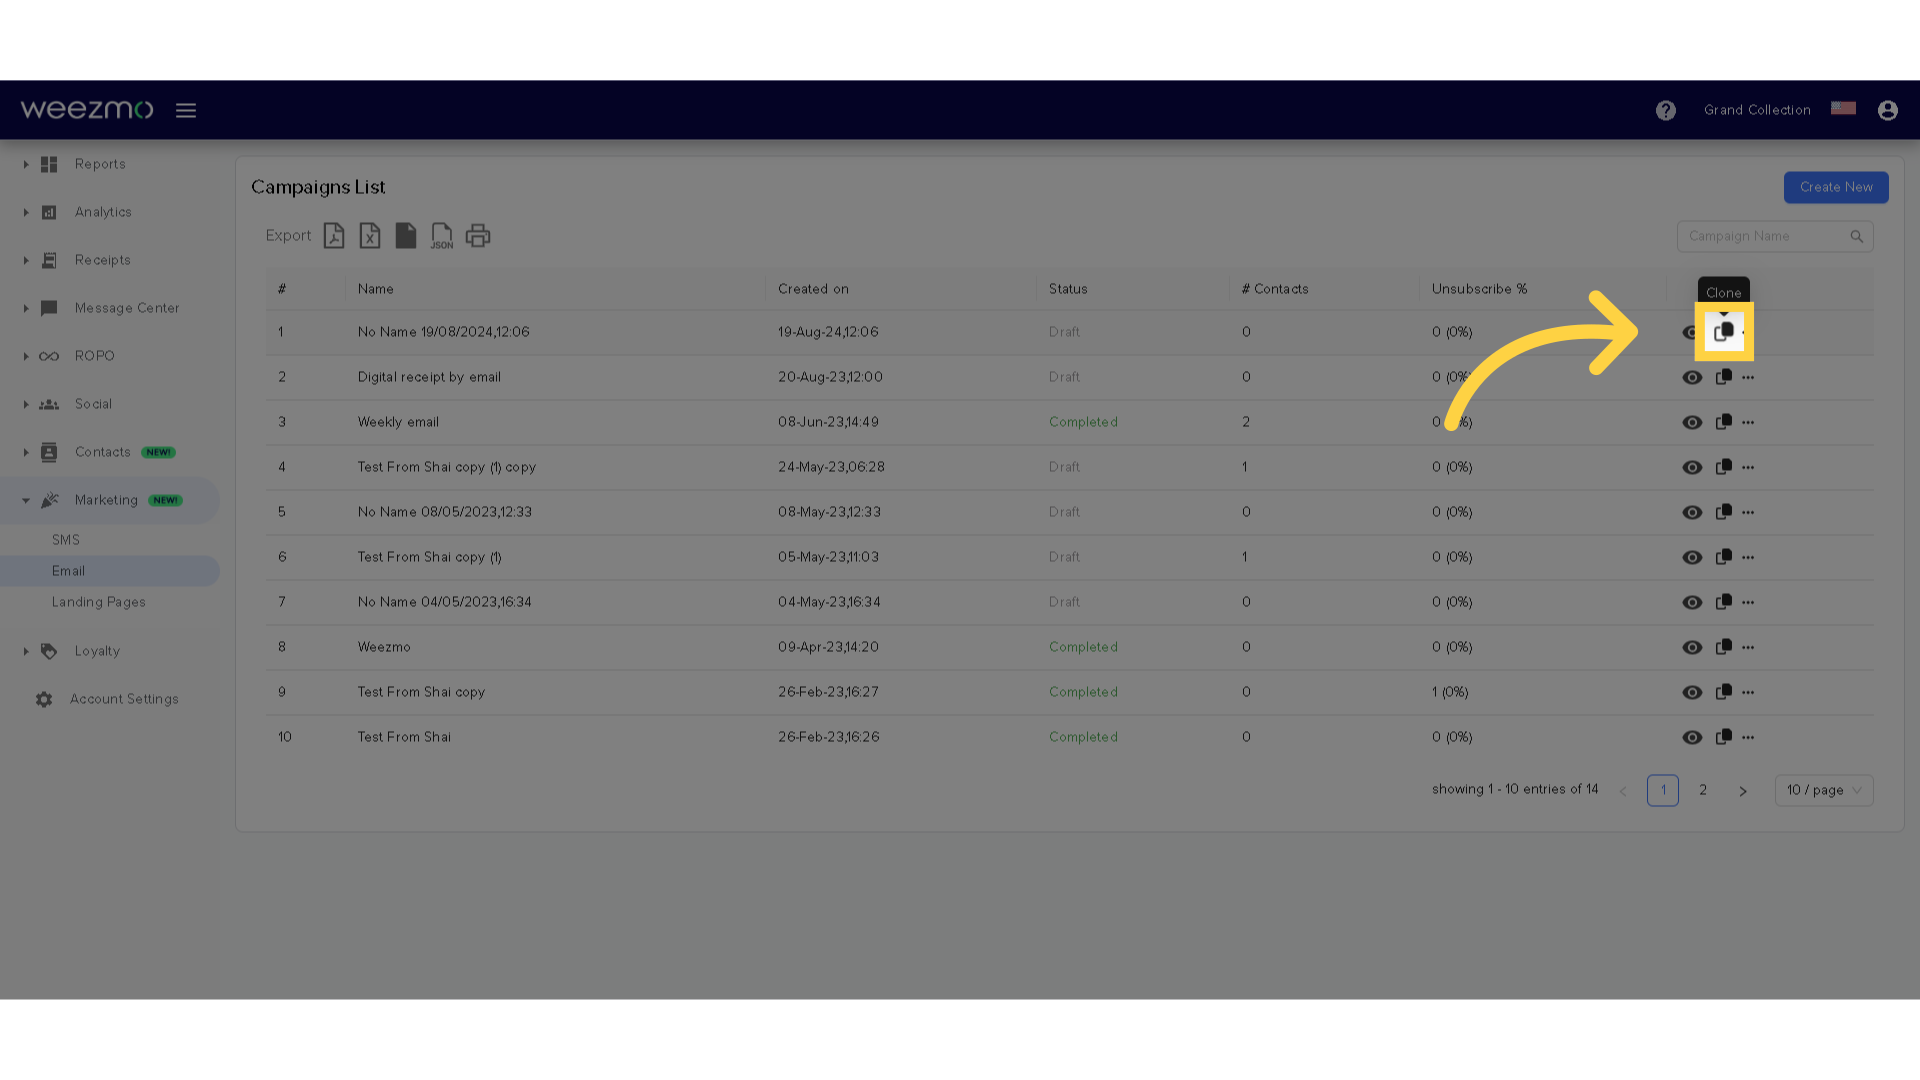
2. Duplicate
Click here to create a copy of this campaign.
3. Additional settings
Click here for additional settings.
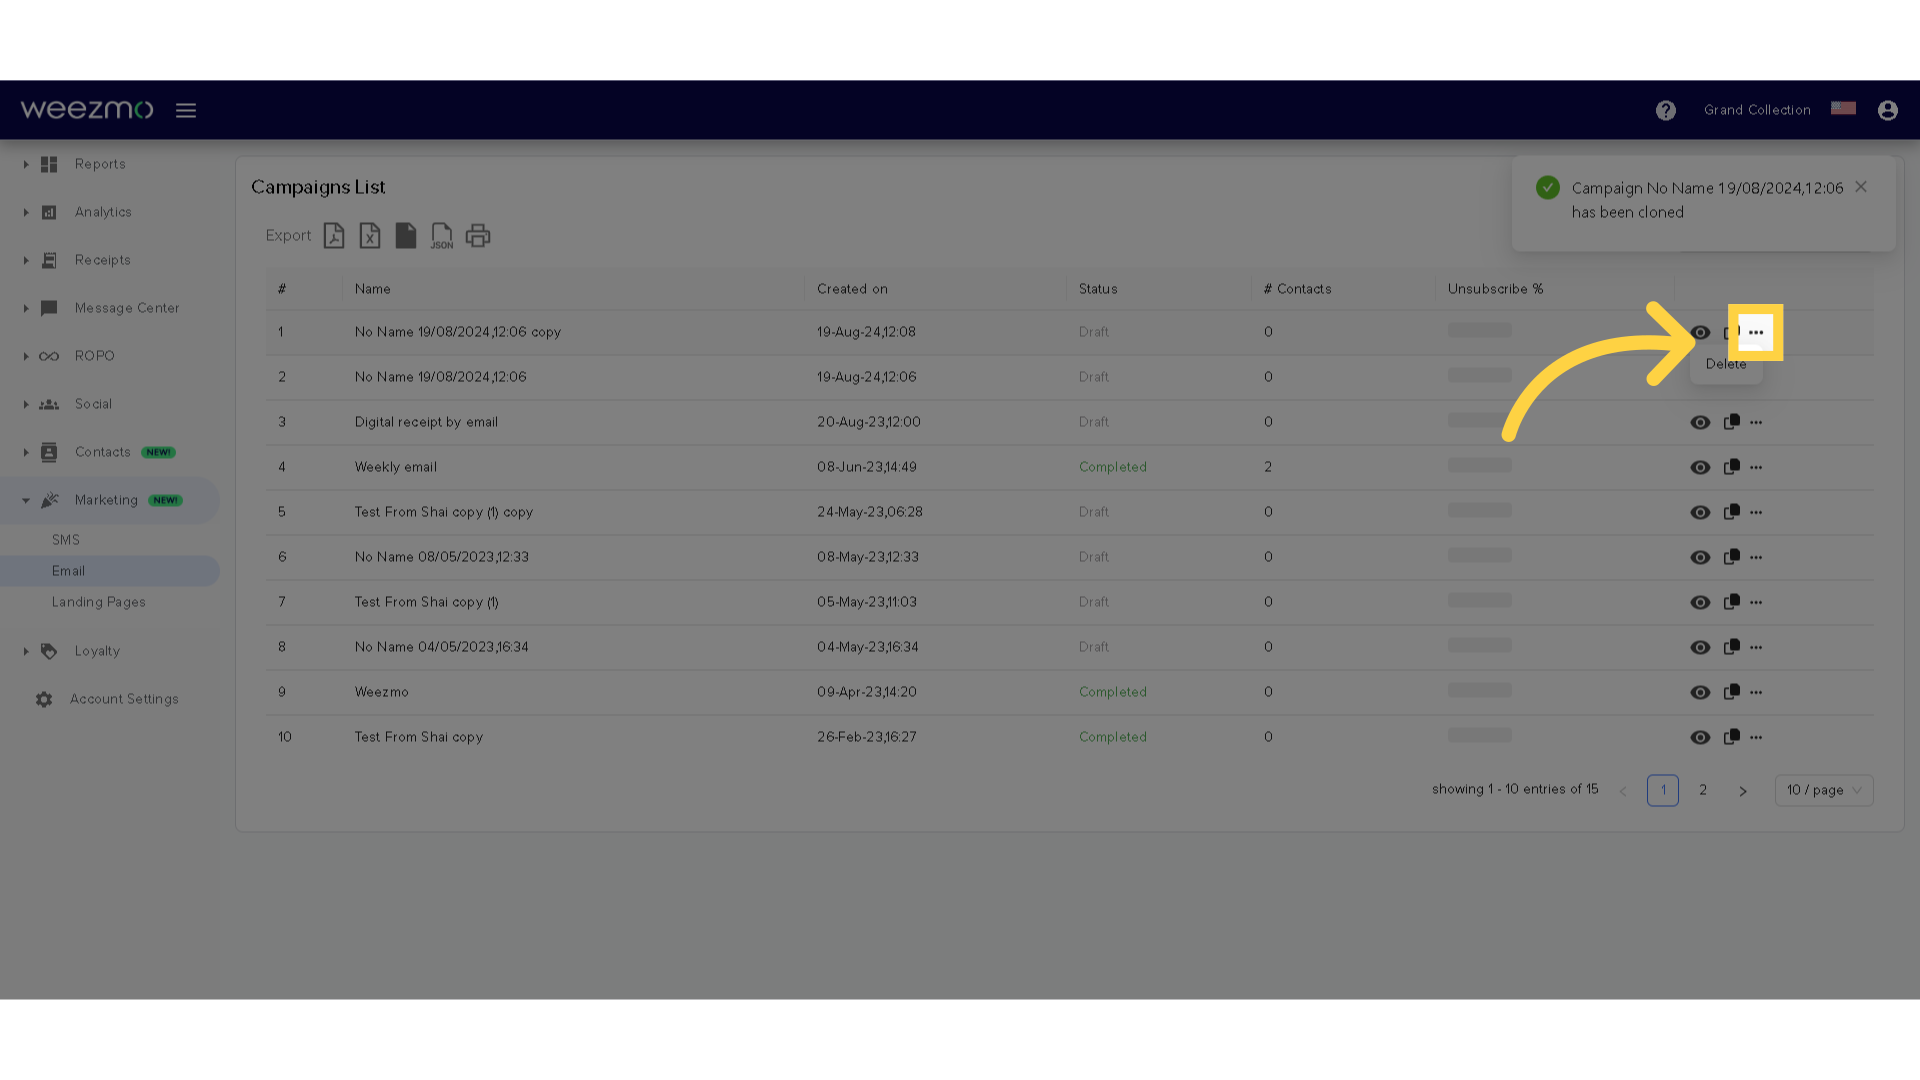
4. Delete campaign
Click "Delete" to delete this campaign.

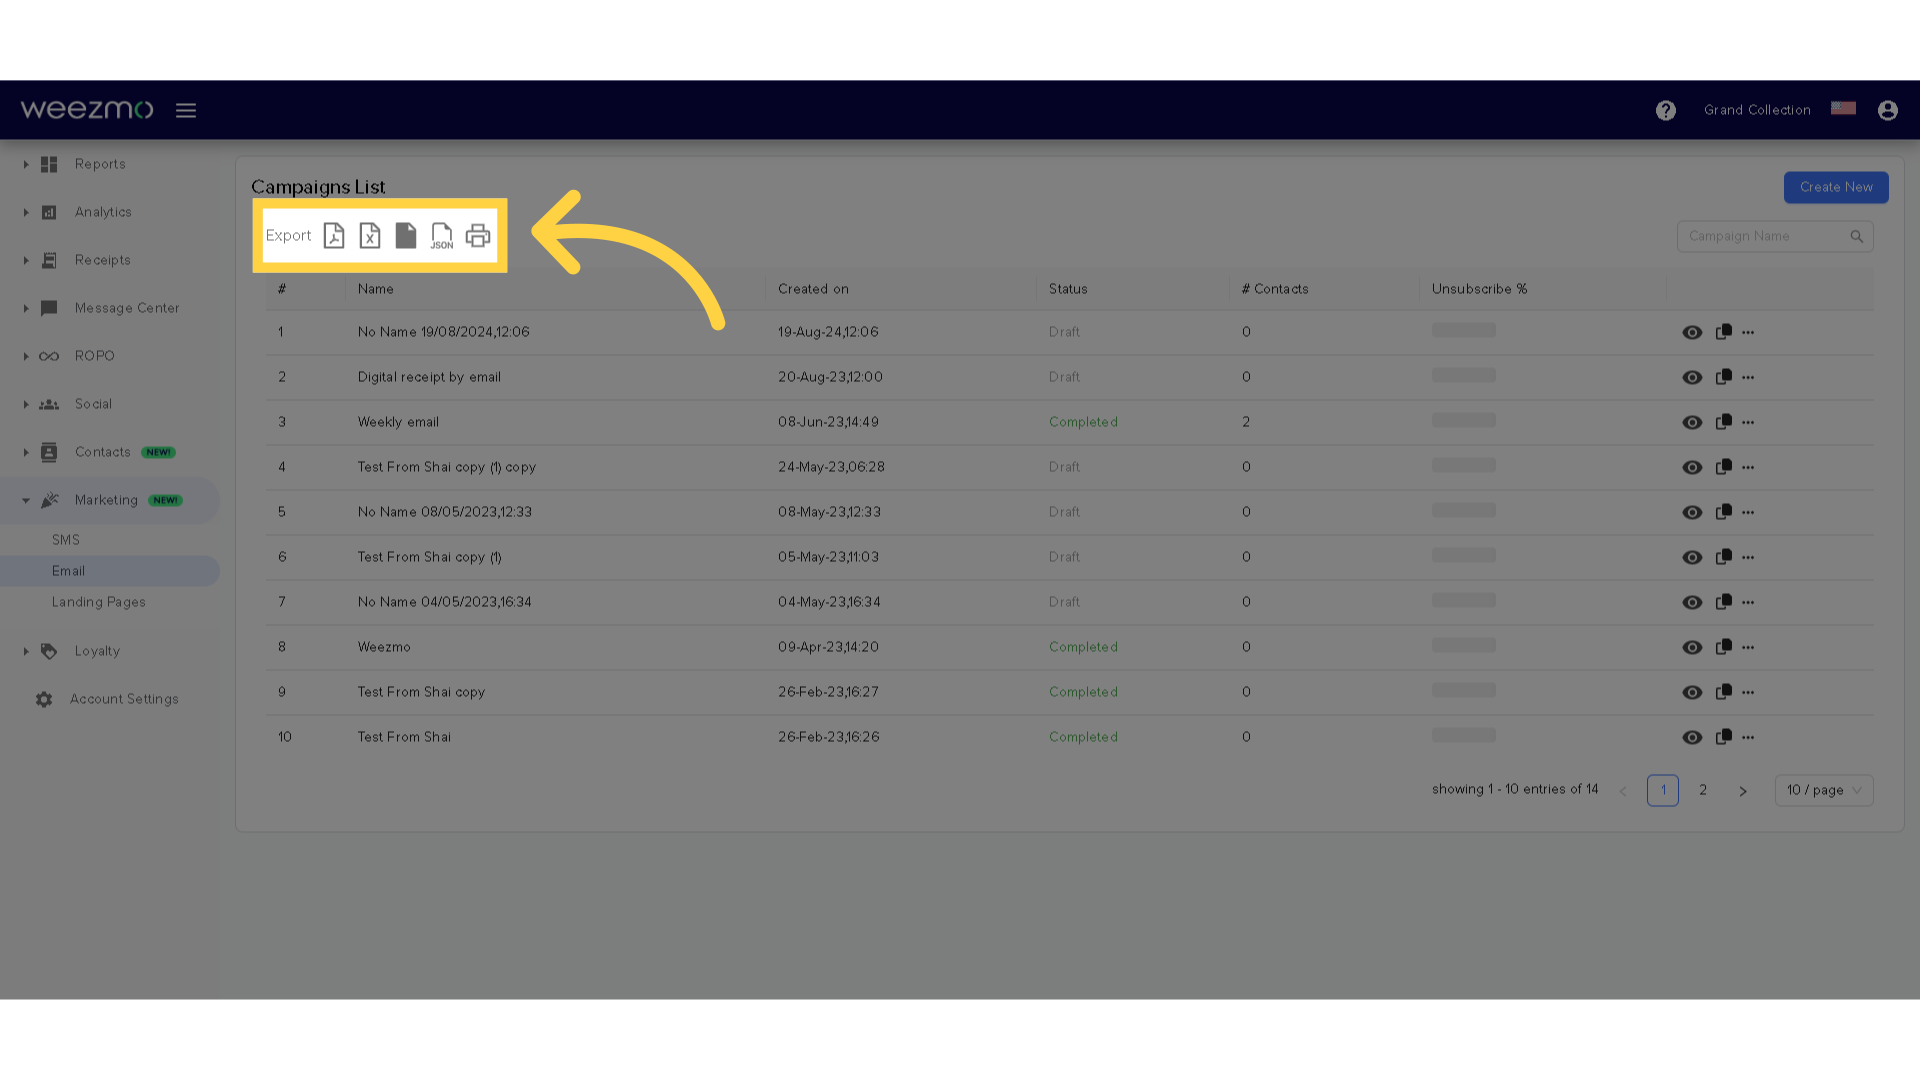
5. Export list
To export the campaigns list, select a download format from this list.
The guide covered the detailed process of setting up and launching an email campaign using Weezmo.