Account Settings - Permissions
Account Settings - Permissions
The following guide will help you navigate account permissions in Weezmo. Here you can find detailed instructions for your permission options, and manage accounts efficiently.
1. Go to "Account Settings"
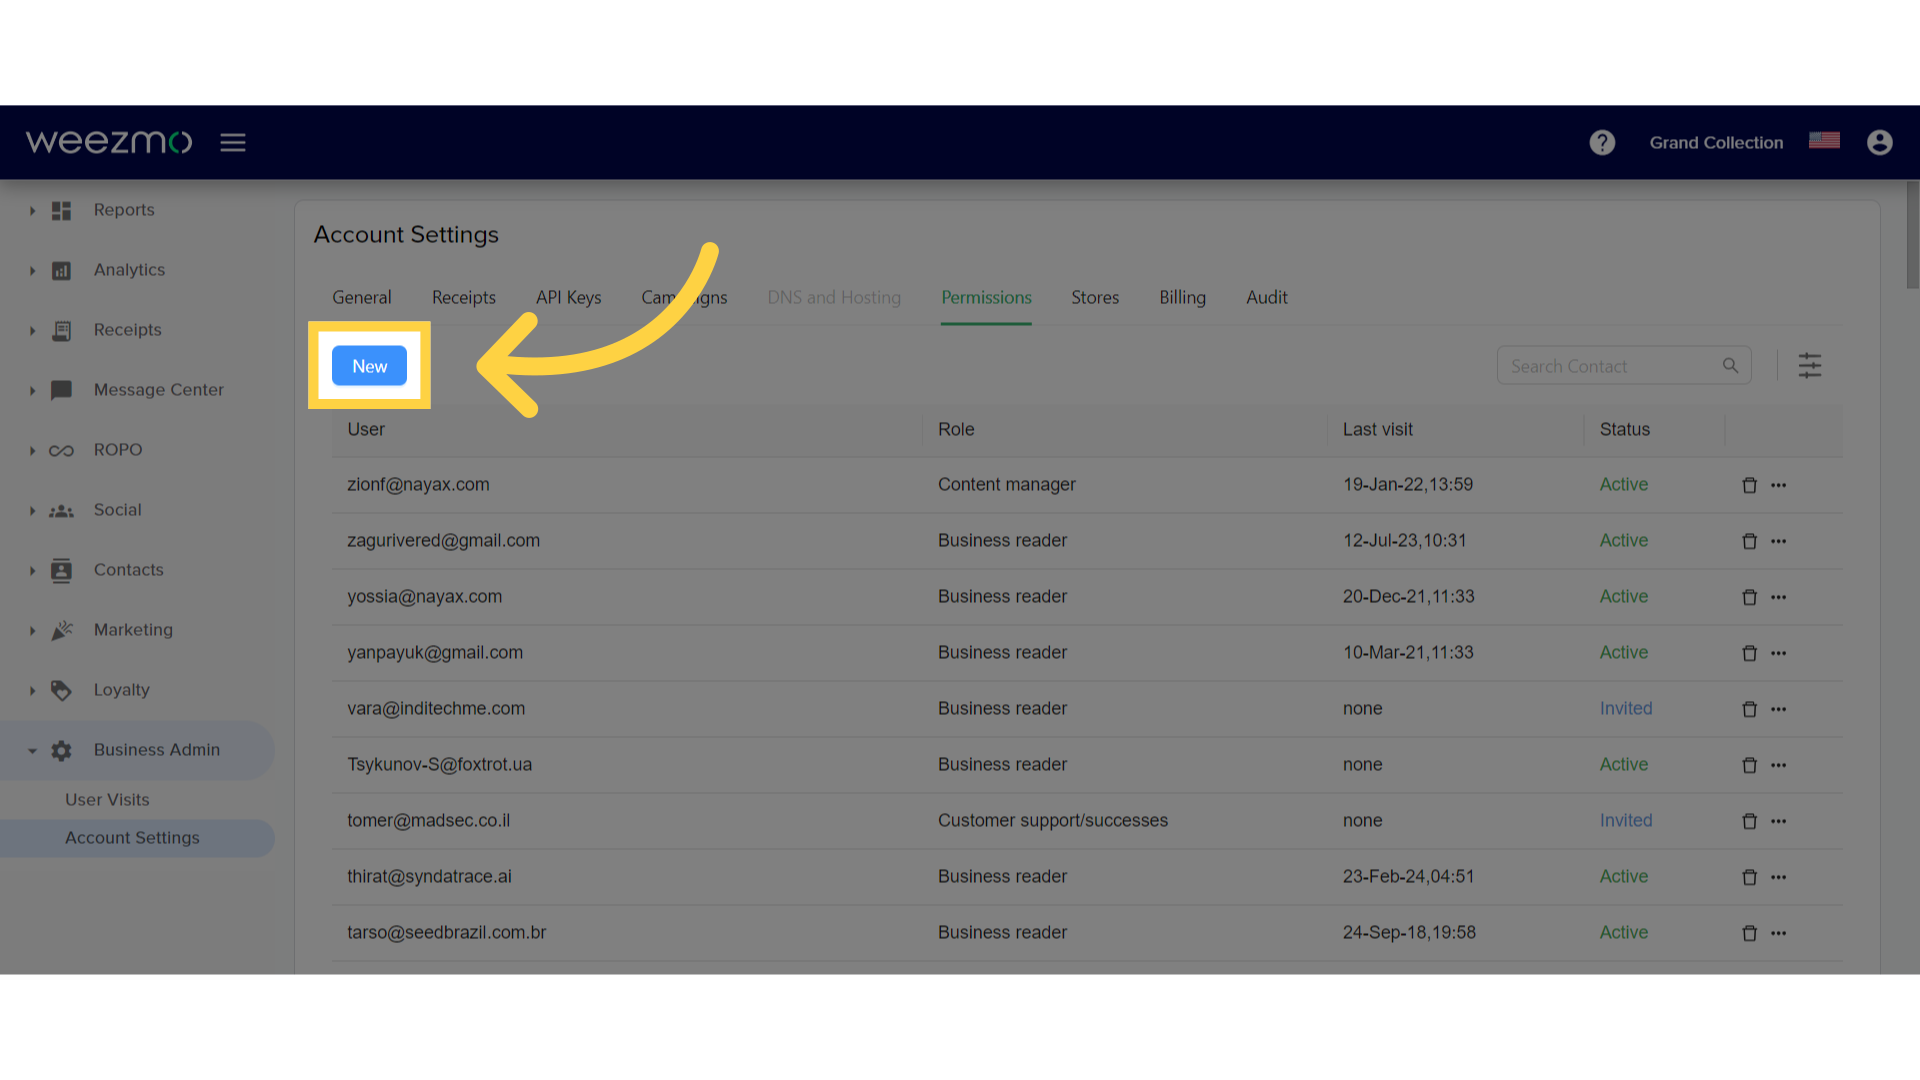
In the "Account Settings" window, open the "Permissions" tab.

2. Creating a new user
To create a new user, click "New".
3. Defining new user information
In the "New User" window, you can define a new user's email adress, role, status and permissions. You can also define authorised IP adresses for this user's login, as well as viewing, editing and publishing settings in several different communication platforms.

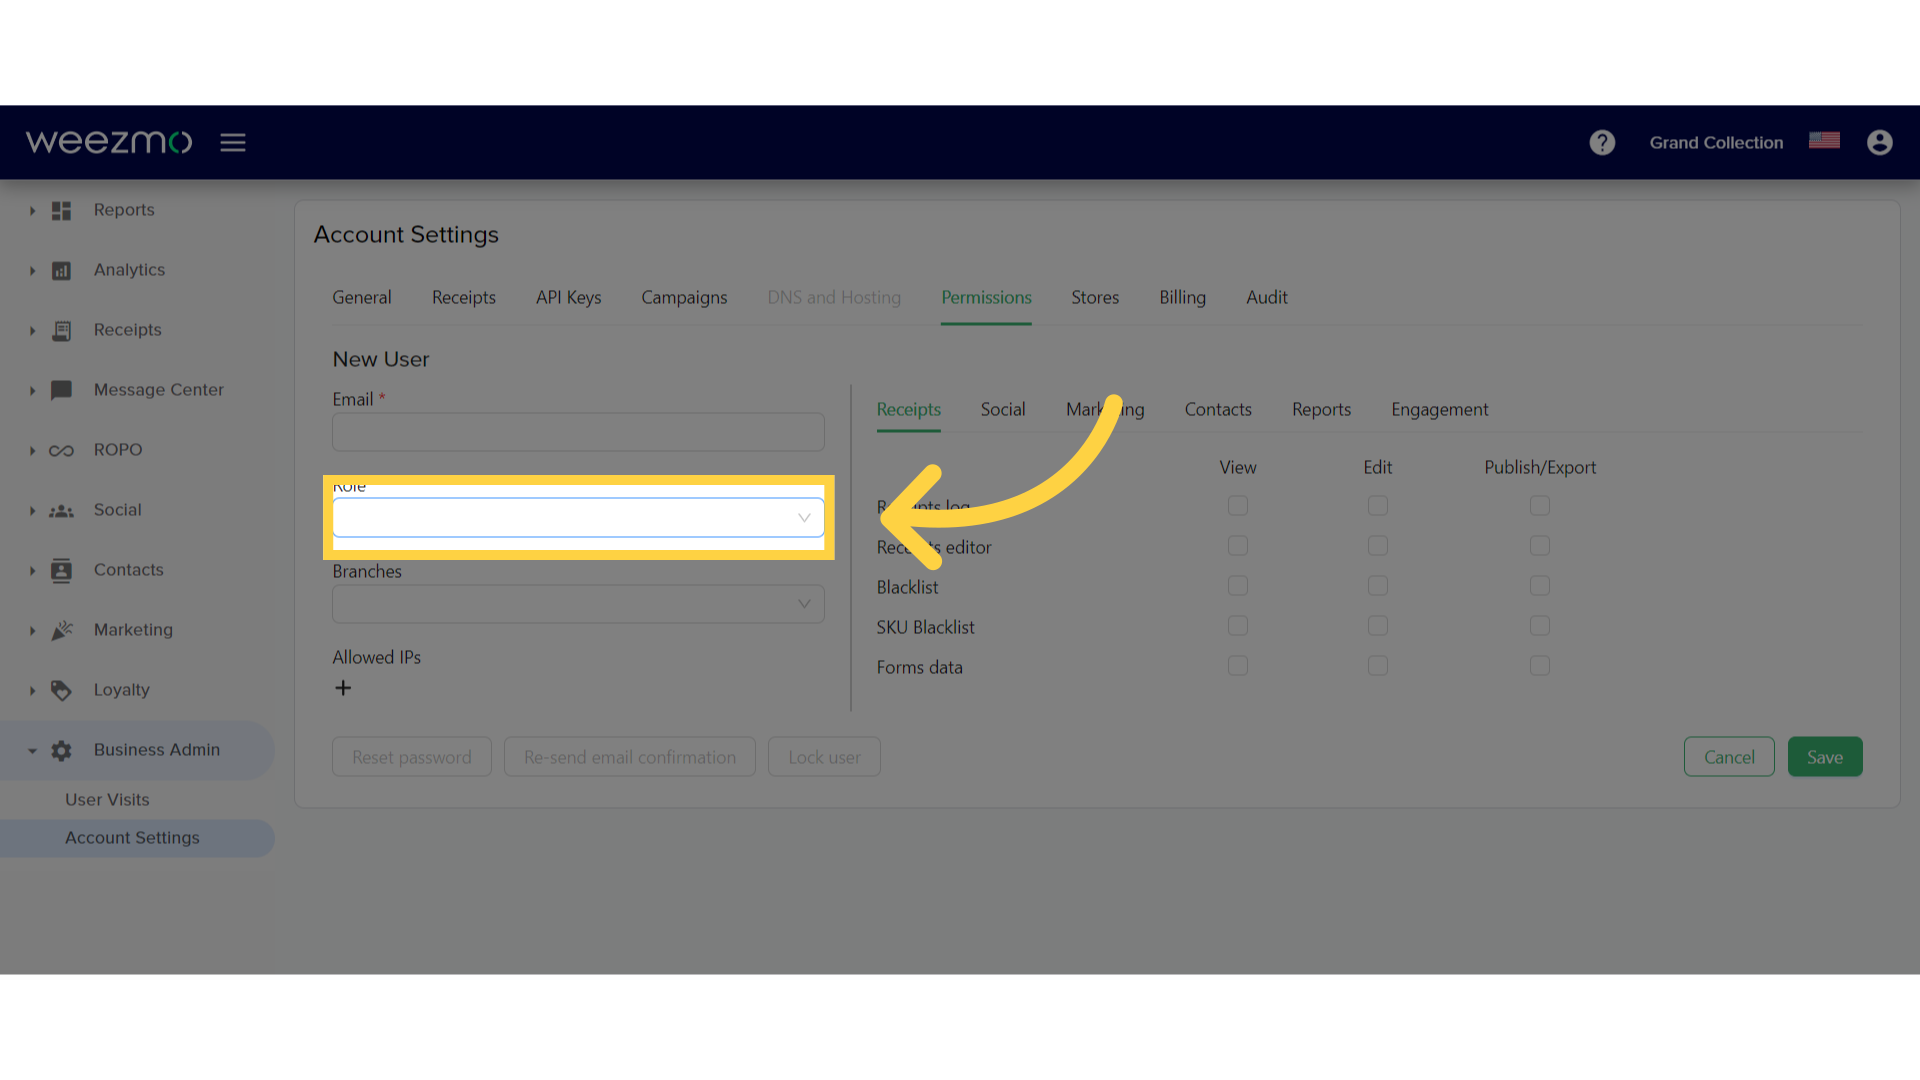
4. Define a role
The "Roles" drop-down displays the roles defined in the system. Each role has a defined set of permissions within the different system windows. Permissions defined for the selected role are displayed in the check boxes displayed on the righthand side. You can also select the "Custom" role, and manually define this user's permissions. To give a user permission to all system settings, define their role as Business Admin.
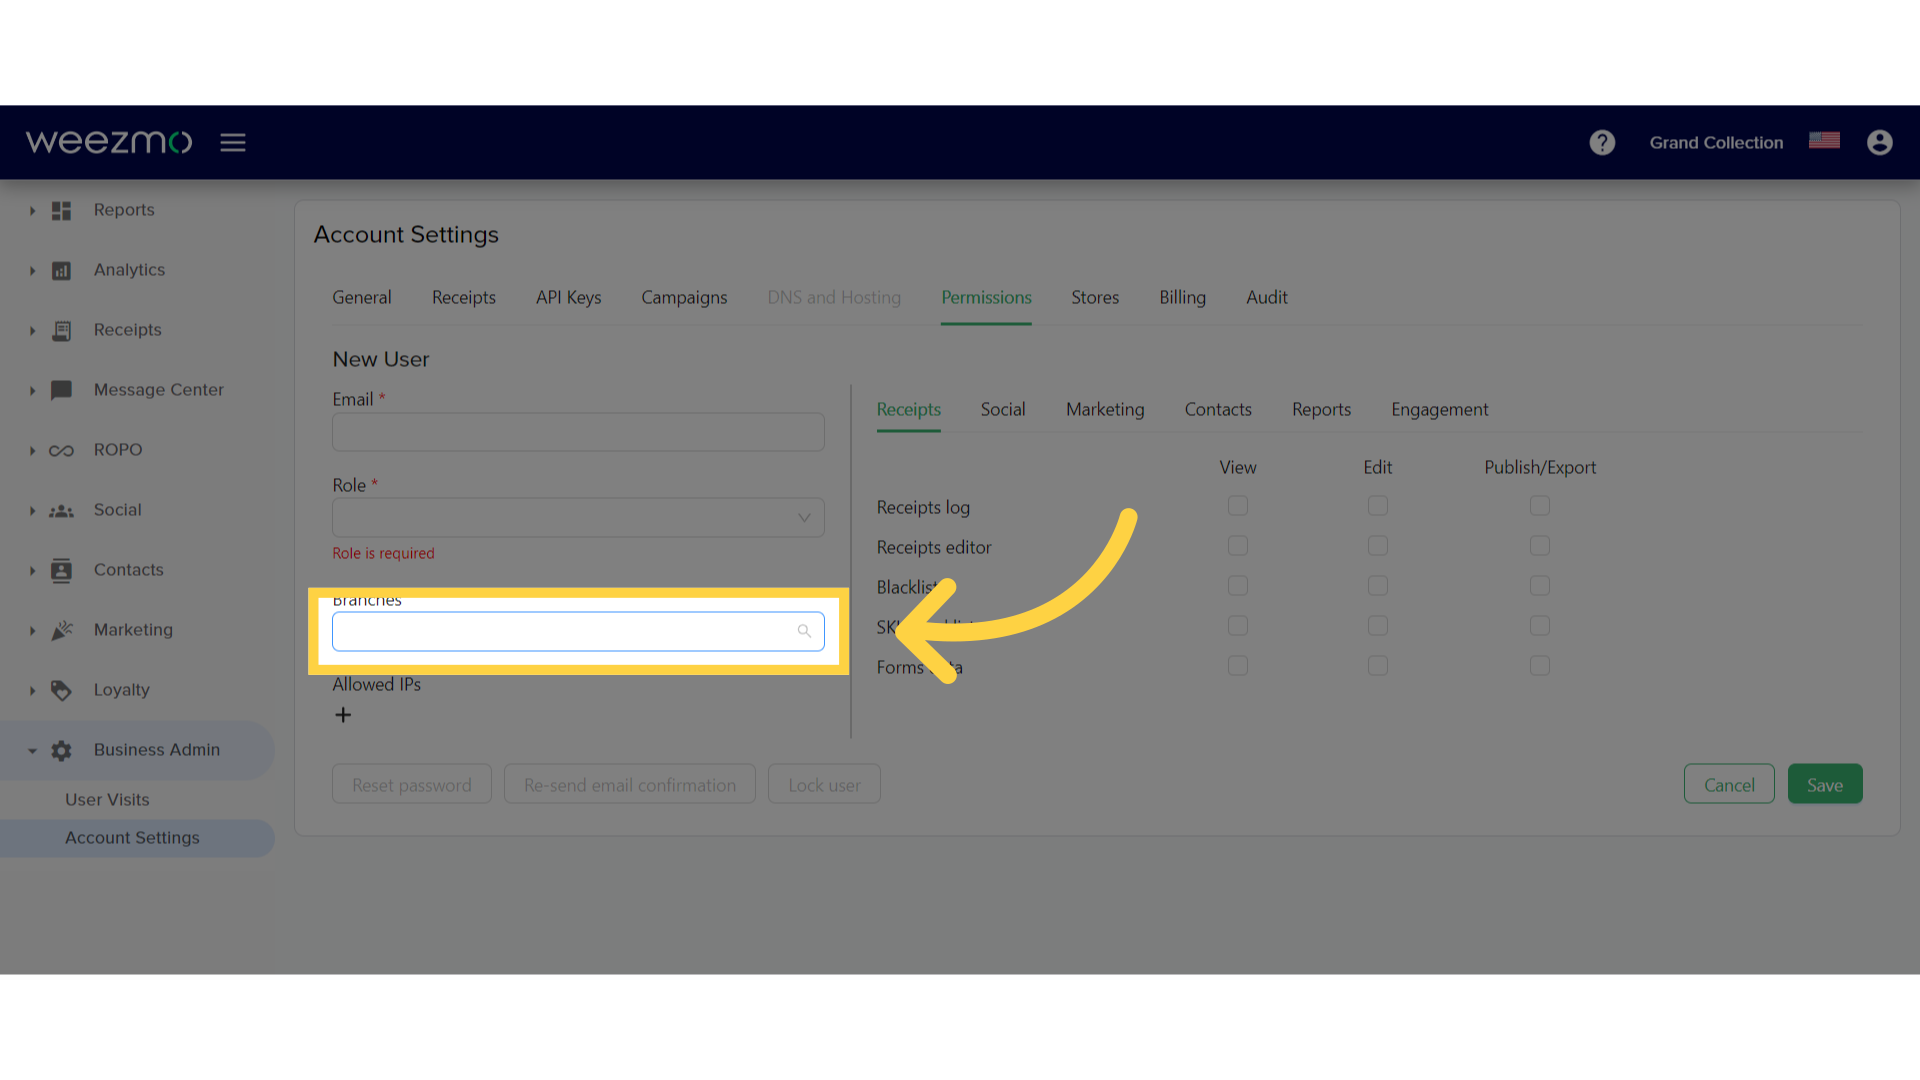
5. Define branches
The "Branches" drop-down displays the existing branches. You can use this list to select one or more branches linked to this user. If no branches are specified, this user will have access to all branches. To remove a branch, click the X button next to the branch displayed in the field.
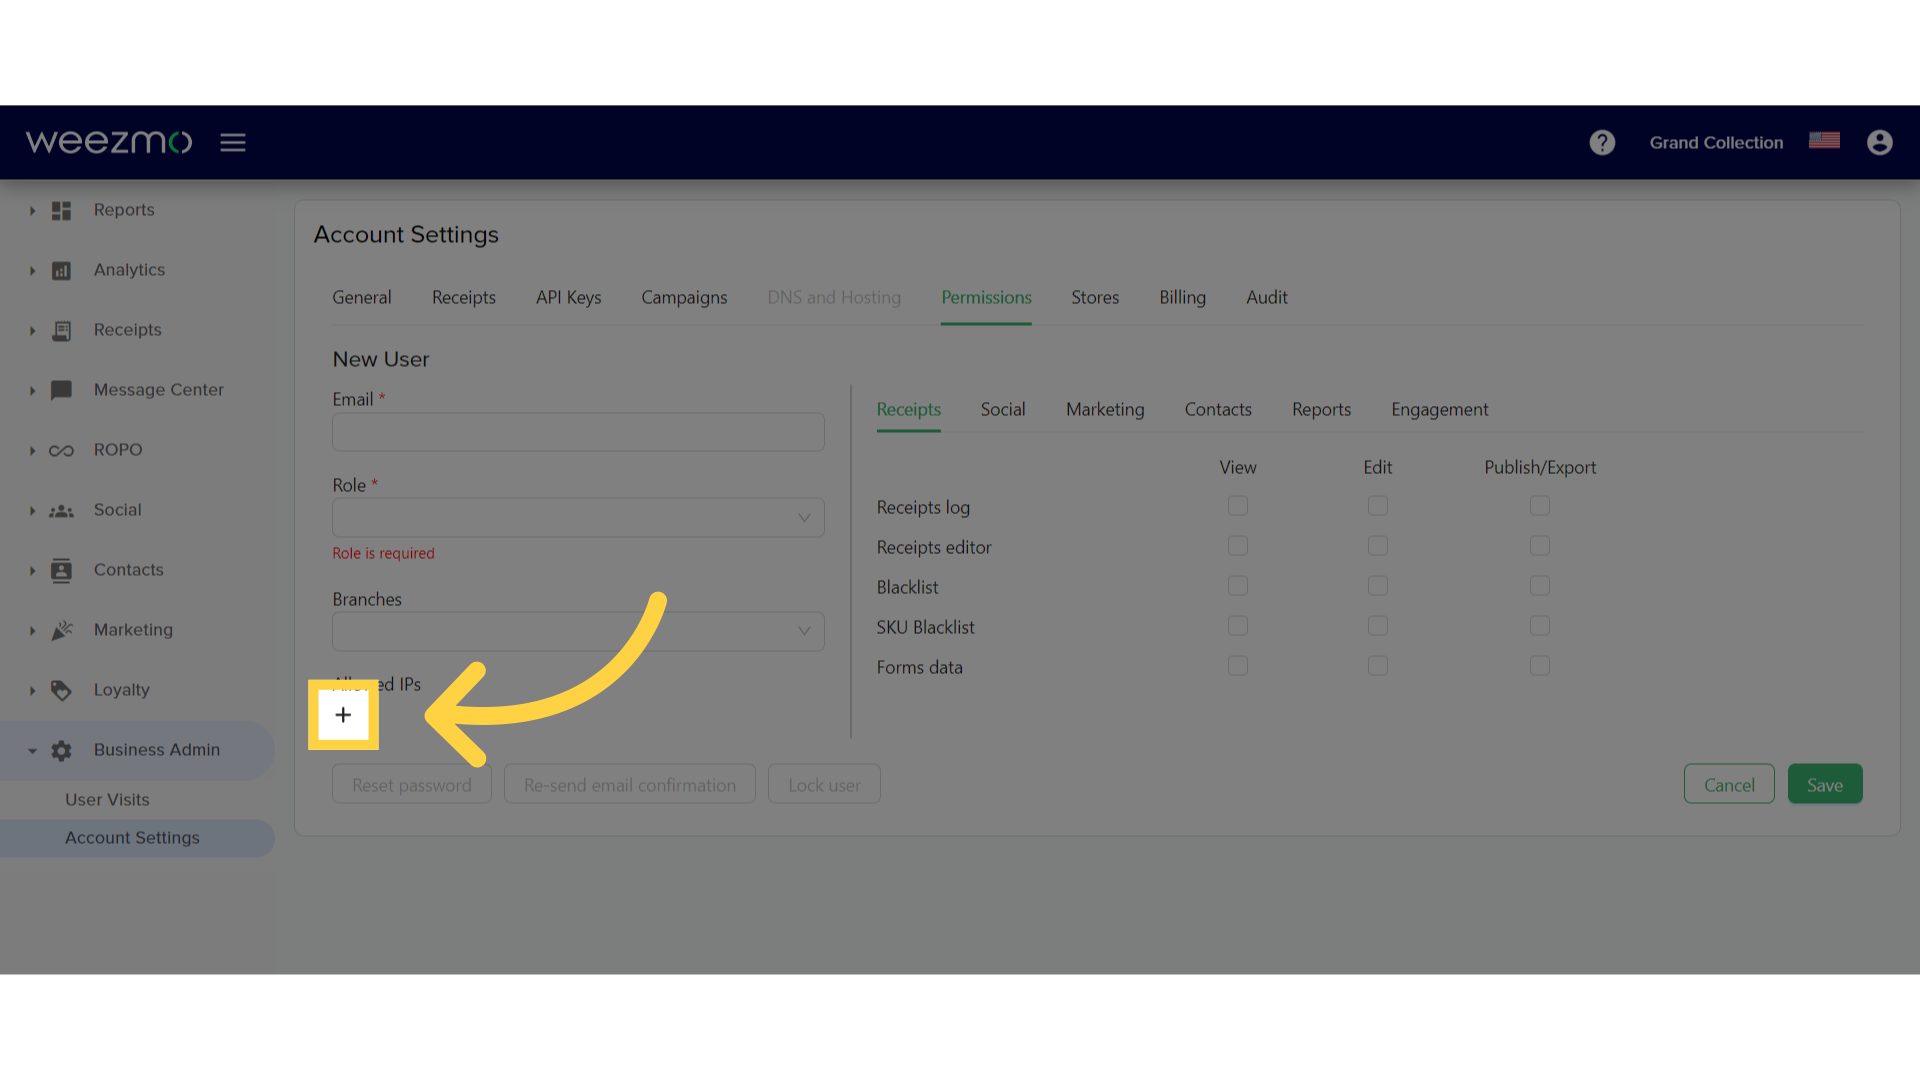
6. Define allowed IPs
To add an allowed IP address for user login, click the + button under the "Allowed IPs" section, and then type the IP address in the displayed field.
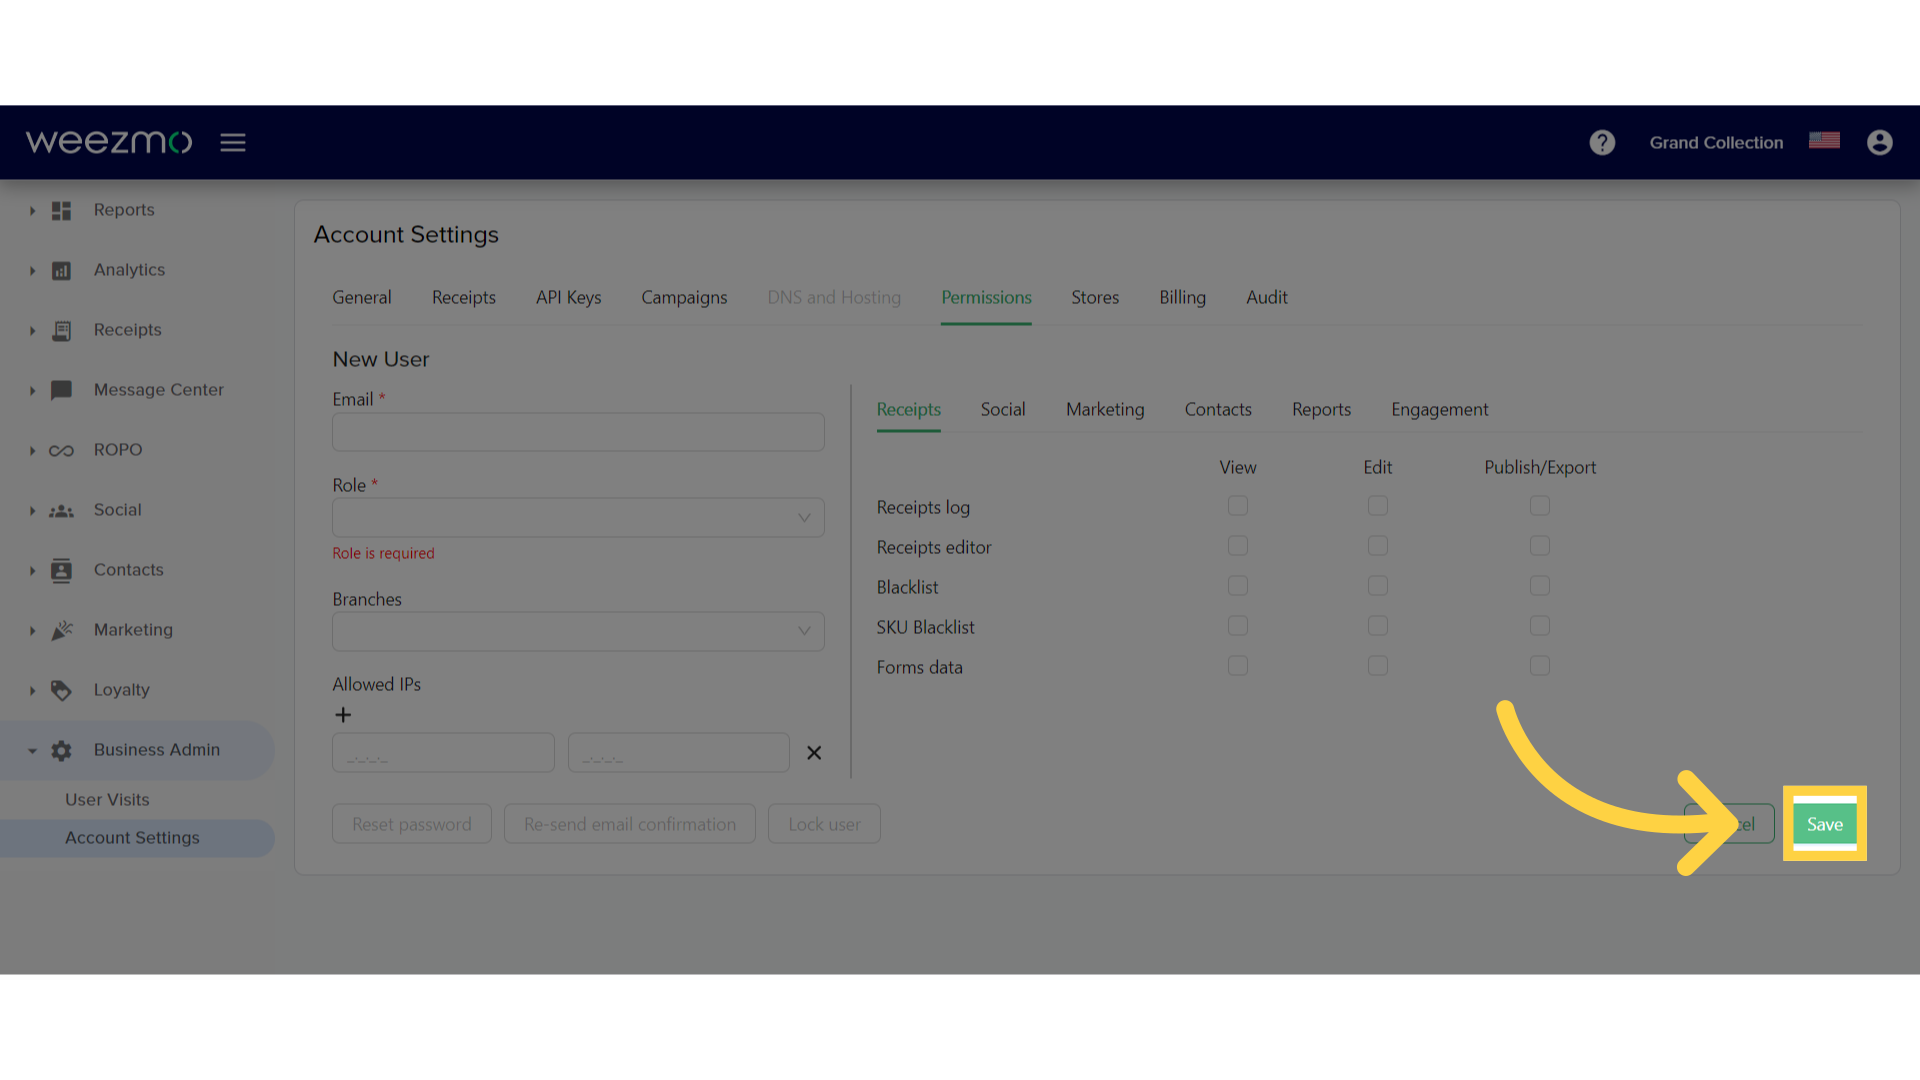
7. Save changes
To apply the information and create a new user, click "Save"
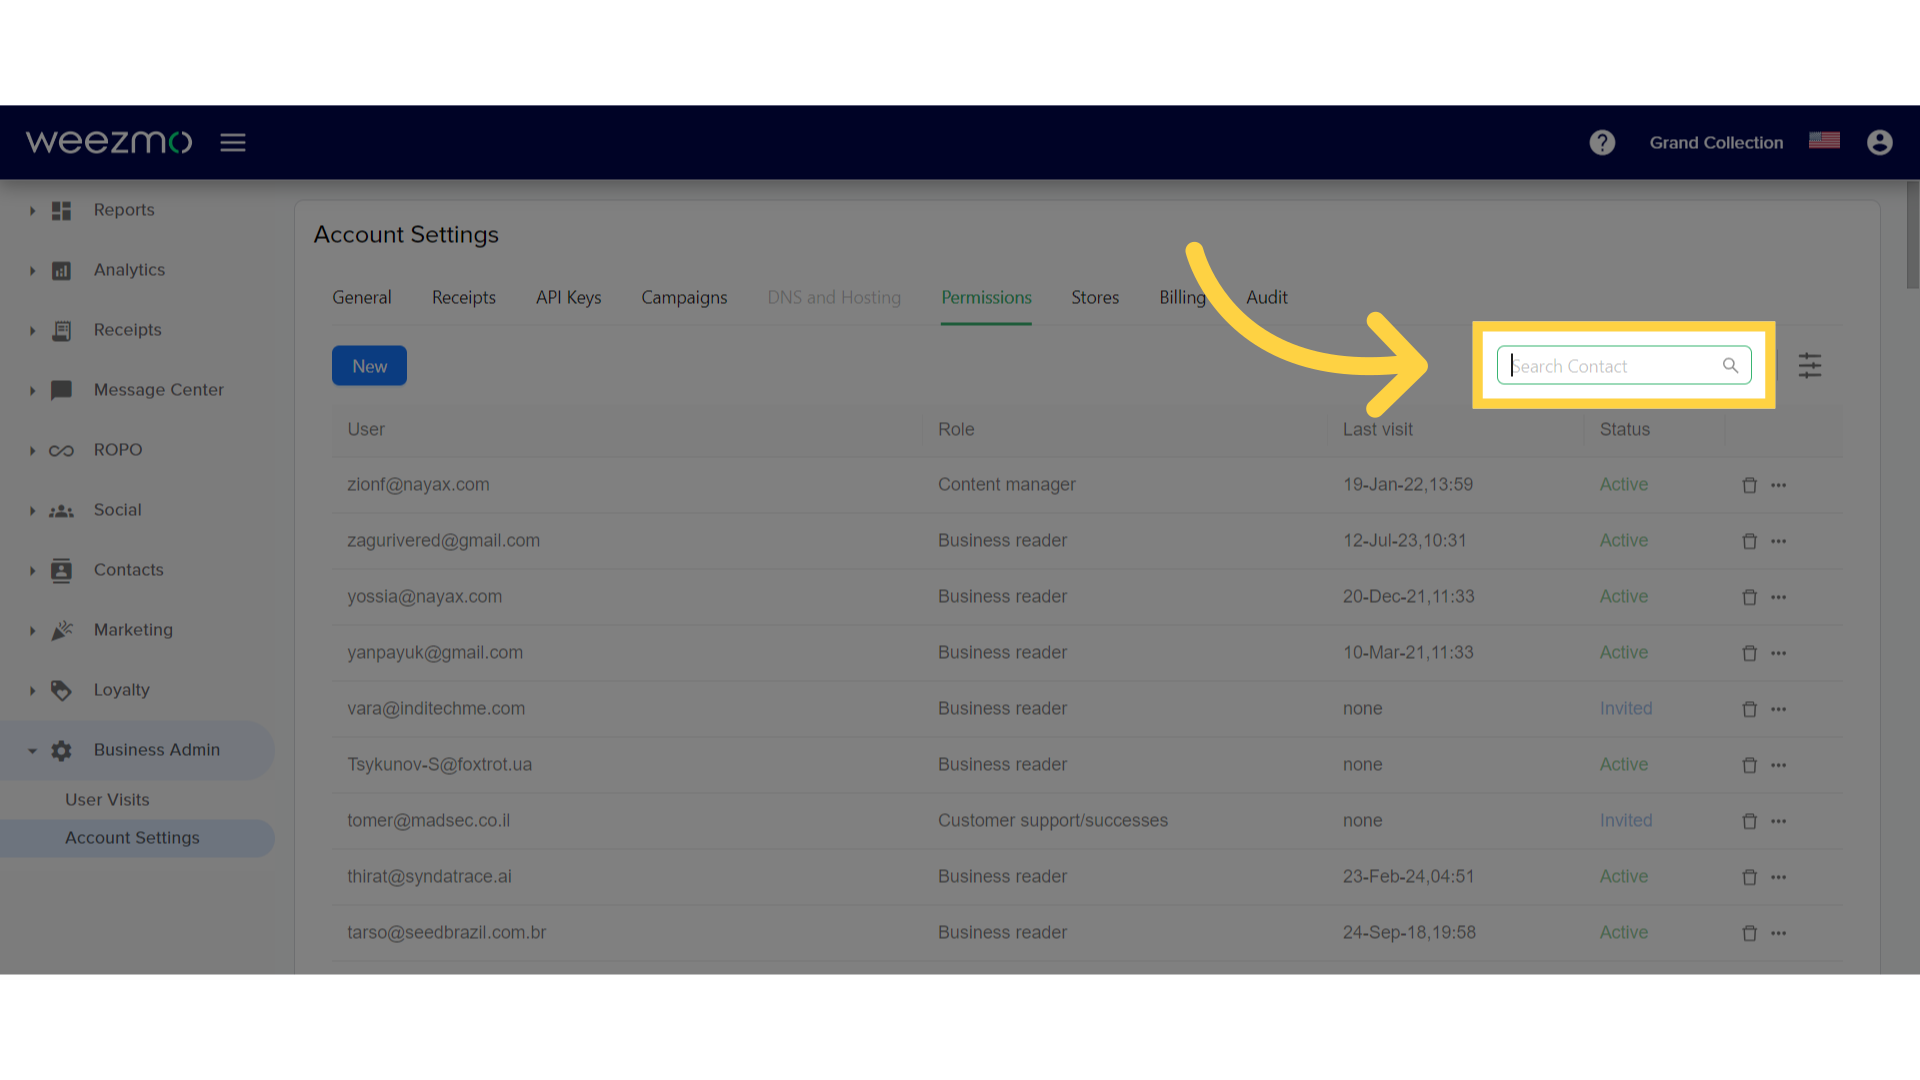
8. Search for contact
You can use the "Search Contant" field to search for users by email address.
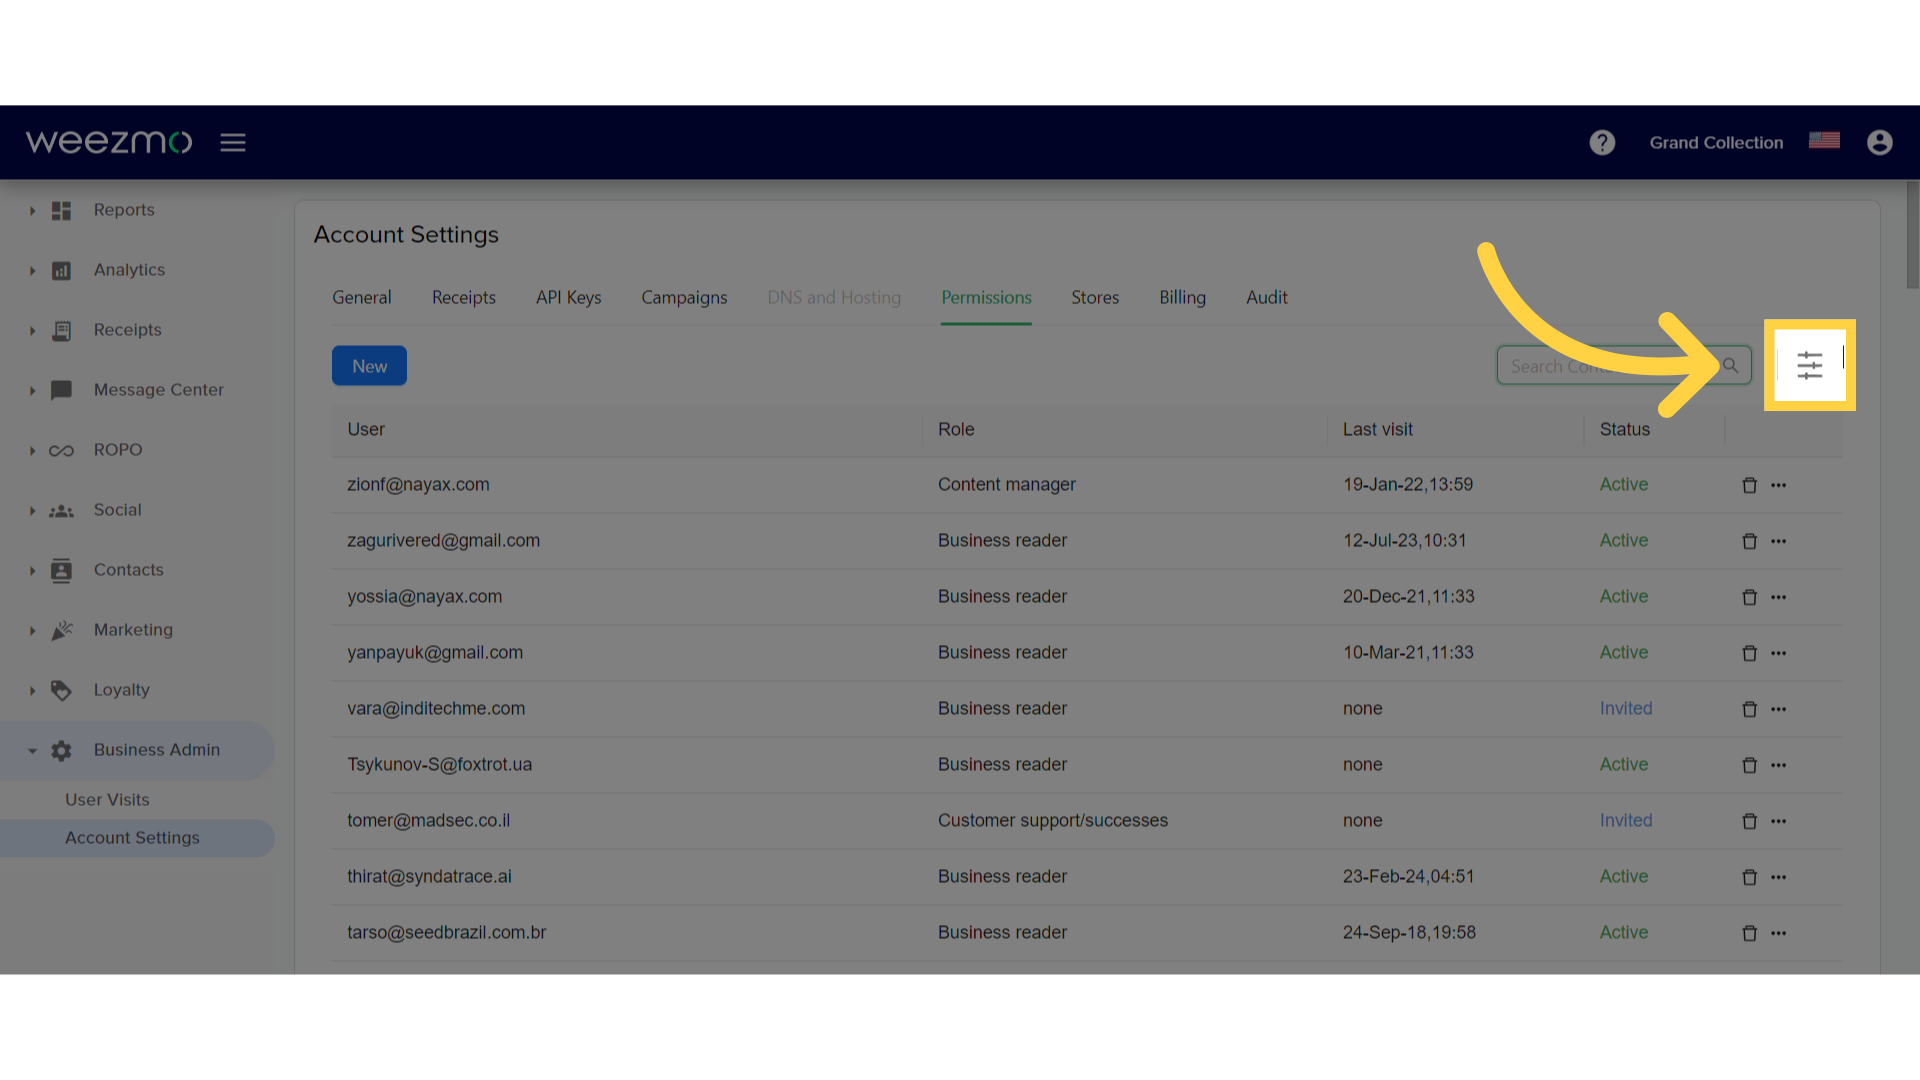
9. Filter contacts
Click the filter button to filter contacts.
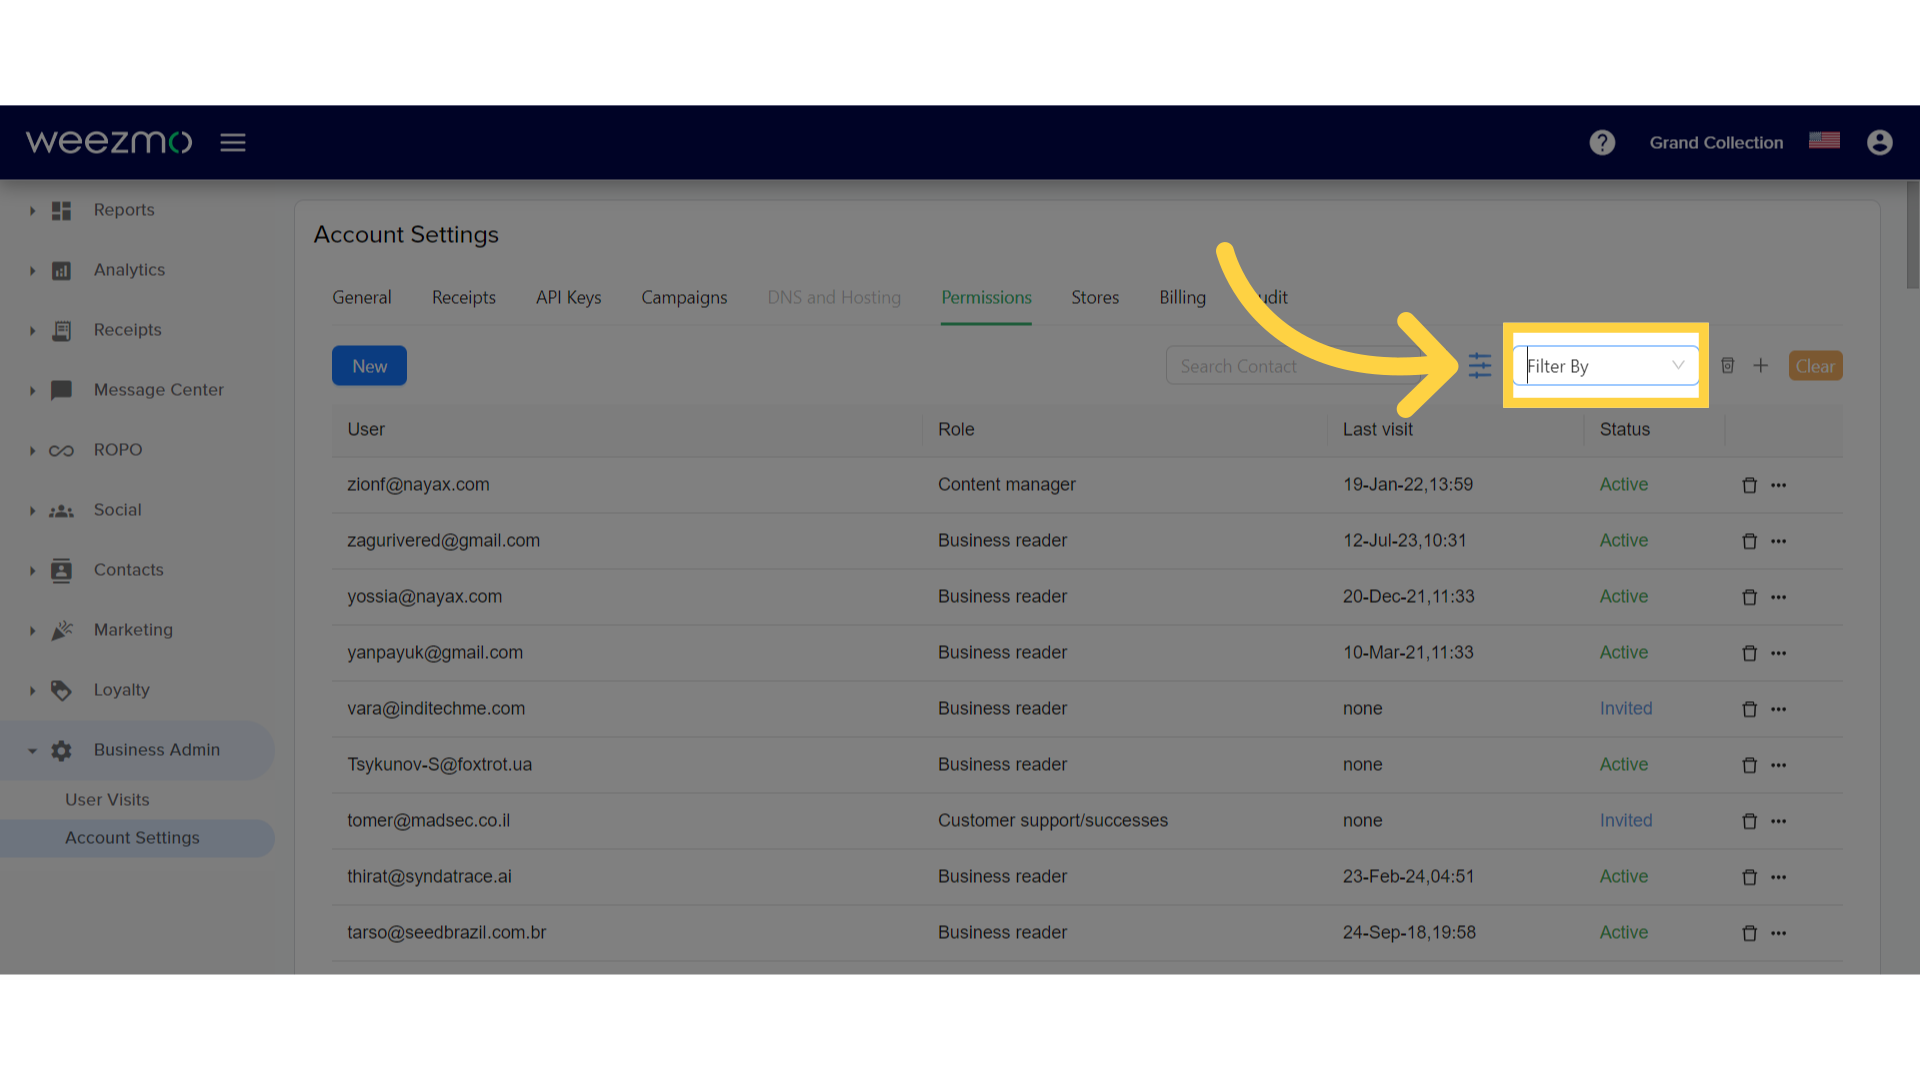
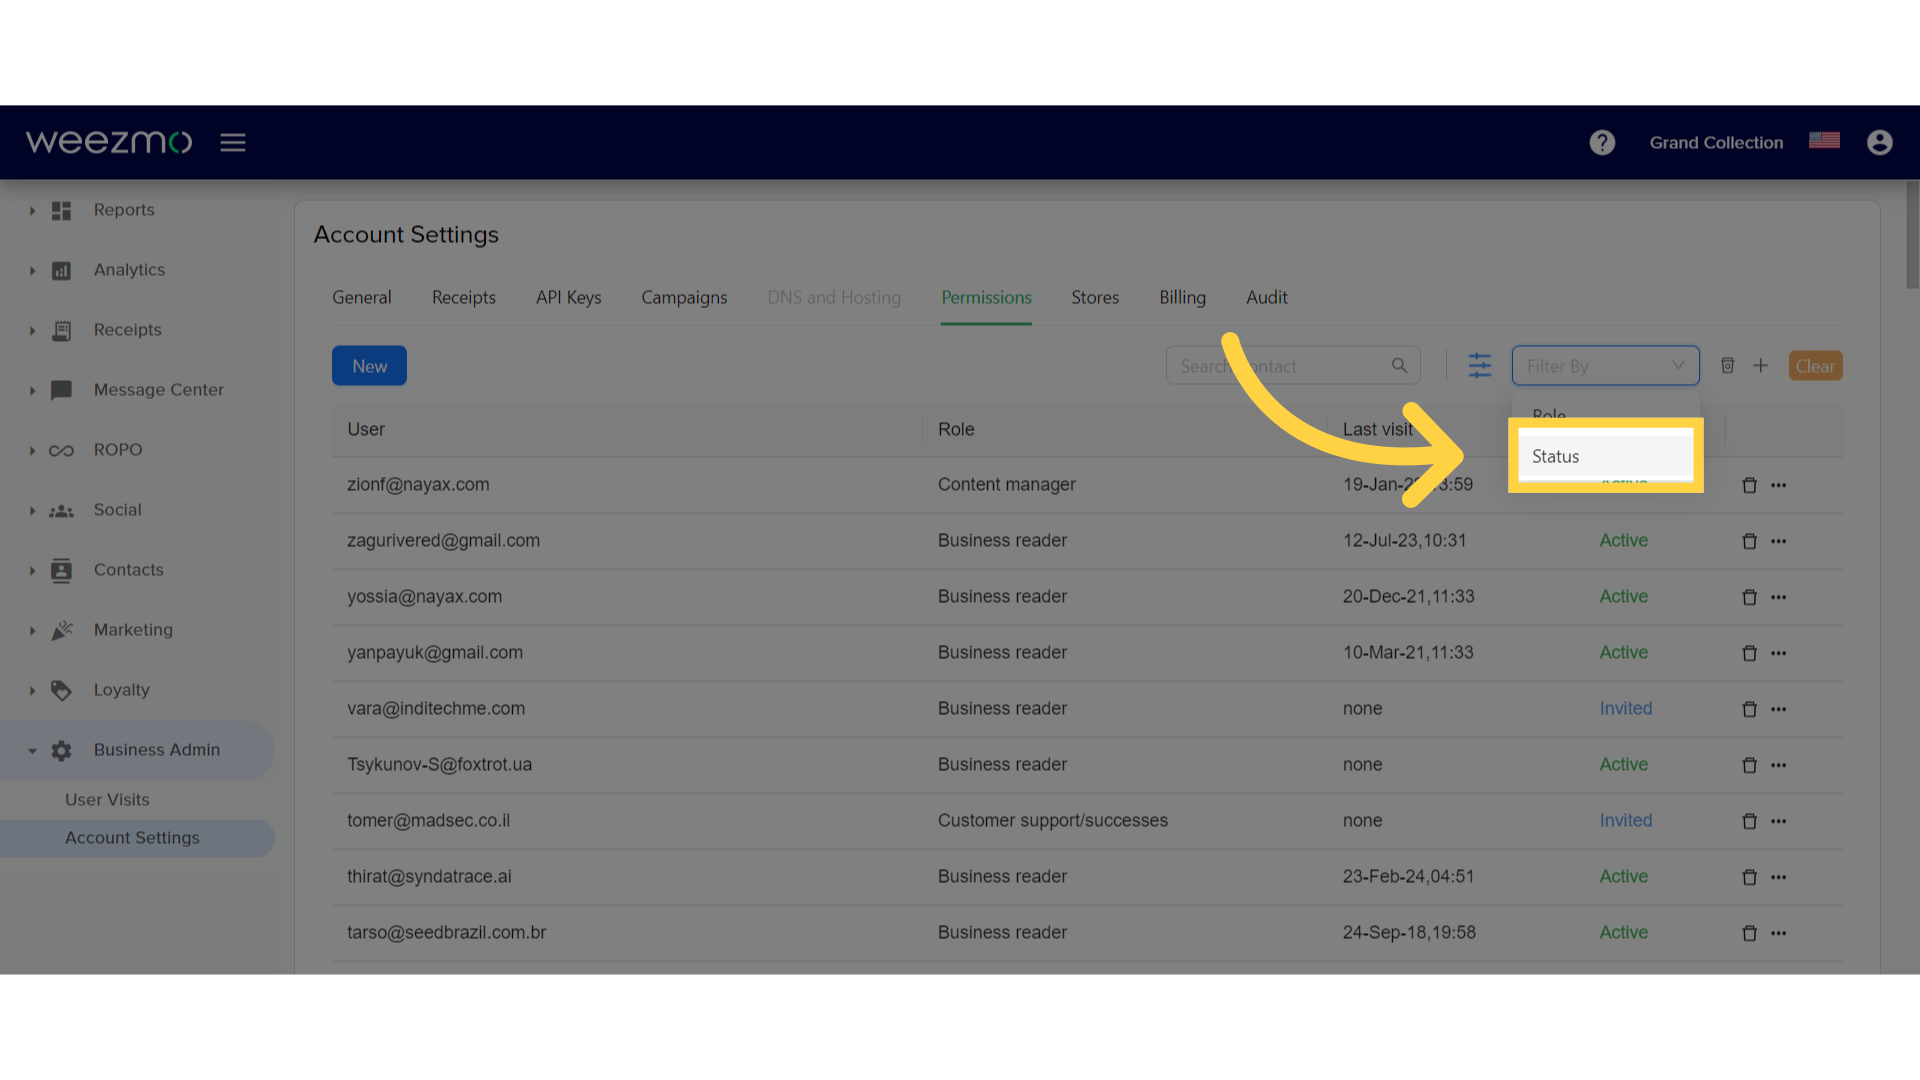
10. Filter by role and status
Click "Filter By" to select the role or status filter.
11. Select filter
Select the relevant filter from the drop-down list, and then select the status or role you would like to filter by.
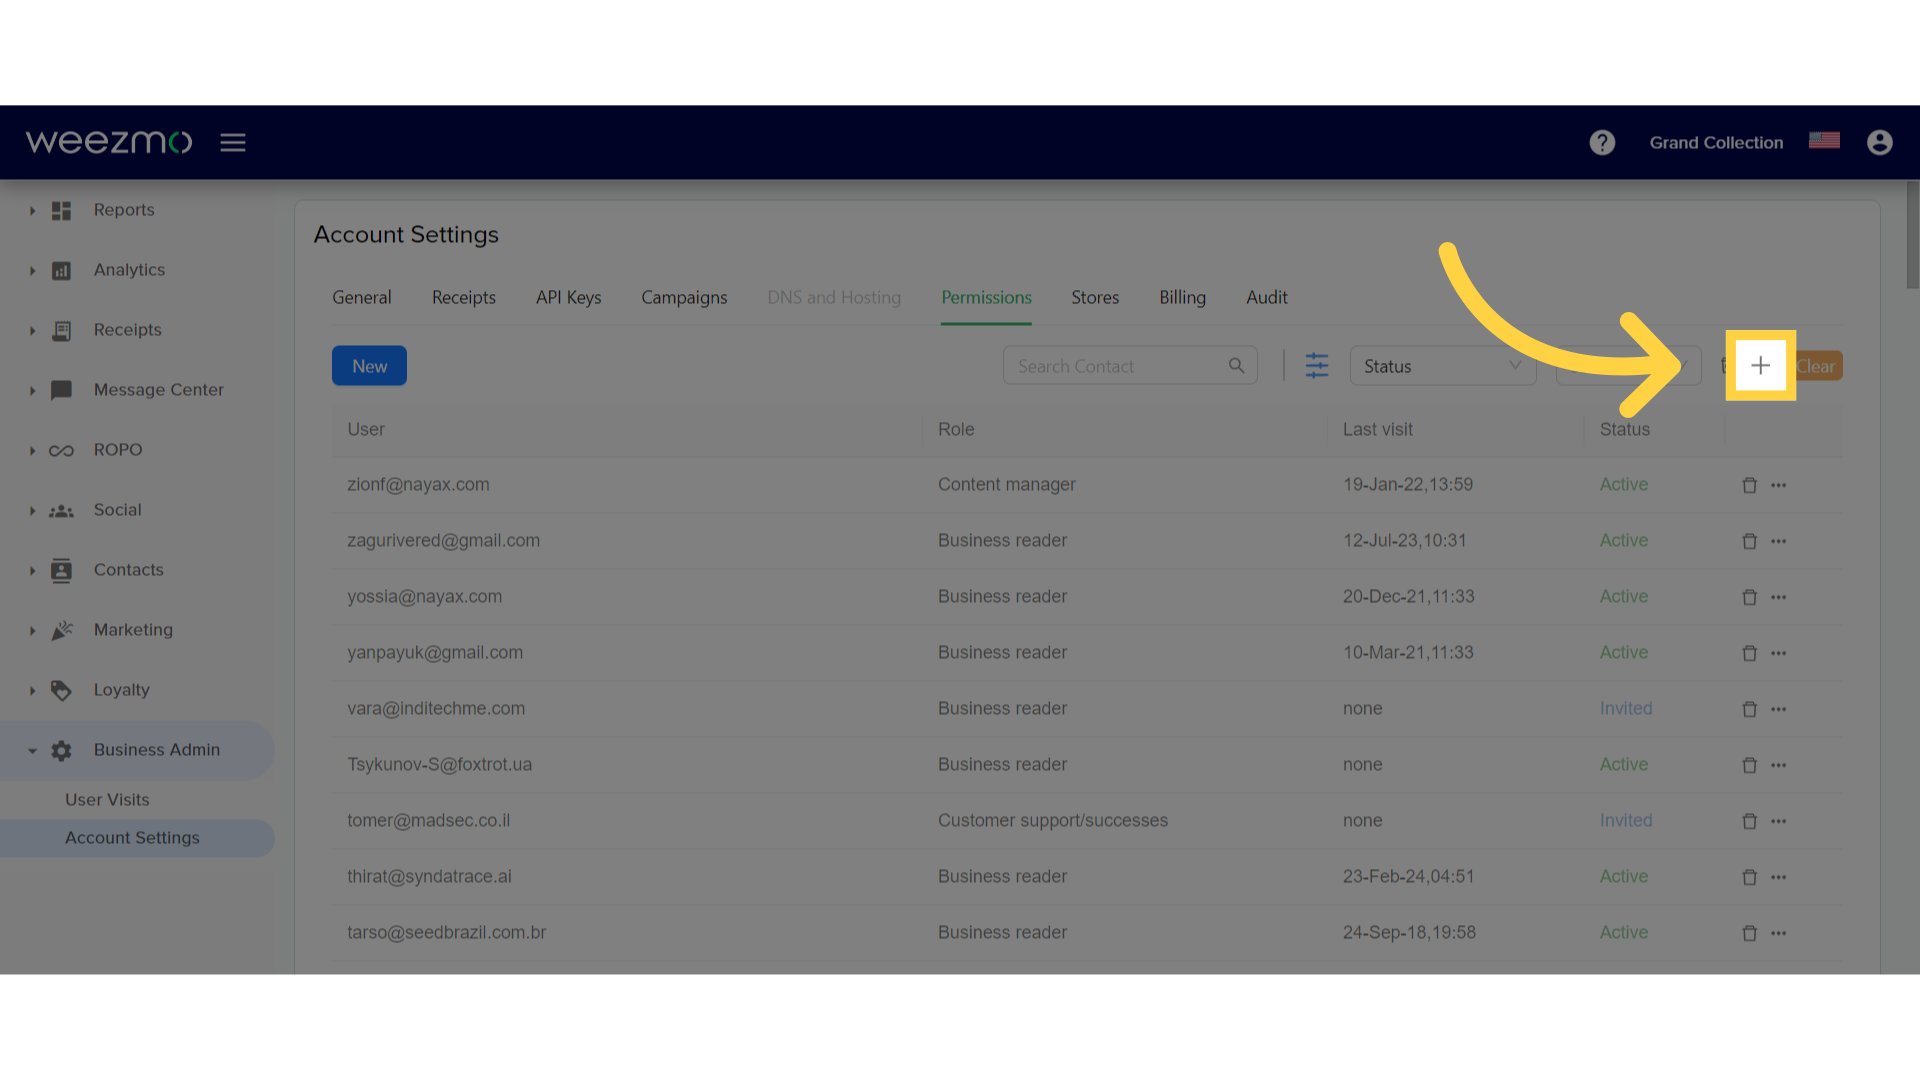
12. Additional filters
To apply an additional filter, click the + button. You can filter contacts by status and role simultaneously.
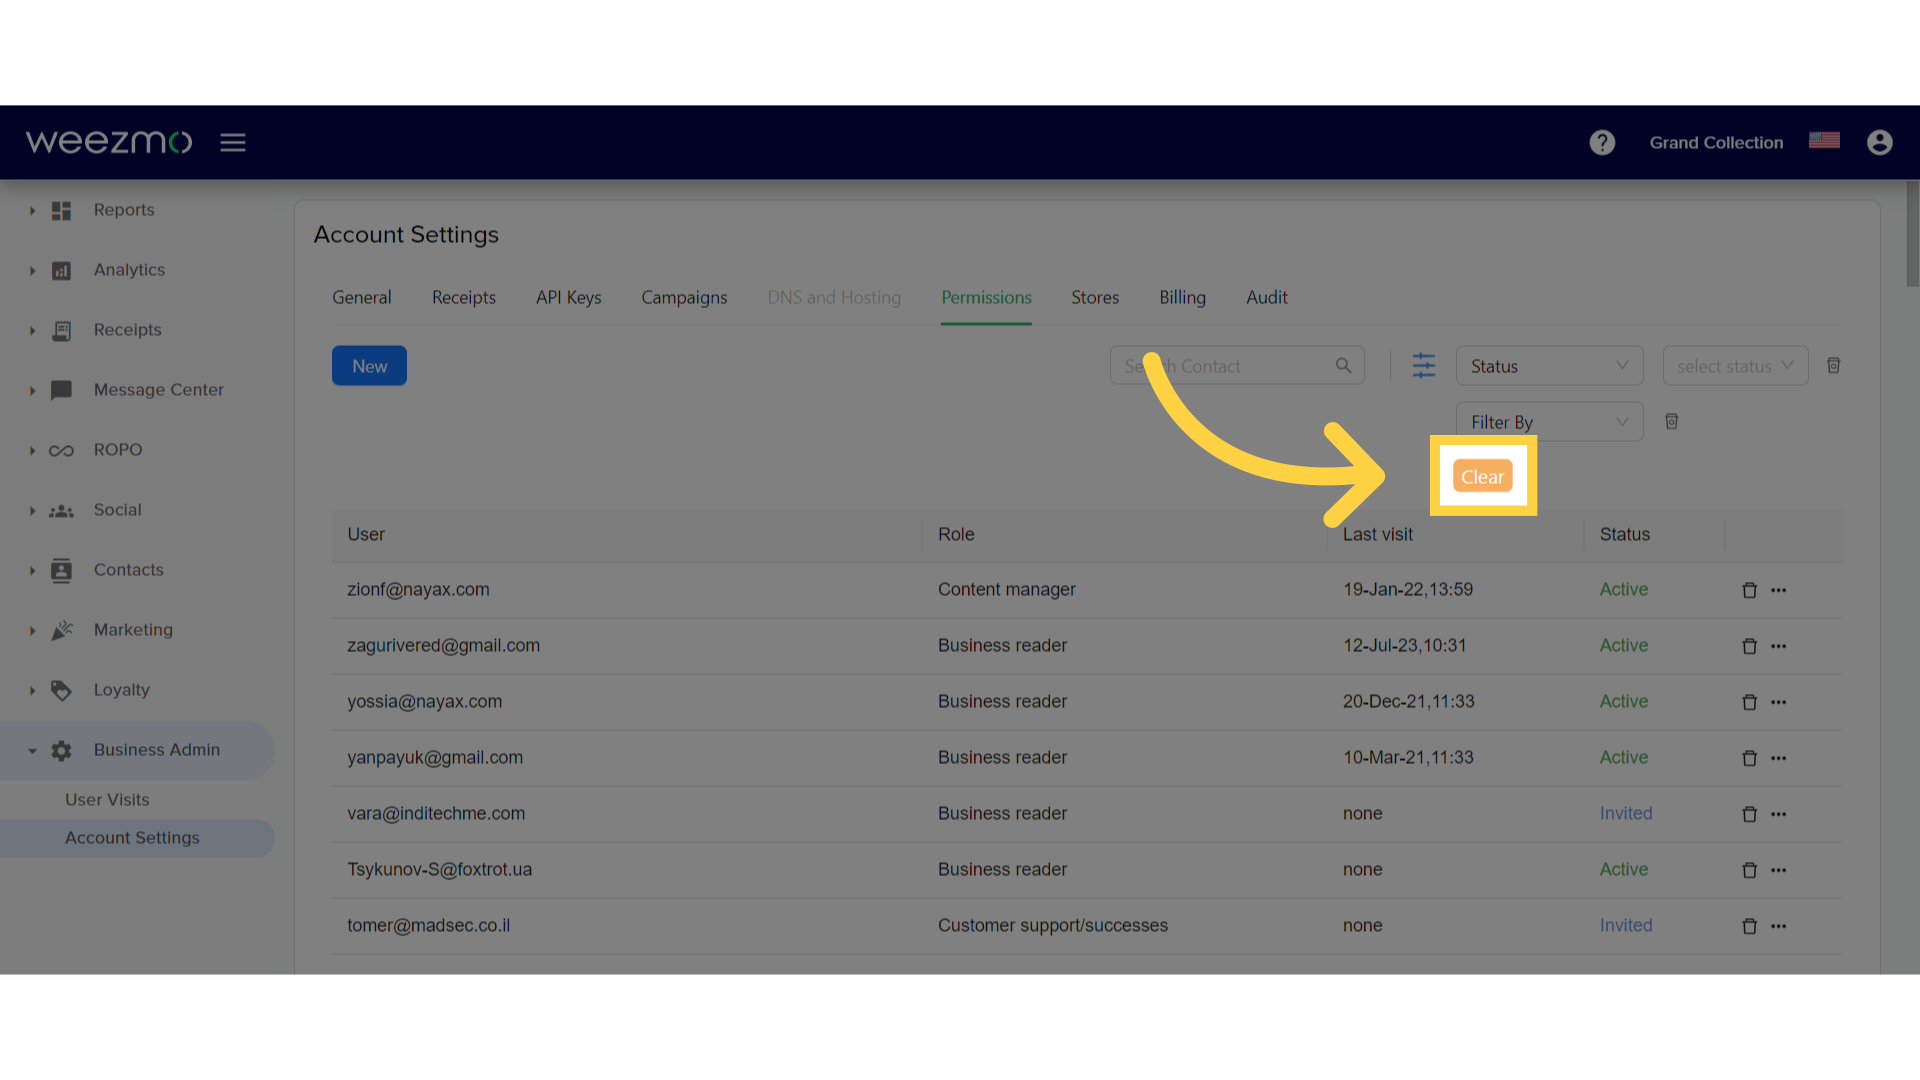
13. Removing filters
To remove applied filters, click "Clear".
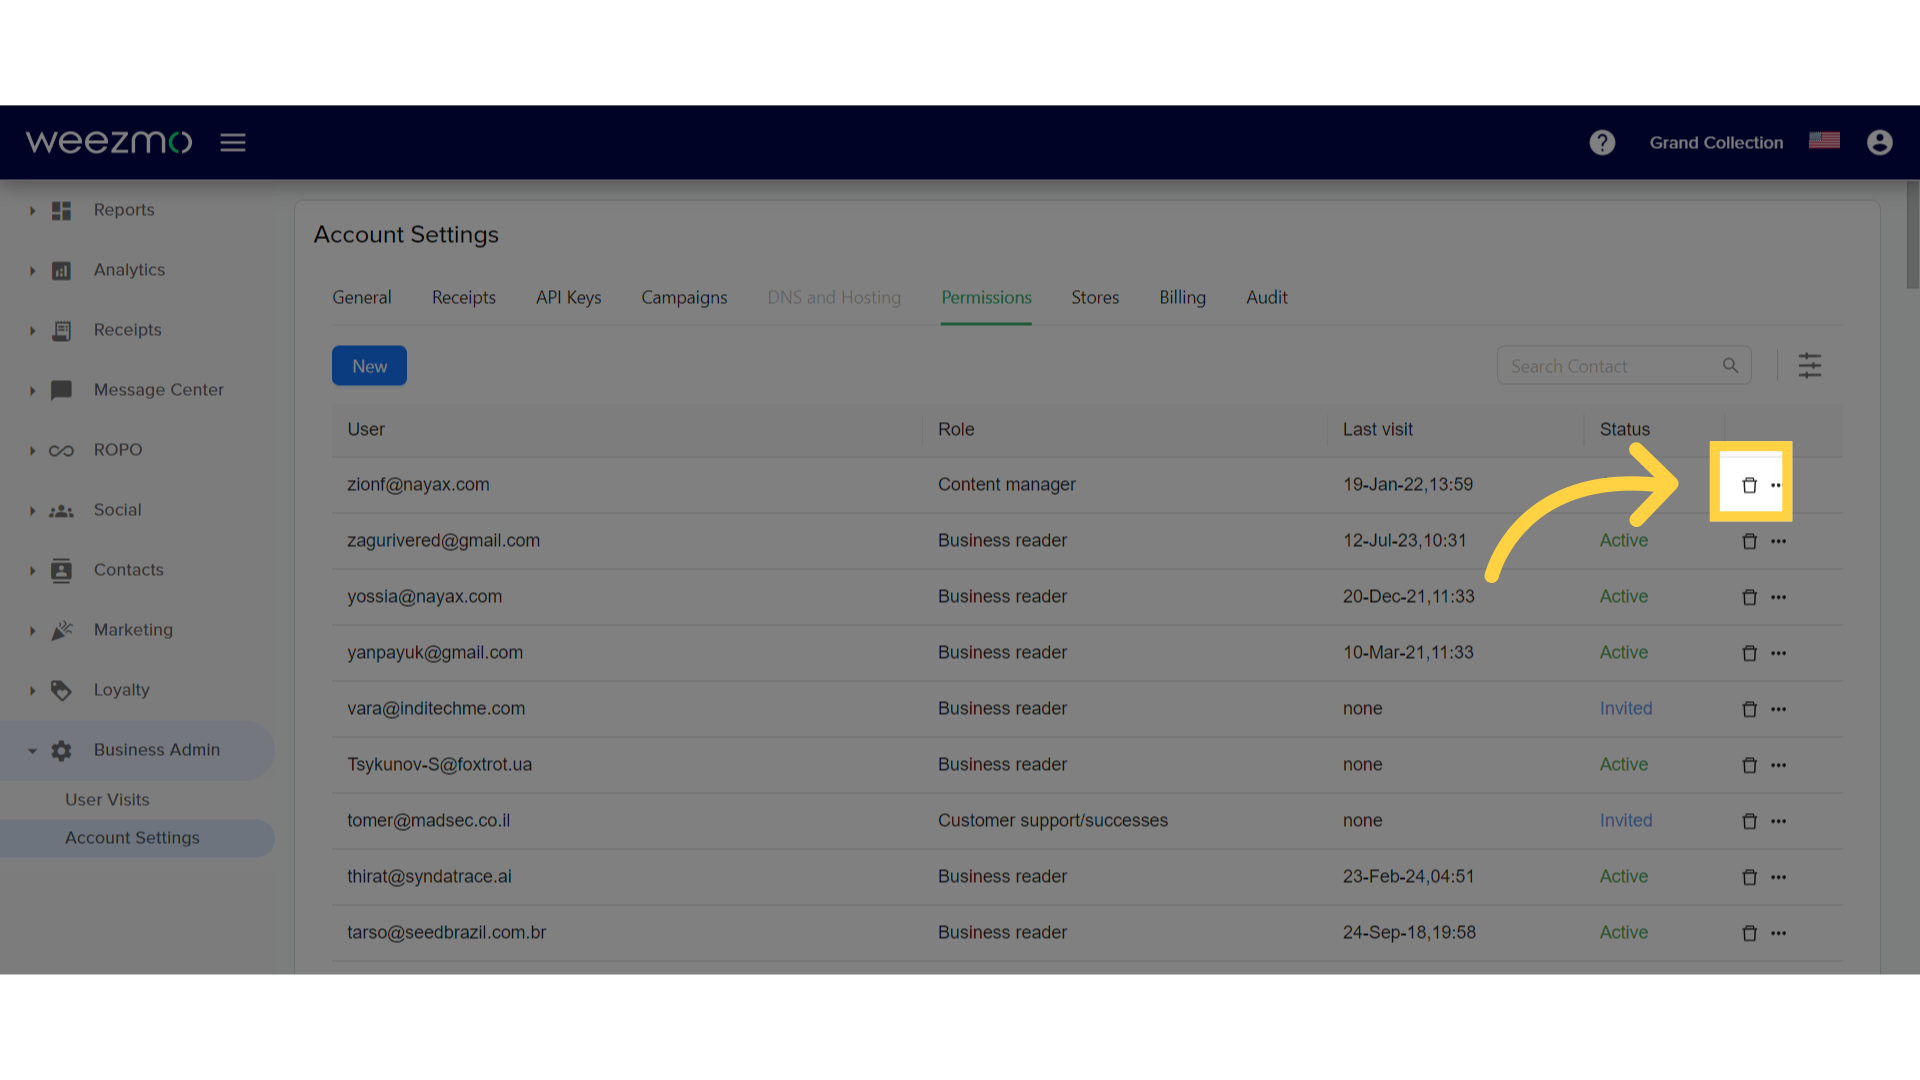
14. Delete an existing contact
To delete an existing contact, click the trash can icon under that contact's listing.
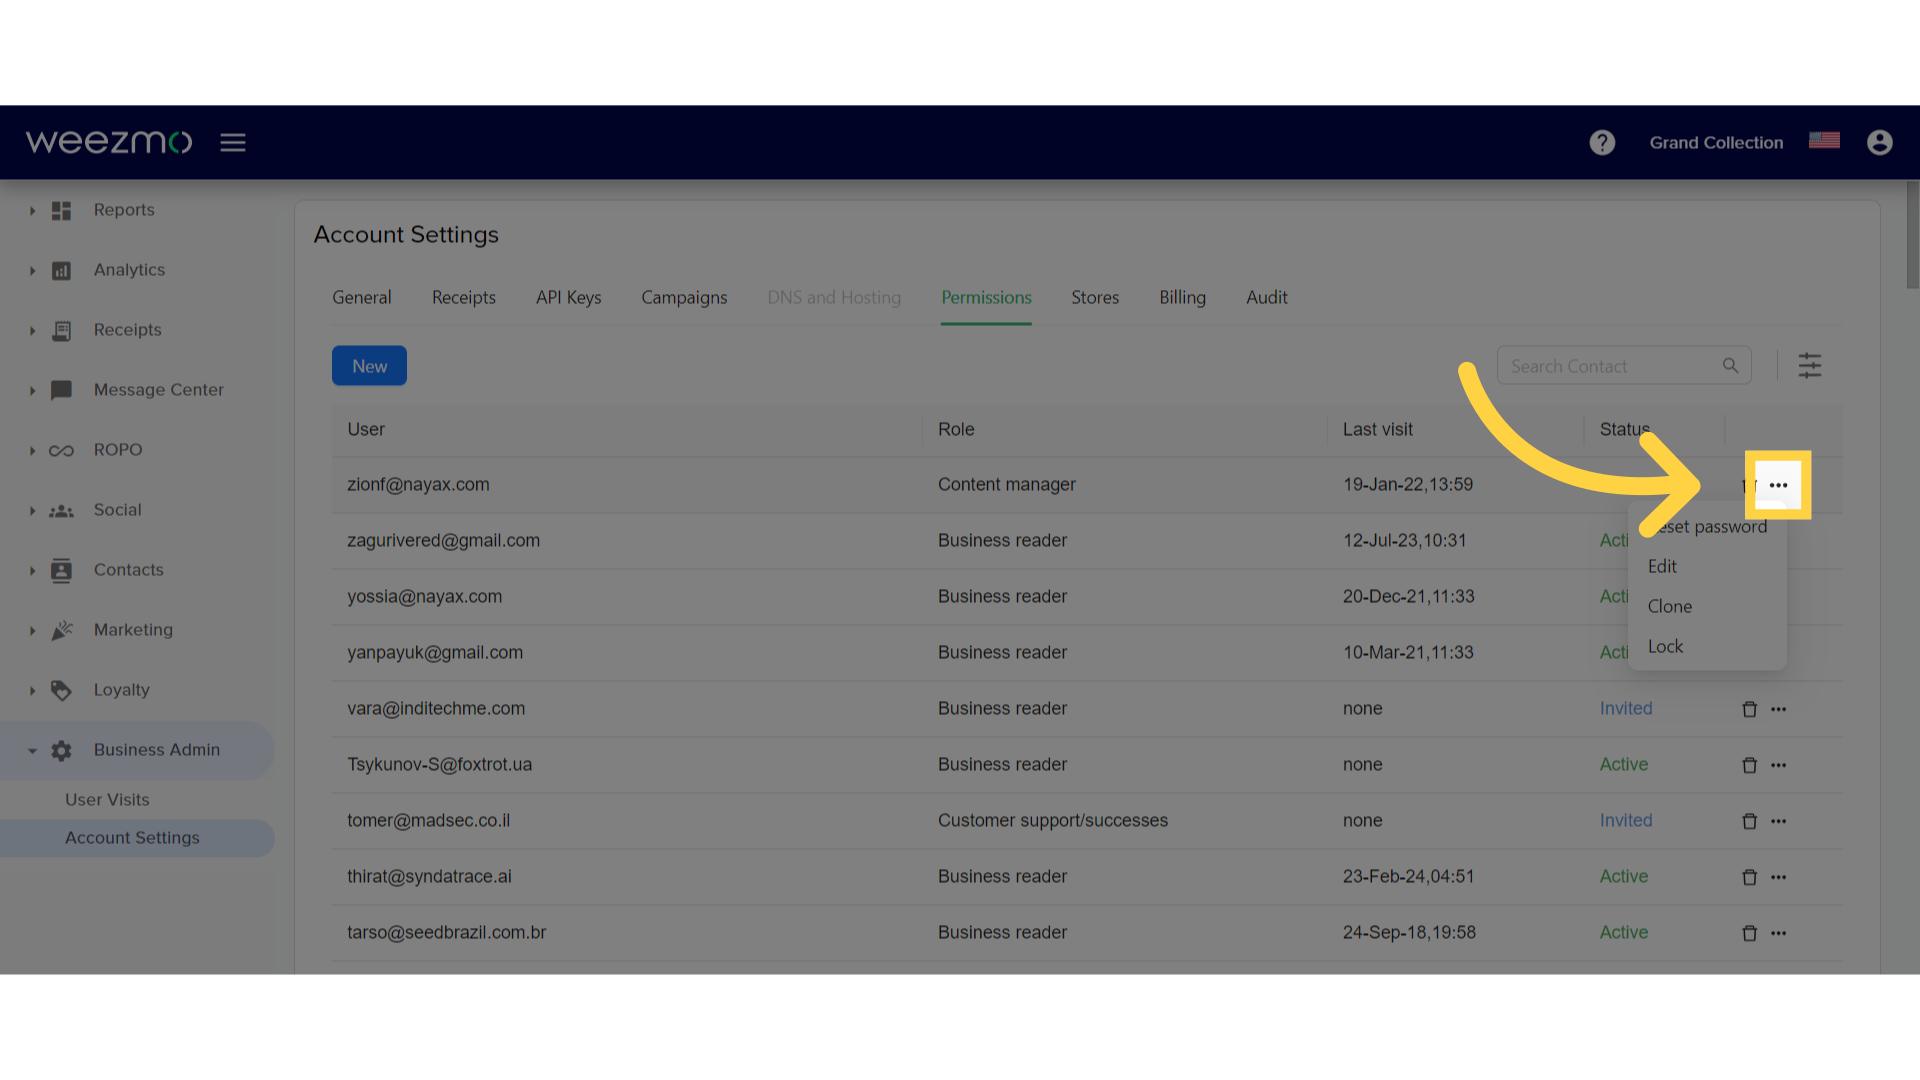
15. Managing an existing contact
Clicking the three dot icon next to a certain contact will open management options for that contact. These include reset password, edit, clone, or lock.
16. Editing an existing contact
To edit an existing contact, click the "Edit" option in the three-dot menu.

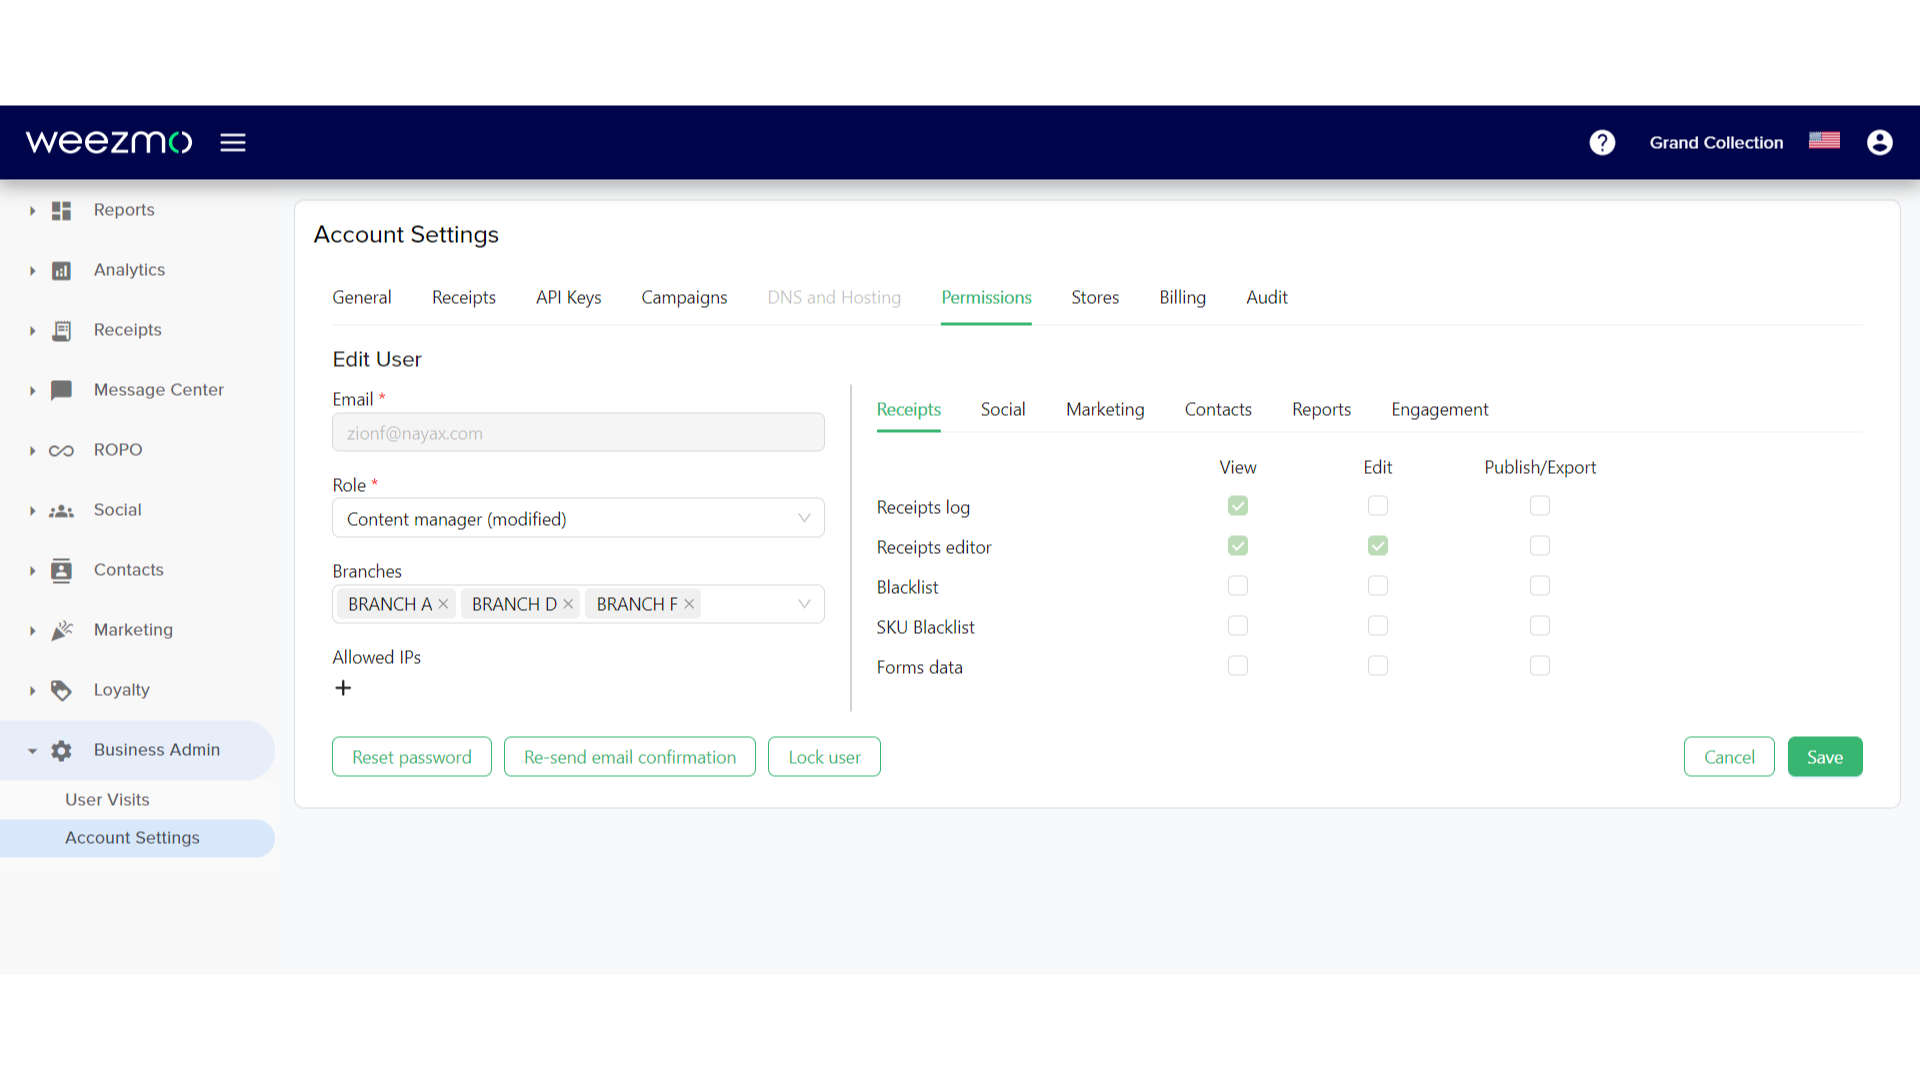
17. Edit User
In the "Edit User" window you can change a user's existing information. In this window, as opposed to the "New User" window, the existing user information is displayed in the different fields.
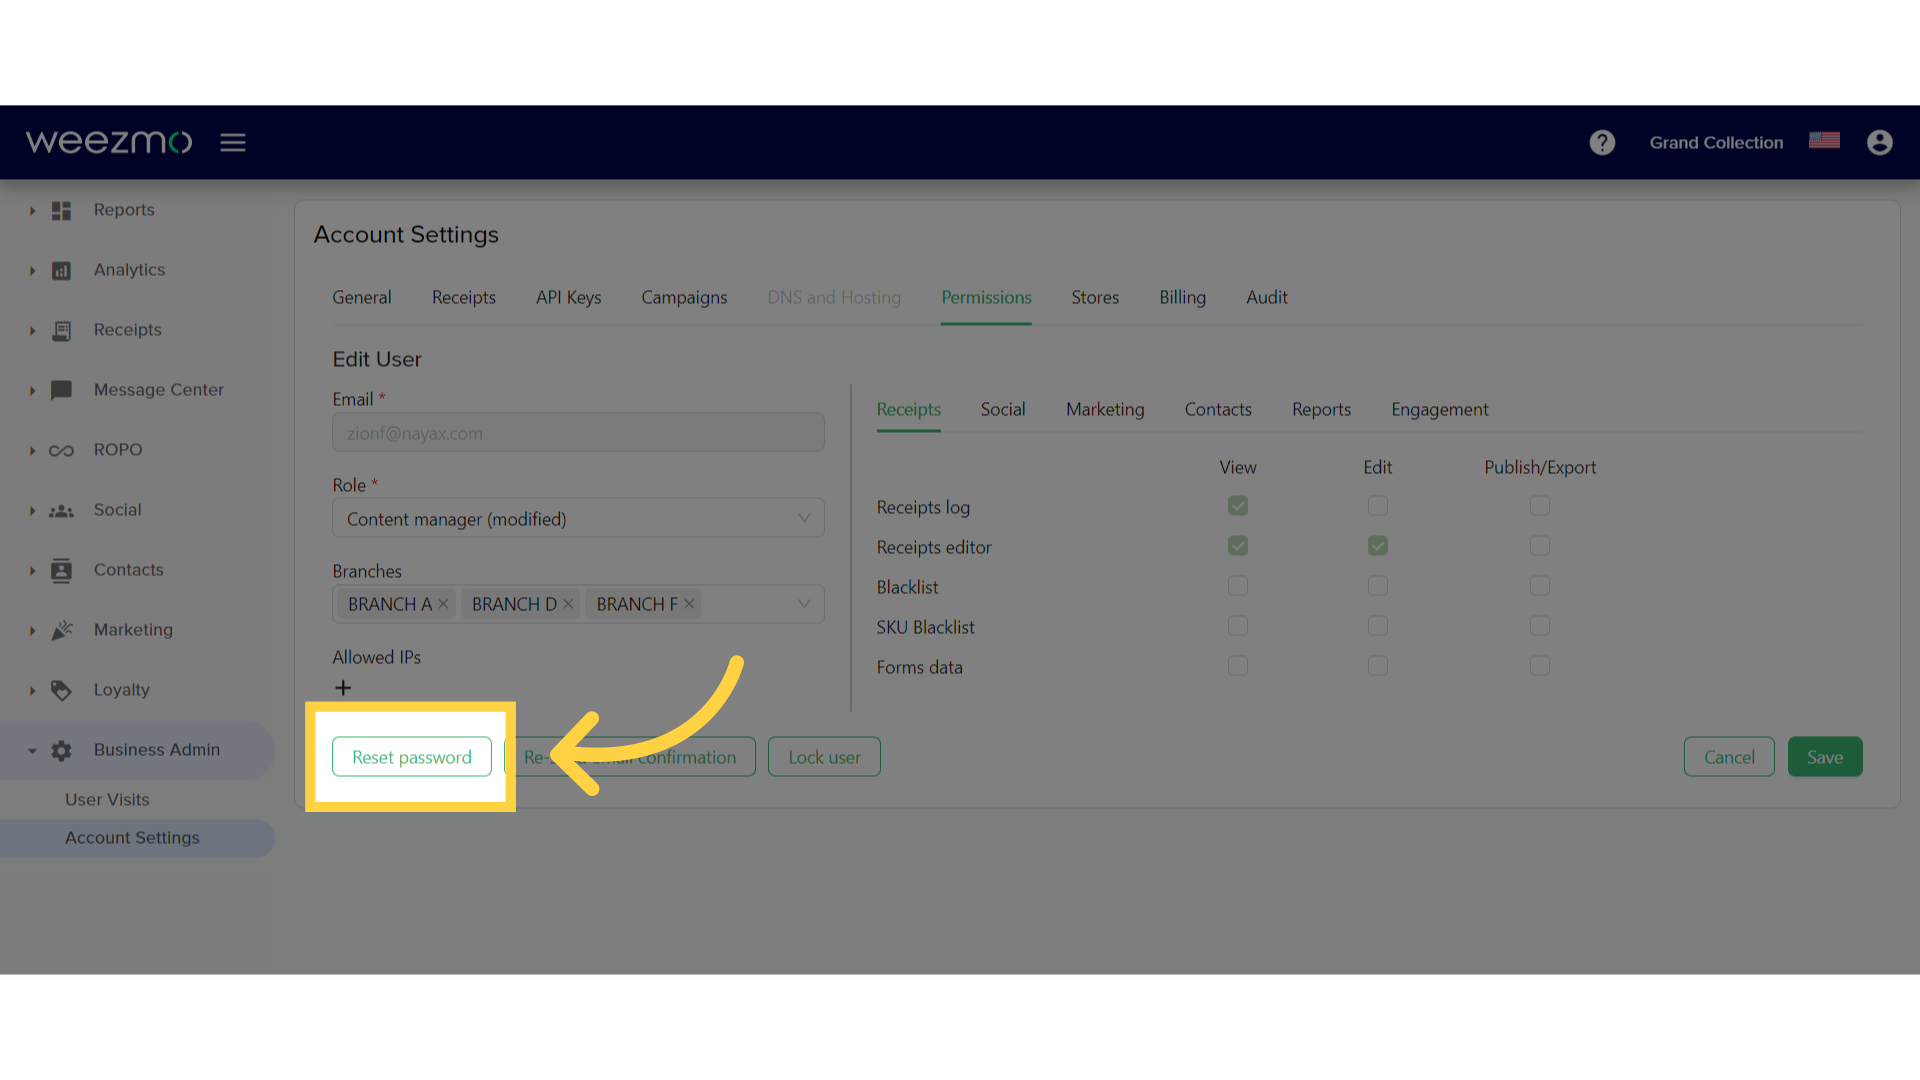
18. Reset Password
To send a password reset email to this user, click "Reset Password".
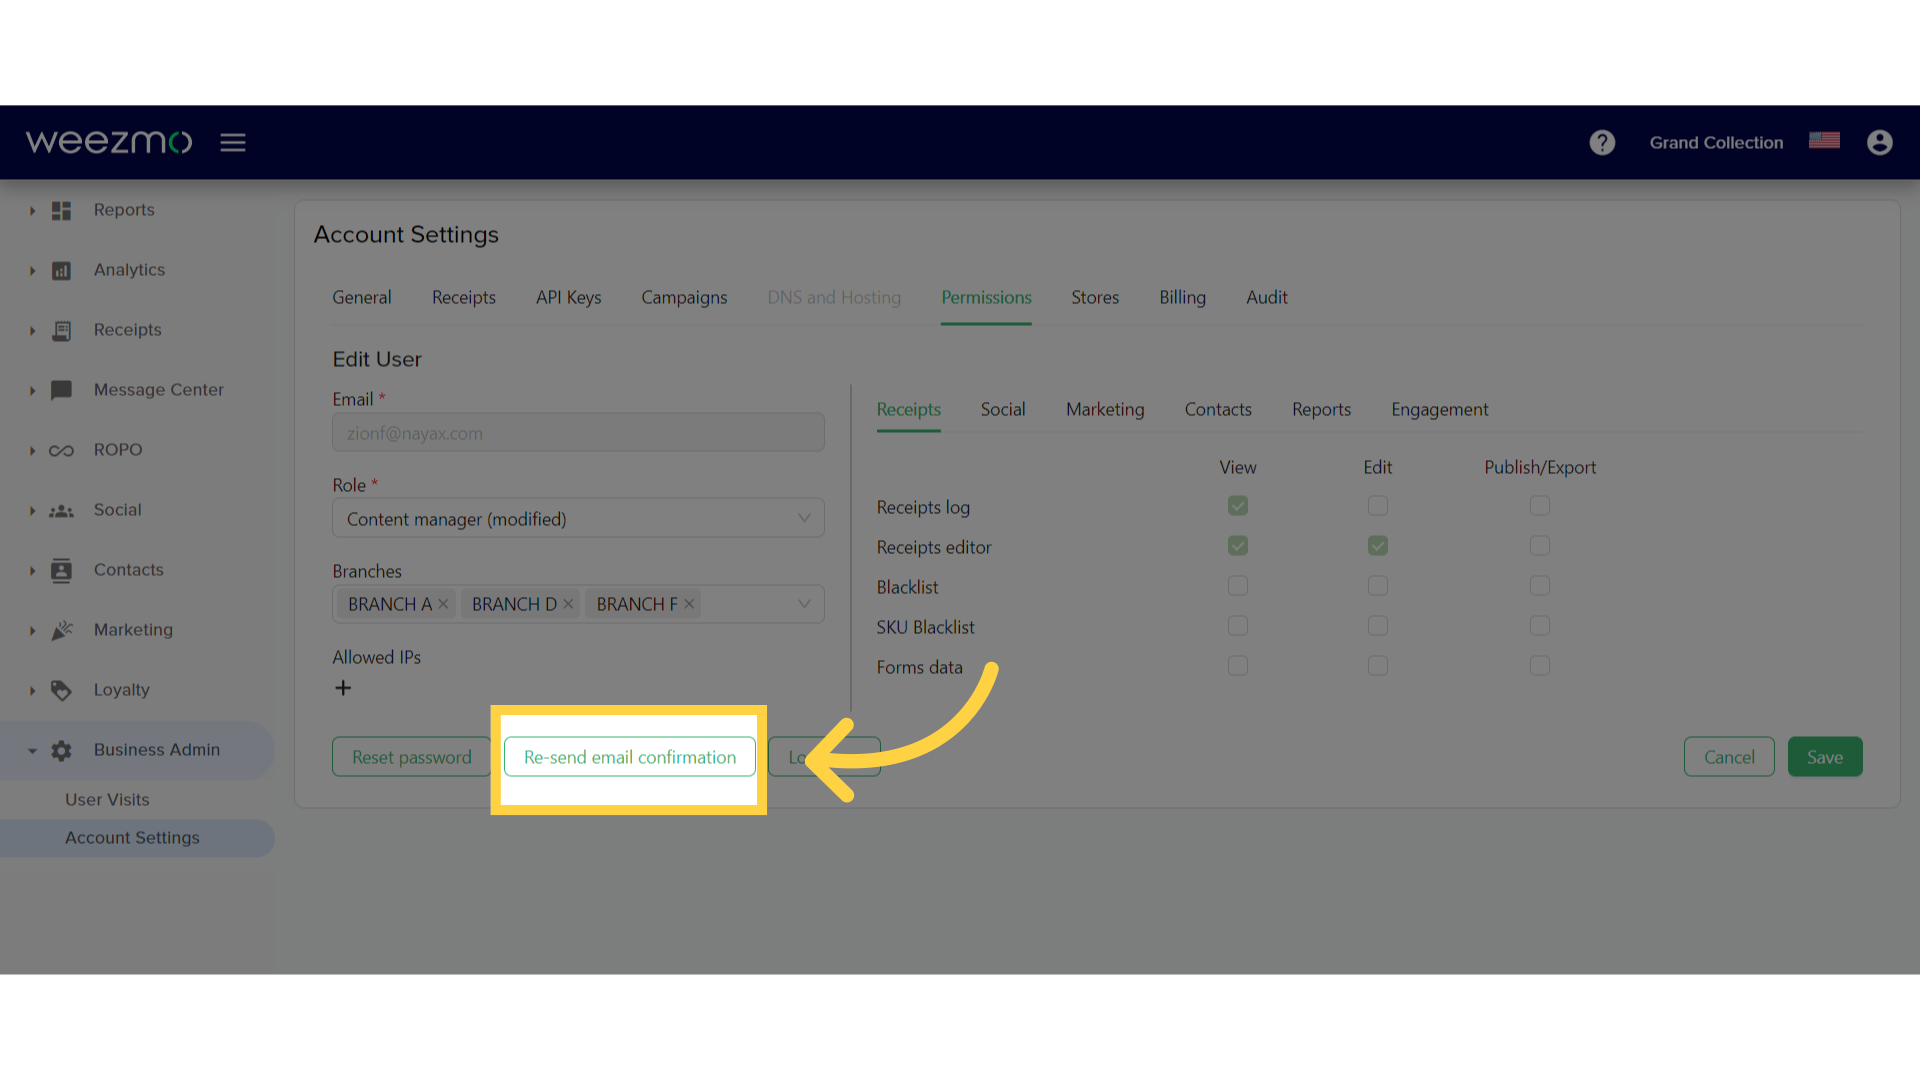
19. Re-send Email Confirmation
To re-send a confirmation email to this user, click "Re-send email confirmation".
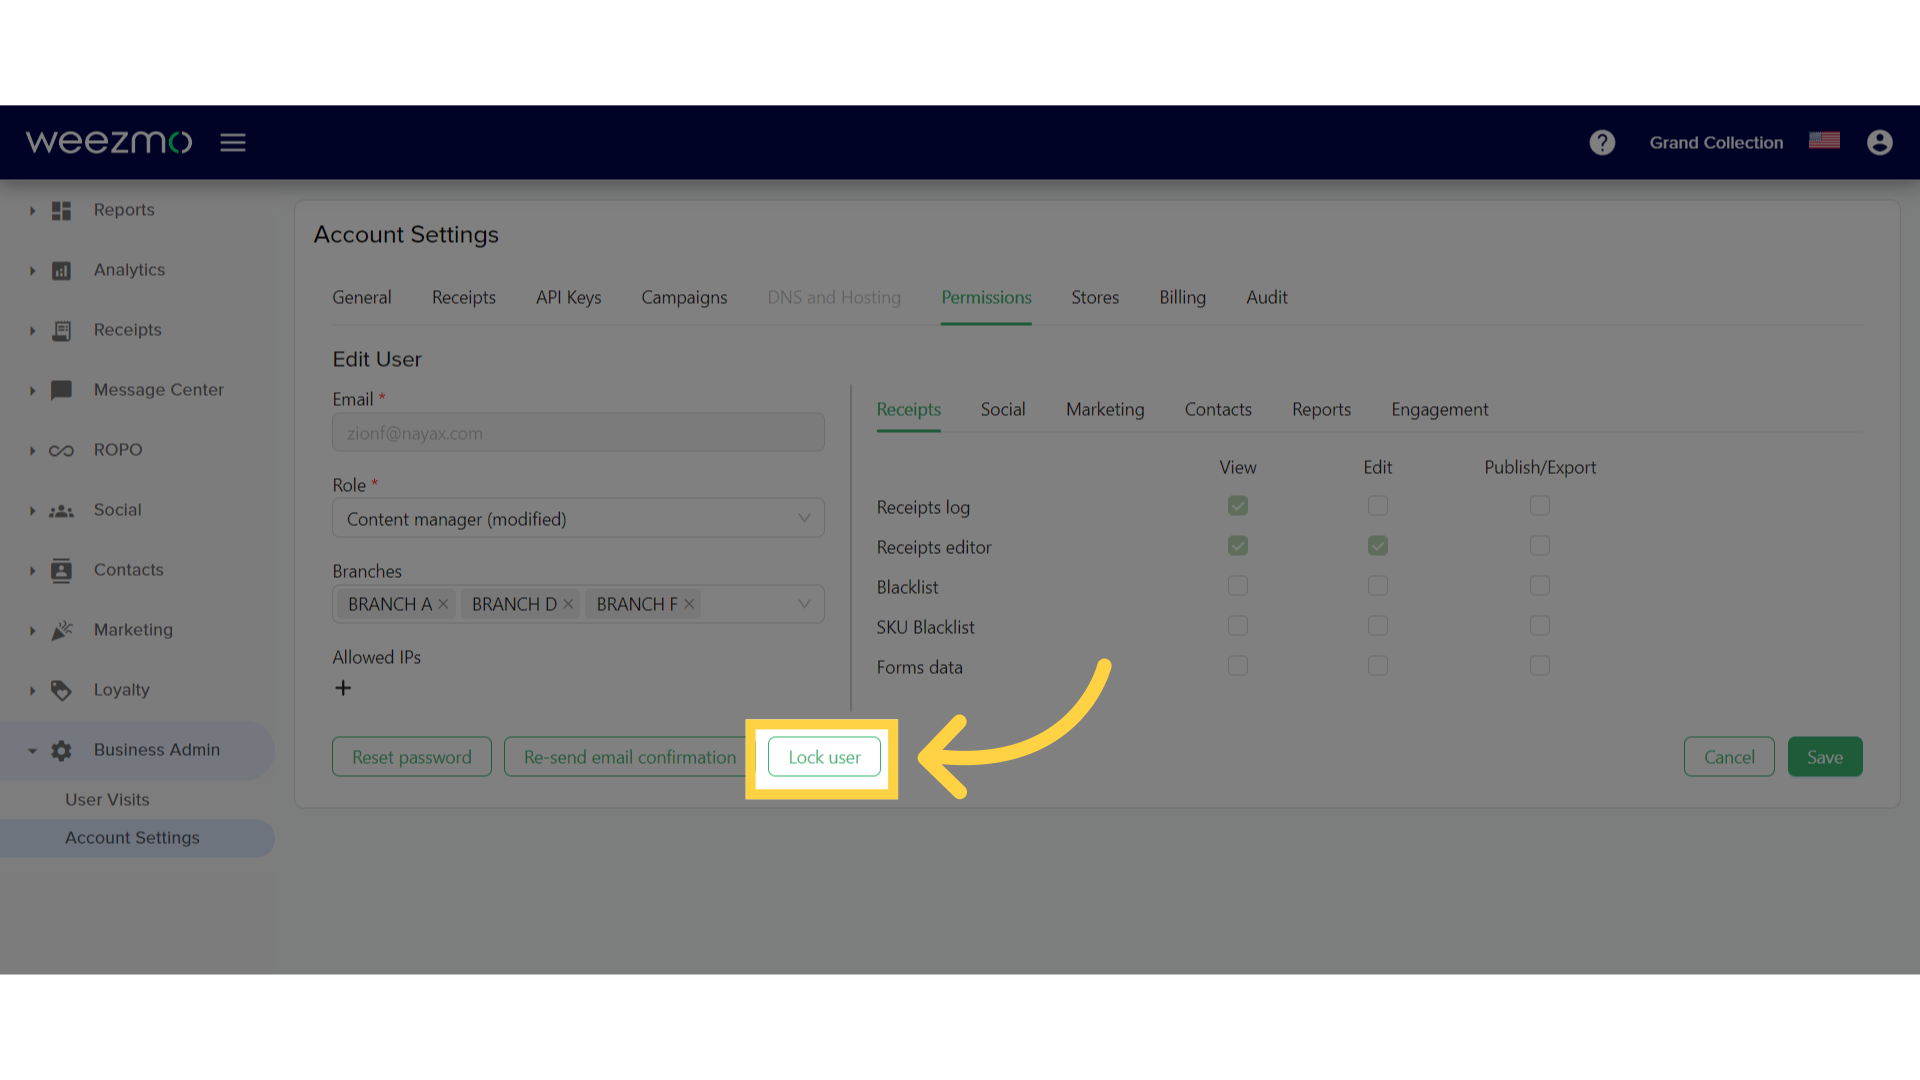
20. Lock User
Clicking "Lock user" will prevent this user from accessing the system.
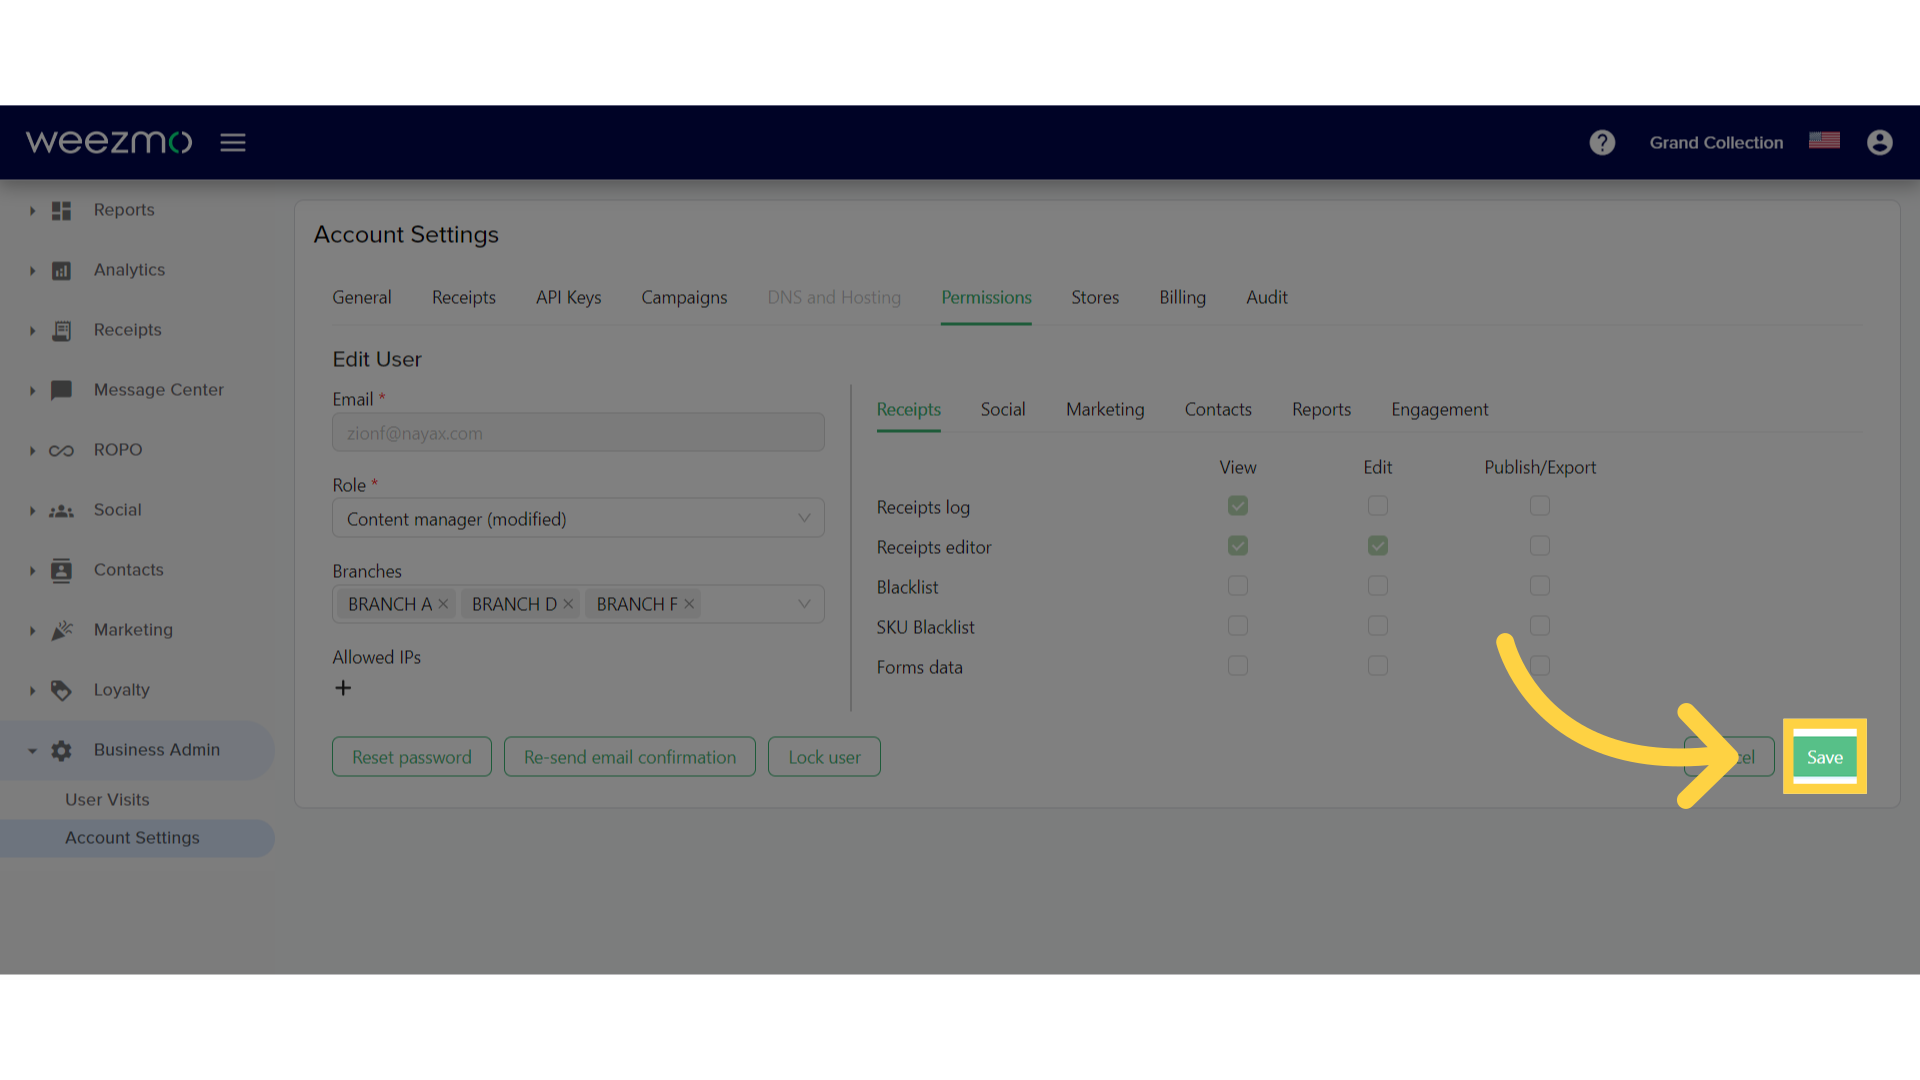
21. Save changes
To apply any changes made to this user, click "Save".
This guide covered all actions required for managing user permissions in Weezmo, including viewing, editing and creating new users. For more information about permissions and account settings, check out our other guides.